Inking Fàfnir the Dragon
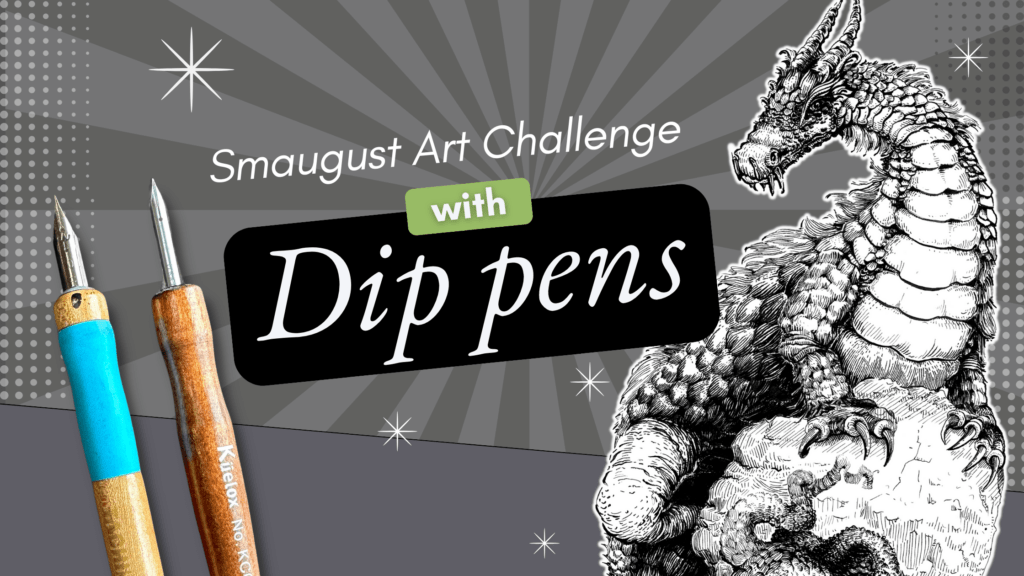
In this article, I share the steps of my process for drawing and inking Fàfnir the dragon using dip pens, for the Smaugust art challenge.
Art challenges keep you consistent
A common struggle for artists is staying consistent.
Something that helps with being consistent is to participate in an art challenge.
Art challenges are a fantastic, simple way to be part of a like-minded community.
If your goal is to follow the prompts and create a new drawing for each day, then you’ll be more motivated to stay accountable knowing that you are not alone in your pursuit.
It was thanks to participating in the daily challenge of Inktober in the month of October that I developed habits for staying more consistent.
📚 Want to learn more about habits that help grow your art skills? Read about the Ten Tips.
There are plenty of challenges to choose from year-round.
For August, I joined in on the Smaugust fun with a dip pen drawing.
Smaugust Art Challenge
The name is a combination of two words. It’s the challenge plus the month’s name: Smaug + August = Smaugust.
Smaug is the name of the dragon from Lord of The Rings.
The dragon theme remains the same though the daily word prompts change from year-to-year.
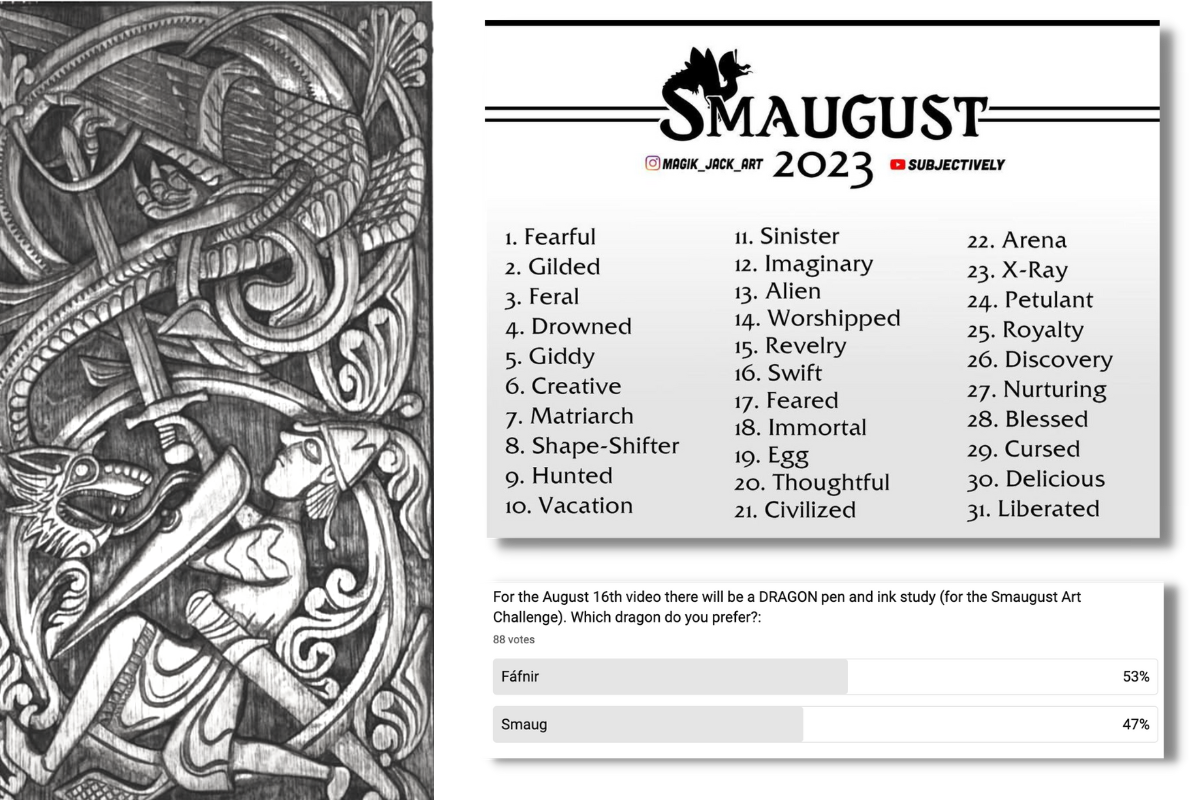
📚 To find out more about this dragon challenge, and additional ideas on other art challenges, links to those resources are listed at the end of this article.
Since my objective was to create a single drawing for the monthly challenge, I conducted a poll on my YouTube channel community tab to help me choose which dragon to draw.
It was a toss-up between Smaug and Fàfnir.
Who is Fàfnir?
I learned through my research that these creatures come in various types depending on whether they have wings or not, and how many legs if any.
The olden Fàfnir was depicted with a horse-shaped head, a serpent body, and lizard legs. In modern gaming versions, I found that he has since been given wings and a more robust dinosaur appearance.
Fáfnir has roots deep in Norse Mythology.
From the many sagas, the one that stands out for me is that of when Sigurd, under the advice of Odin, kills Fafnir, and while cooking the dragon’s heart, Sigurd burns his thumb on it. He put his thumb into his mouth and was then able to understand the language of birds. I really like birds.
“Knowledge is given to one who eats the heart of a dragon”
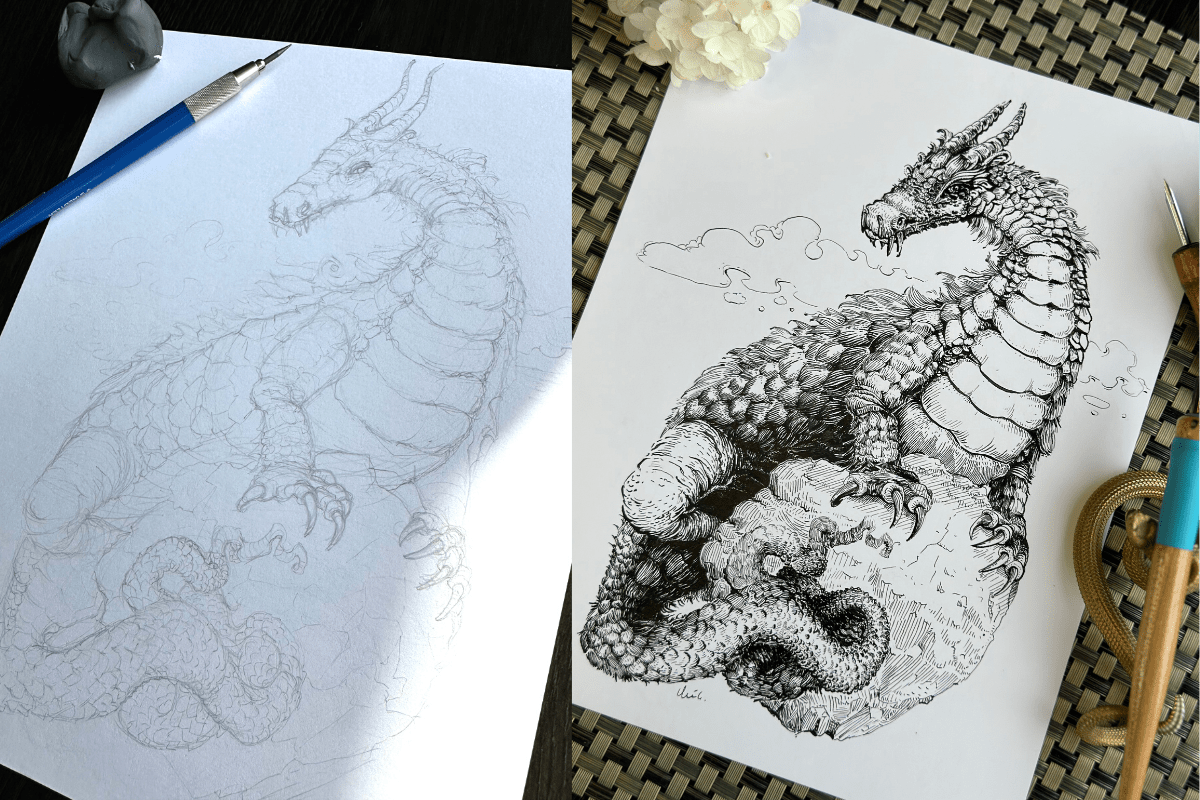
Nonetheless, as much as I love to draw wings, I stayed true to the original intent of Fàfnir and drew him with a lizard-like body along with a snake-ish tail – not with a fierce expression but rather aiming for a cunning charm. I’ll talk more about why I gave the scales feathers in a minute.
Steps of the process
The steps to my process for this drawing start with:
- Research on the August art challenge
- Research on the Fàfnir dragon
- Gathering visual references
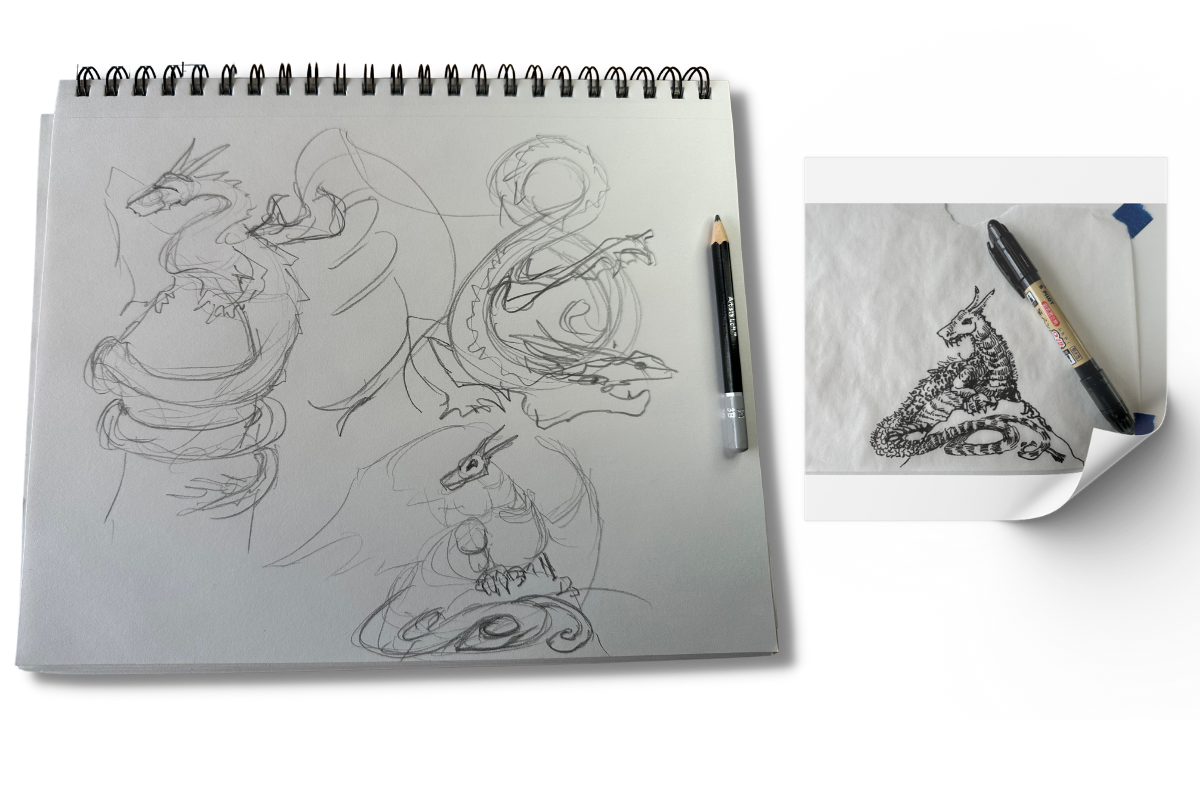
- Sketching rough thumbnails to plan the composition
- A quick study using a fine liner pen to plan the line treatment
- A pencil underdrawing of the dragon subject
As you can see from my thumbnails below, I initially debated on which version to draw, wings or no wings.
See the Resources section at the end of this article for the list of supplies.
Ink application
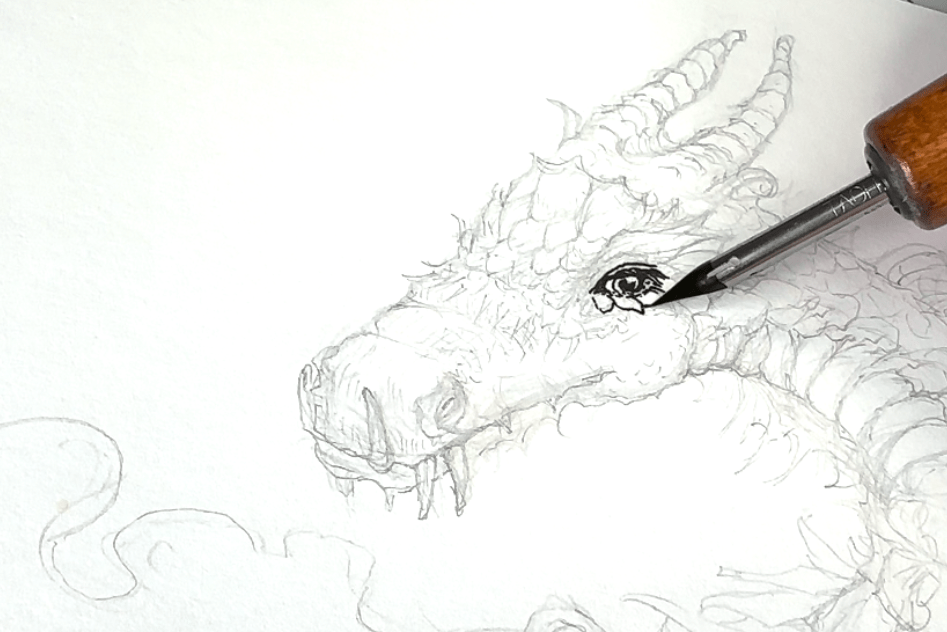
For the ink application, I start with the eye using the soft Maru nib and work outwards from there.
My focus, in terms of the pen and ink fundamentals for this piece, is texture and line direction.
The reason for this is that – there’s potential for a lot of variety in the textures with this subject. The scales that cover the body change broadly in size, as well, the line direction plays a huge part in communicating the illusion of form and volume.
📚 To learn more about the fundamentals of pen and ink, read about these three exercises.
Moving from the head to the neck of the dragon is a perfect example of how line direction plays a major role in communicating what’s going on with the shape.
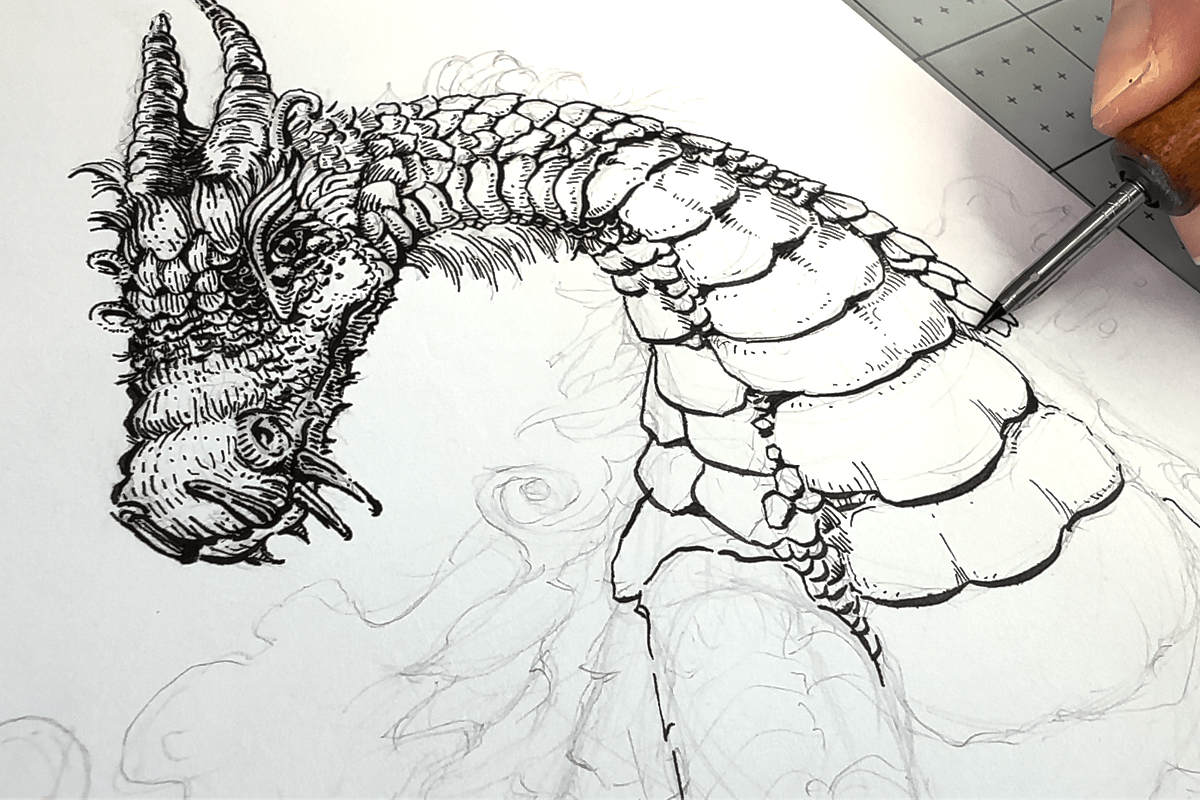
To emphasize that the head is tilted back and the throat is closer to the viewer, I’m using darker tones for the scales that are wrapping around toward the back of the dragon.
I’m using a light outline to define the elements of the drawing that are now overlapping in the forefront such as the upper leg and large boulder.
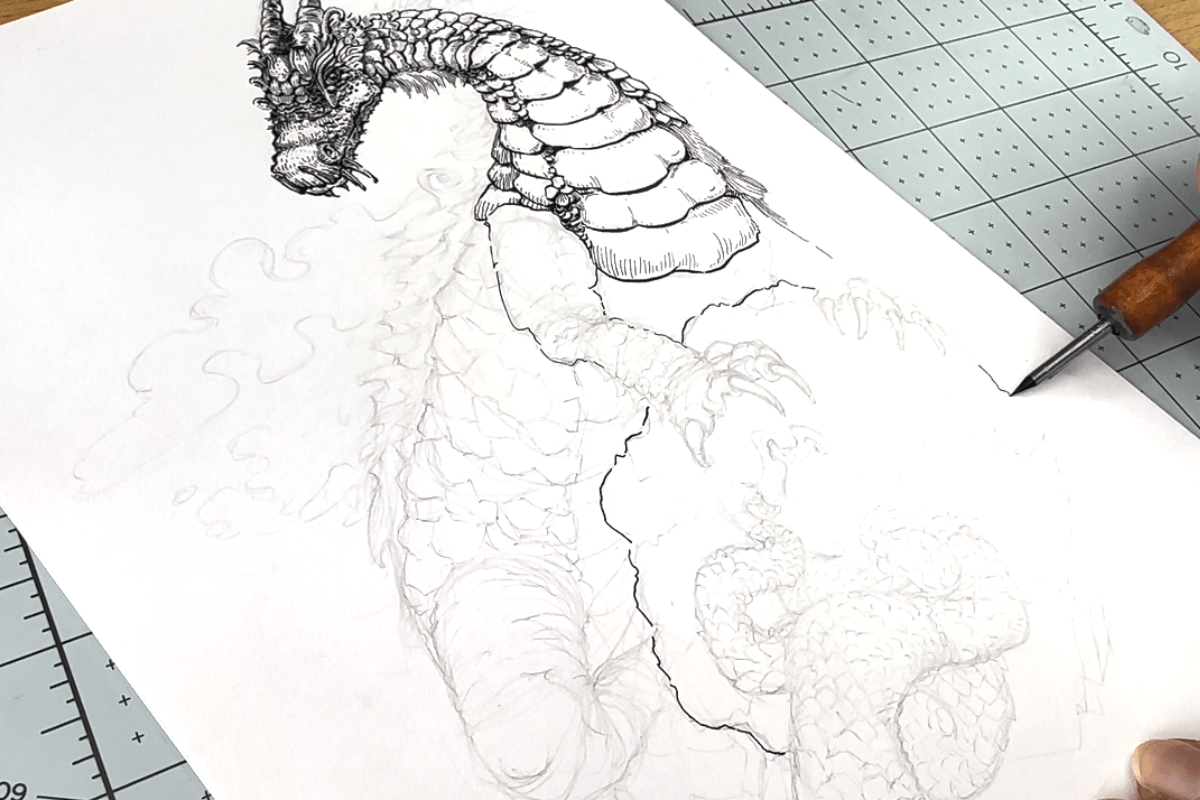
The underbelly of the dragon will be in a stronger area of shadow and I’ll emphasize this by adding more marks, and parallel lines that are close together following the form.
After five or six strokes I swirl the pen in water, wipe it clean, then reload with ink, dipping just below the eyelet. I repeat this process for the entire ink application to keep the nib in pristine working order.
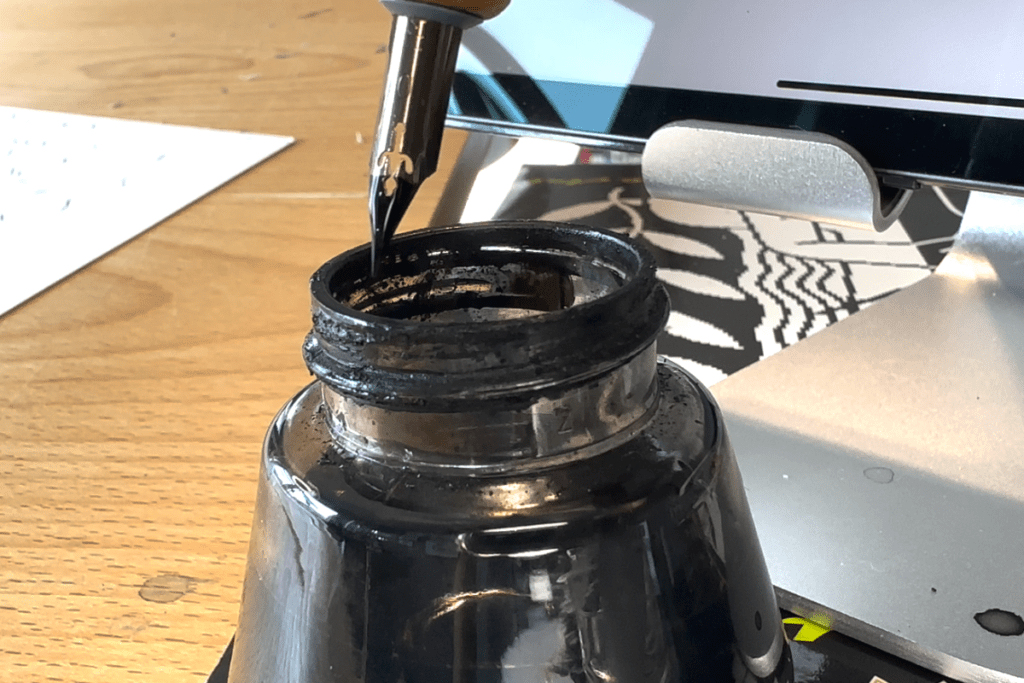
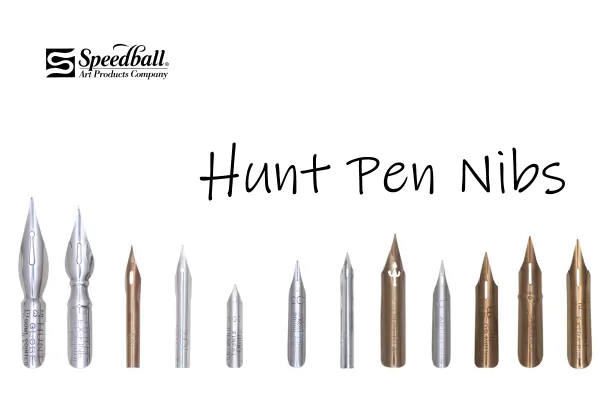
I use the Hunt 101 nib, for the larger elements of the illustration to cover more of the surface with marks.
The Hunt 101 nib gives a larger line than the soft Maru and is bigger, holding more ink.
The soft Maru and Hunt 101 nibs both have stiff points for precision, yet release ink with the slightest bit of pressure.
Alternately, a Hunt 102 crow quill is a smaller nib and works well for smaller details.
The release of ink gives thicker weight to the lines where contrast is needed. The thicker lines create a shadow effect and make it more obvious that the scales overlap each other.
I’m adding light pressure on the nib to create thicker lines, and tapering the lines as they come closer together at the tip of each feathery scale.
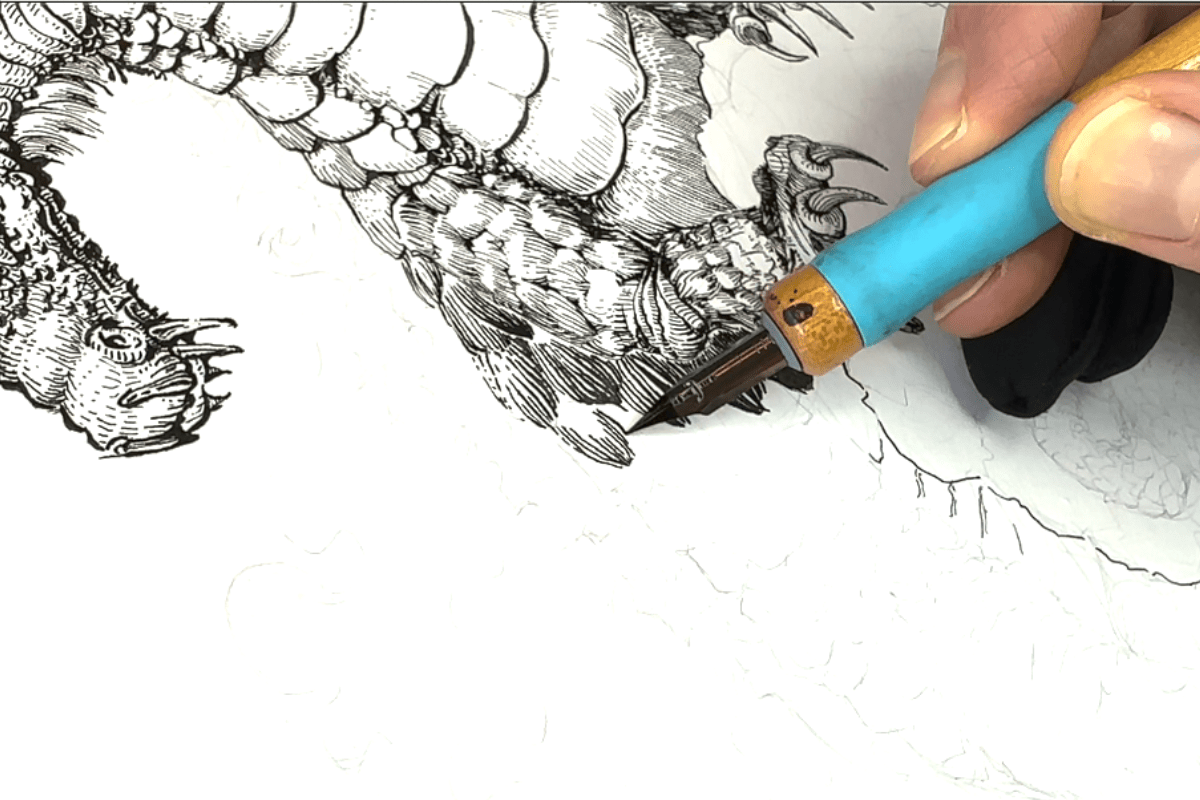
I read somewhere that some pre-historic creatures had feathers instead of scales, and I really liked the feather concept for Fàfnir.
One of the traps that I fall into sometimes is to get hyper-focused on shading each individual shape, but that runs the risk of sending the viewer into a chaos of details.
It’s important to invite the gaze to a focal point.
Therefore, I render each scale individually while also taking into account that each scale is part of a cluster of shapes. All together the clusters of shapes build a whole, an entire dragon.
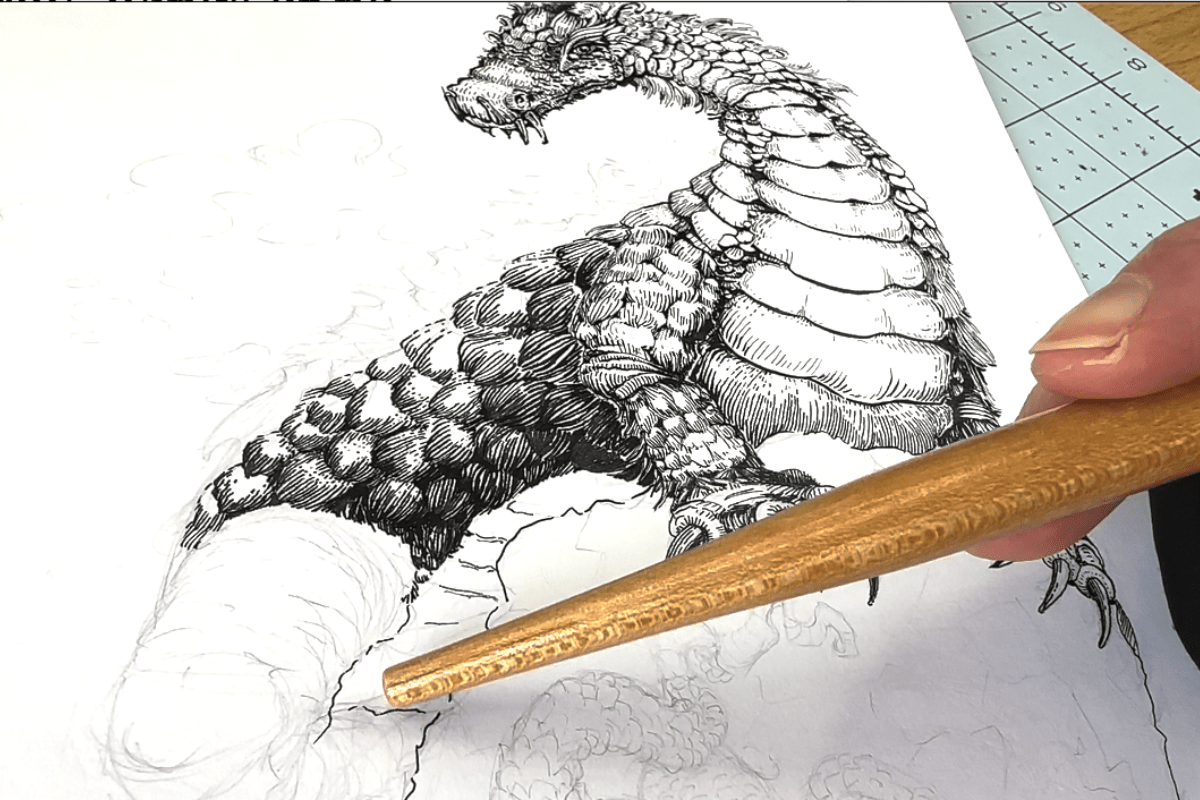
For the large scales of the underbelly, the line direction changes. I could use a brush for this section to cover the surface.
The downside of using a brush is that it can lead to solid black too soon.
I prefer, in this instance to build the textures gradually, despite being more time-consuming with my dip pen than with using a brush.
I’m aiming for a halo effect in the areas of higher contrast, it’s basically a subtle white line around darker values – a technique often used by comic artists.
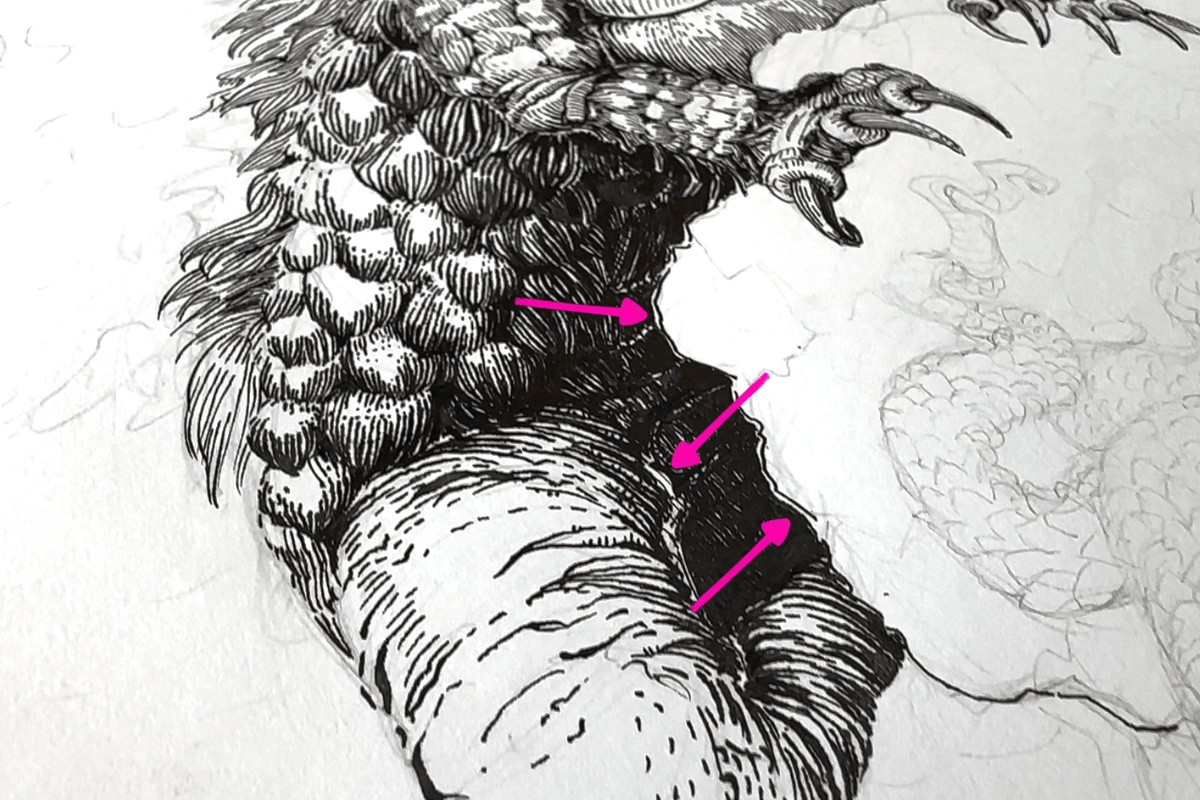
For the backside of the dragon, I use short curved dashes to create hair-like feathers.
I apply pressure on the nib to release more ink and thicken the lines where the feathers are raised and catch shadow.
For the tail section, I render a similar texture, line weights, and tones to maintain a continuous form for the whole shape. I use slightly darker tones where the tail folds unto itself and into shadow.
Making my way to the boulder, using short to long hatch marks to indicate rock texture. I think of the boulder as a mass of smaller rocks and shade those shapes accordingly.
I’m extra watchful for this section of the drawing to keep the strokes comparatively sparse, and tones uniformly grey so as to not detract from the main subject.
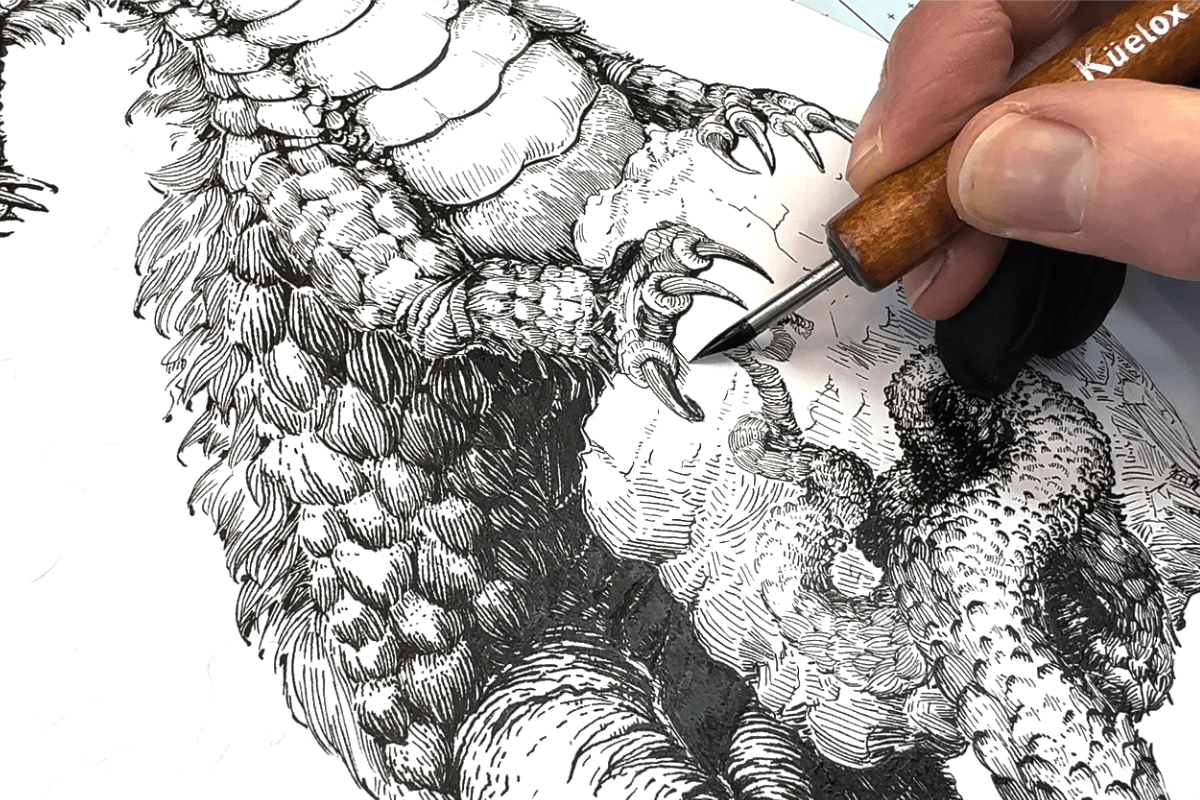
Now to the wispy bubble cloud in the background, again, keeping a subtle line treatment, to suggest that the cloud is farther away and serves as an element that anchors the overall composition.
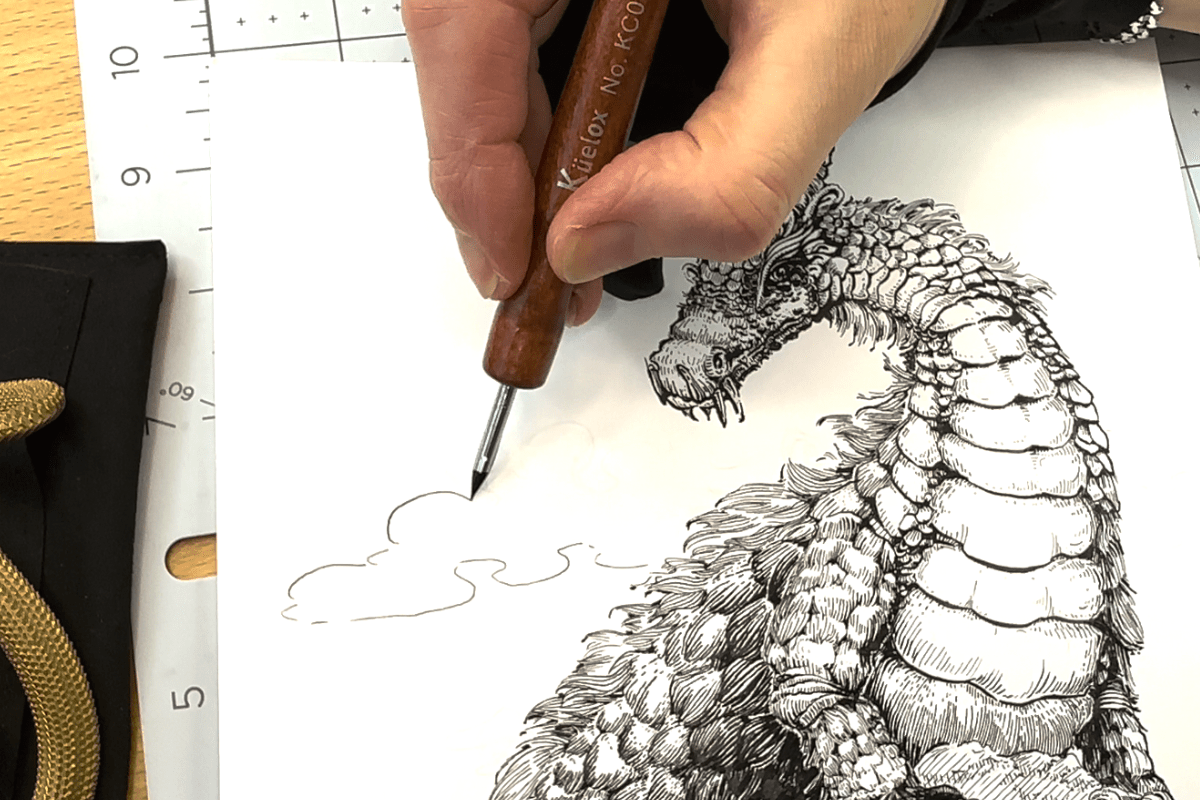
The last key step is to take a photo of the drawing and leave it overnight. Looking at a photo rather than a physical drawing sometimes offers a different perspective.
The next day with a fresh eye, I assess and correct the drawing.
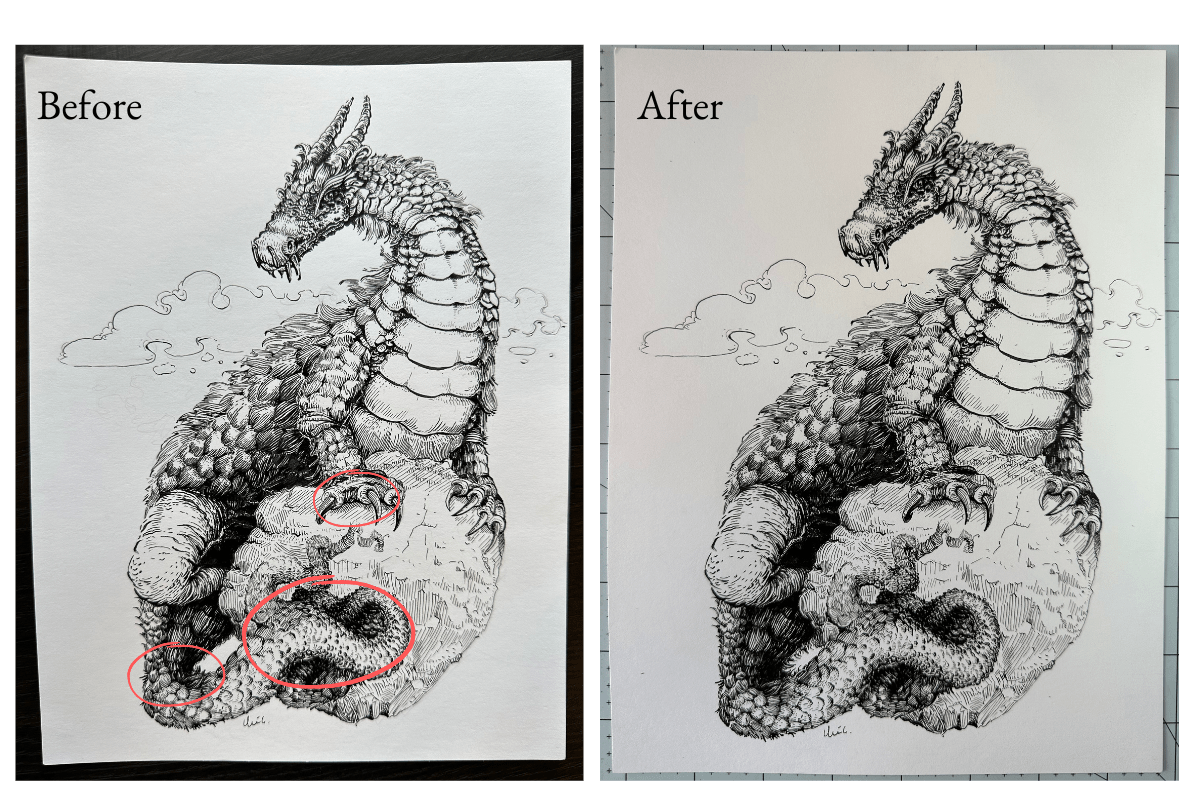
I corrected the illustration with a:
- more gradual gradation of greys on the forefront portion of the tail
- less abrupt contrast around the talons/claws
- less angular, more round tail where it kinks toward the boulder
And now our drawing of Fàfnir the dragon for this month’s art challenge is complete.

The process took six hours to complete, from start to finish, including the thumbnails, pencil underdrawing, and ink application.
I hope that you’re excited about participating in an art challenge. Let me know in the comments which art challenges you enjoy most and why.
Resources
➡ Smaugust drawing challenge blog post by Brush Warriors.
➡ My Art Challenges Pinterest board.
➡ Visit the Tools page to find more art supplies for pen and ink.
Want a template?
This easy-to-follow 10-page checklist guide has tips on how to prepare and complete monthly Art Challenges.
The principles can be applied to large-scale art endeavors and point you in the right direction for your next big project
List of art supplies, tools, and materials
Disclosure: Some of the links below are affiliate links and at no additional cost to you, I’ll earn a commission or reward. Know that I only recommend products I use and stand behind. For more information on the Affiliate Disclosure, visit the Terms Page.
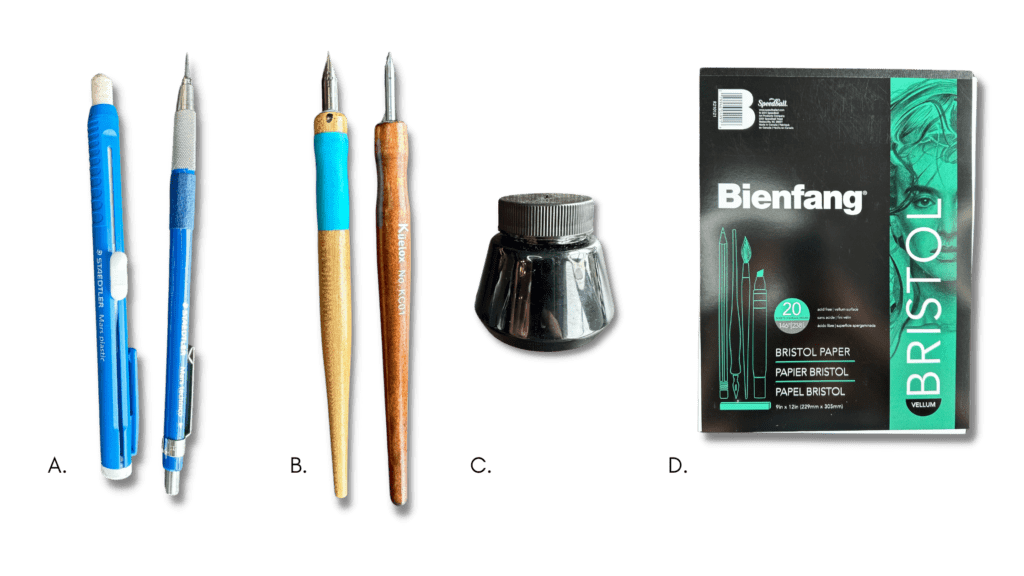
Tools, materials, and supplies I used for this dragon project:
- Staedtler Mars Lumograph Art Drawing Pencil set
- Staedtler Mars Technico lead holder with 2mm, H lead
- Staedtler Mars plastic eraser
- Staedtler Mars plastic stick eraser
- Faber-Castell Kneaded Eraser
- For pencil sketching, I use any value-priced paper. Strathmore 400 Sketch Fine Tooth is the higher-quality paper I use for inking my sketches with fine liners and markers.
- Pilot Futayaku double-sided brush pen
- For quality artwork using dip pens, I recommend Strathmore 300 Bristol Smooth or vellum finish
- Tachikawa soft Maru 77 – dip pen nib
- Speedball Hunt 101 Imperial – larger dip pen nib
- Tachikawa t-40 holder – for the nibs. Alternately I also use Speedball classic marbelized straight universal holder
- Speedball super black India ink
- Rendering in pen and ink by Arthur L. Guptill – I own the Kindle book edition.
➡ For more supplies and answers to frequently asked questions, visit the FAQ page.

