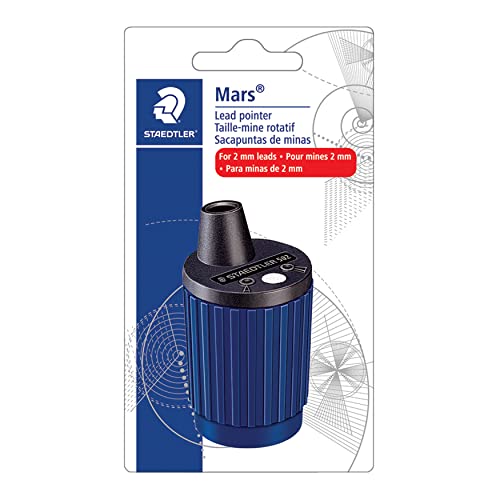
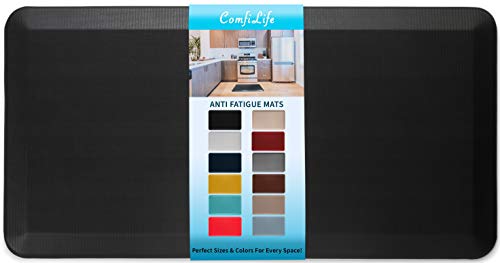
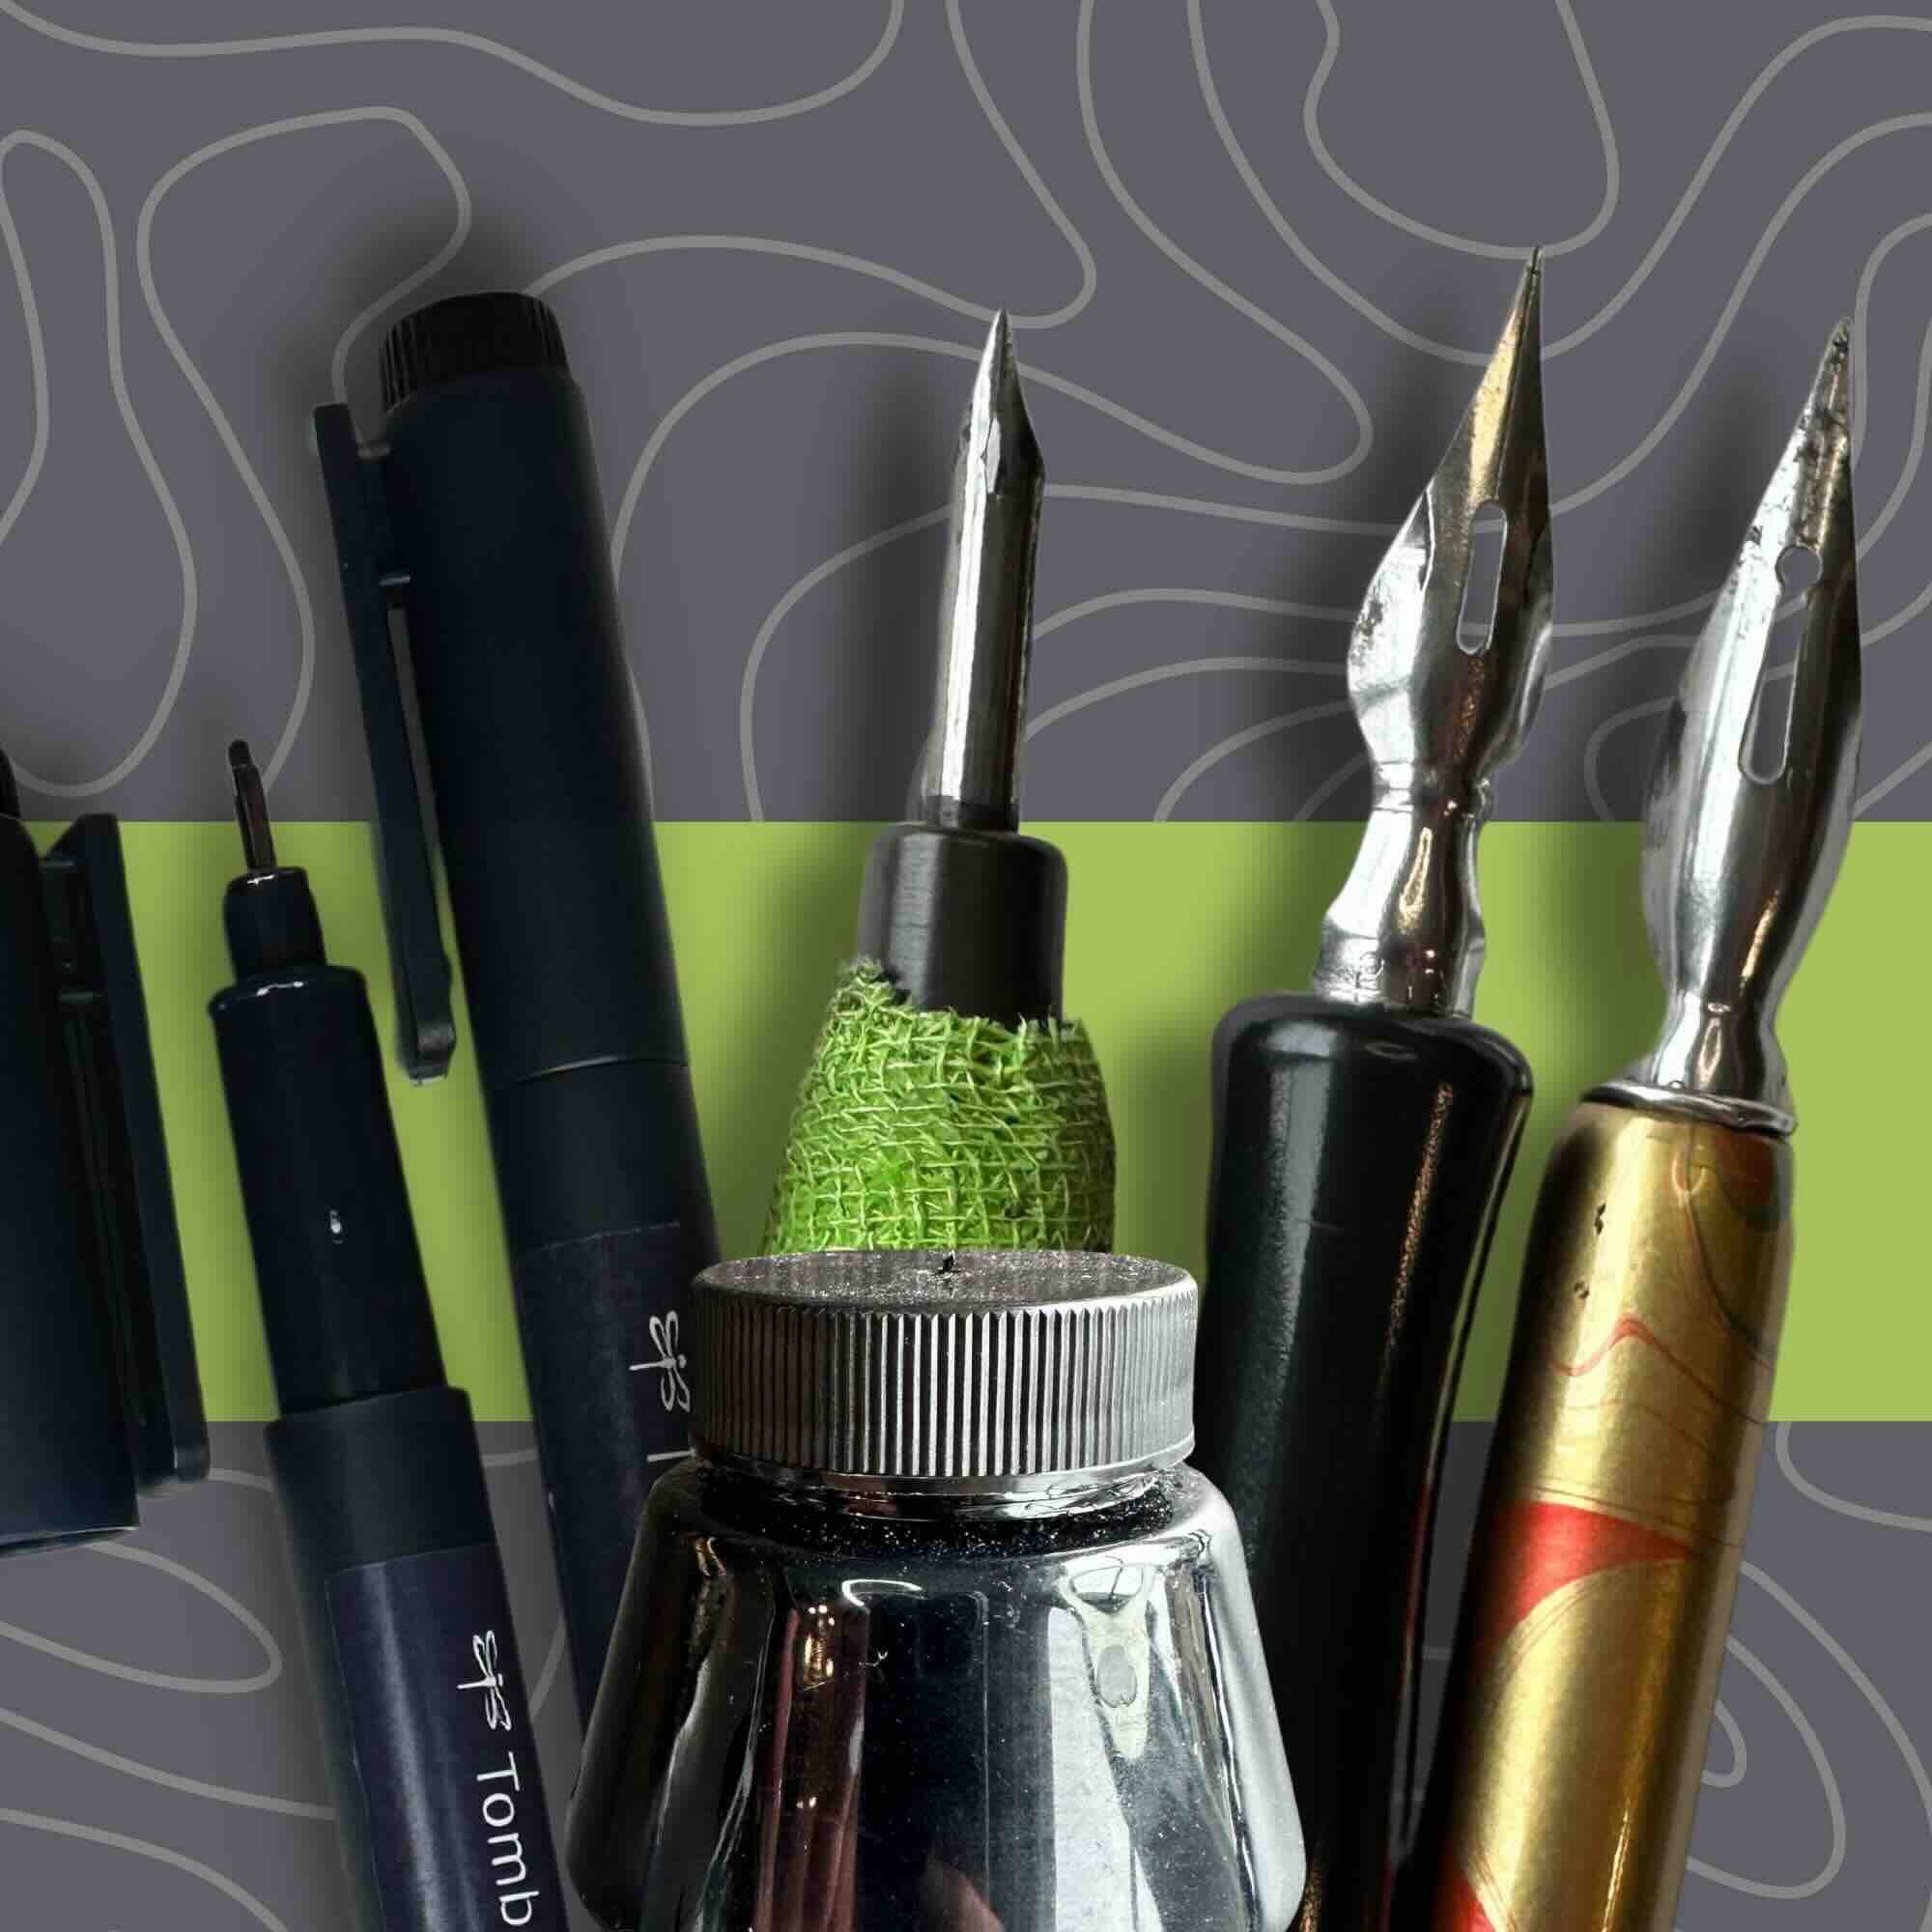
What you want for drawing with pen and ink

For beginners and seasoned hobbyists exploring resources and supplies.

Recommendations that you can trust

Save time

The resources and products are listed by stage of your project.

Save money

This list helps take the guesswork out and informs your purchase decisions.

Save effort

Beginning a course or experimenting? Easily build your starter kit from this list.

Not sure where to shop? Most of the items are linked directly to sources or merchants.
Find additional suggestions on the FAQ page to aid with your search.

Stages-of-a-pen-and-ink-project

How to choose inking supplies

You’ll be more confident with your ink application if you know how to plan your projects. Five key stages of planning enable success. Part of the planning process is to determine what tools you’ll need at each of those stages. The stages are:

  1. Research
  2. Thumbnails
  3. Subject study
  4. Pencil underdrawing
  5. Ink application

Are you winging it?

If you’d like to build your pen and ink fundamentals or create a system for your practice, read this article on how to customize a learning plan:

Five-stages-to-inking-art

Disclosure: Some of the links on this page are affiliate links. I earn a reward or small commission when you use those links at no cost to you. Read more about the Affiliate Disclosure on the Terms page.

Essential resources to jumpstart your pen and ink projects

Stage 1 – Research

My top pick for pen and ink books:

Each resource offers similar content for developing techniques, selecting materials, and practicing exercises.

Arthur L. Guptill’s book is quite comprehensive with 300 illustrations from famous masters. The instructional tone is a bit dated however the information is still relevant today. Frank Lohan’s book was written in the same era. It also outlines useful step-by-steps but the rendering quality is comparatively less impressive than Gutptill’s. Alphonso Dunn’s book is modern and although intended to be purchased with its companion workbook, is fine as a standalone resource.

If I could keep only one book, it would be Guptill’s because it’s a classic.

Where to find good references:

Core supplies for doodling, sketching, and exercises

Stages 2 Thumbnails and
Stage 3 Subject studies

For sketching thumbnails and doing exercises, I use medium-soft graphite pencils (HB, B, 2B) on fine-toothed paper. I prefer a smooth paper to a rough porous surface. The smoother texture is gentler for fineliner pens and markers which gives the option to practice ink strokes directly on top of pencil doodles or practice sketches.

Tombow-water-based-pens

Vellum paper is perfect for tracing over sketches to explore linework options. I also trace masterworks as studies and typically use fineliner pens at those stages of the process. My go-to liners are the Tombow water-based pens because their tip is softer than competing brands. A softer tip simulates the feeling of a dip pen for creating line-weight variety with one stroke. My next choice is Staedtler Pigment Liners.

Get the results you want

Adopt a planful approach to pen and ink, and you’ll be better equipped to execute your ideas. Curious to see examples of finished illustrations?

See the products in action plus other quirks.

Materials to prepare your finished drawing

Stages 4 – Pencil underdrawing

Paper selection is critical for the best outcomes inking your final artwork. Bristol or cold press papers are preferred if using liquid ink. If inking with pens use a paper labelled for “pen and ink” or “markers”.

For beginners, I recommend a Bristol vellum finish because the tooth provides stability and is more forgiving. Advanced inkers tend to opt for a Bristol smooth finish.

I like the Moleskine Arts sketchbooks for experimenting with mixed media (wet and dry). For a more robust toothy version, I use my Handbook Journal series made by Speedball Art.

It’s important to have a clean inking surface. To keep graphite residue to a minimum, I use a 2mm mechanical pencil with a sharp H or 2H lead and a kneaded eraser to lift marks without smearing the paper surface.

Tools for inking your final project

Stages 5 – Ink application

Speedball super black India ink is pigment-based and my top choice for drawing. It has a balance of viscosity and drying time that works well with dip pens and brushes.

To make the best selection of dip pens for your project, level, and style, read my dip pen guide. If I could keep only one dip pen, I would pair a Tachikawa t-40 pen holder with a Speedball Hunt 512 bowl nib. The bowl nib is one of the most versatile, beginner-friendly nibs.

For filling solid blacks and thick line weights, I use a watercolor brush with pigment-based India ink. My favorite is the Winsor & Newton Series 7 Kolinsky Sable Brush 02. If you’d prefer a brush pen, look for refillable brands such as the Pentel Arts Portable Pocket brush pen.

To see the complete list of the supplies I use for pen and ink projects, visit the FAQ page.

Create your best work

Home art studio – Ideas to organize your space

The ideal home art studio setup allows you to easily adjust your equipment so that you can draw from various angles and positions. Avoid wasting time looking for your stuff by having accessible organizers and storage.

Top tip: standing on an anti-fatigue mat and using proper lighting have positively impacted my creative stamina.

Selling your art from a website or at conventions? See my recommendations for display and packaging supplies in the article: An Illustrator’s Guide to Artist Alley.

Dream Art Studio

Find more inspiration for your ideal setup on my Pinterest Board.

Longstride Illustration Pen Holder
Made by Coppertist.wu – Looks great and keeps your pen from rolling off the drafting table. Get a 15% discount on your brass snake pen holder using code ‘Gendron15′.
Shopping Cart
Scroll to Top