
How to transform pen and ink skills
In this article, I share ten tips that you can easily apply to your art routine.
These helped me transform my pen and ink skills from sporadic results to seeing consistent progress.
Disclosure: Some of the links on this page are affiliate links. I earn a small commission when you use those links at no cost to you. You can read more about the Affiliate Disclosure on the Terms page.
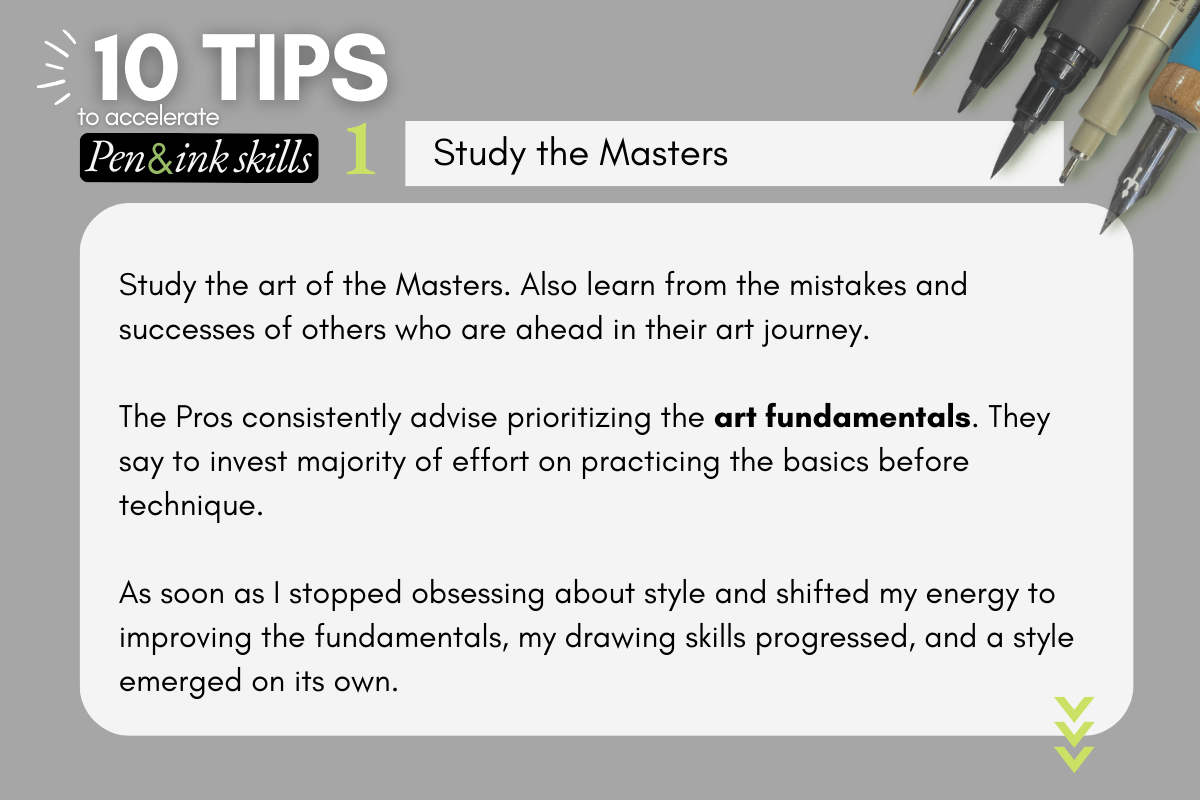
I. Learn from the masters
A master artist is someone who is considered to have reached a high level in their art practice.
A master study is to observe and reproduce their work to learn from their decisions.
At first, I found it more inspiring to study artists with aesthetics that I wished to emulate in my work.
After a time, I broadened the spectrum of whom to study because I found beneficial nuggets of learning from styles different from mine.
The artists you choose to study can range from legends of the past or ink heroes of today.
Learn from the mistakes and successes of others who are ahead in their art journey.
Below are my current top picks for pen and ink masters to study:
Bernie Wrightson, Franklin Booth, Kentaro Miura, Gustave Doré, Virgil Finlay, Mœbius, Arthur Adams, Joseph Clement Coll, Albrecht Dürer, Charles D. Gibson, Mike Mignola, Grzegorz Rosiński, Will Eisner, Takehiko Inoue, Aaron Horkey, Karl Kopinski, Katsuya Terada, Maurits C. Escher, Barry W. Smith, Sergio Toppi, Shin-ichi Sakamoto, Phillip Harris, Luke Eidenschink and so many more.
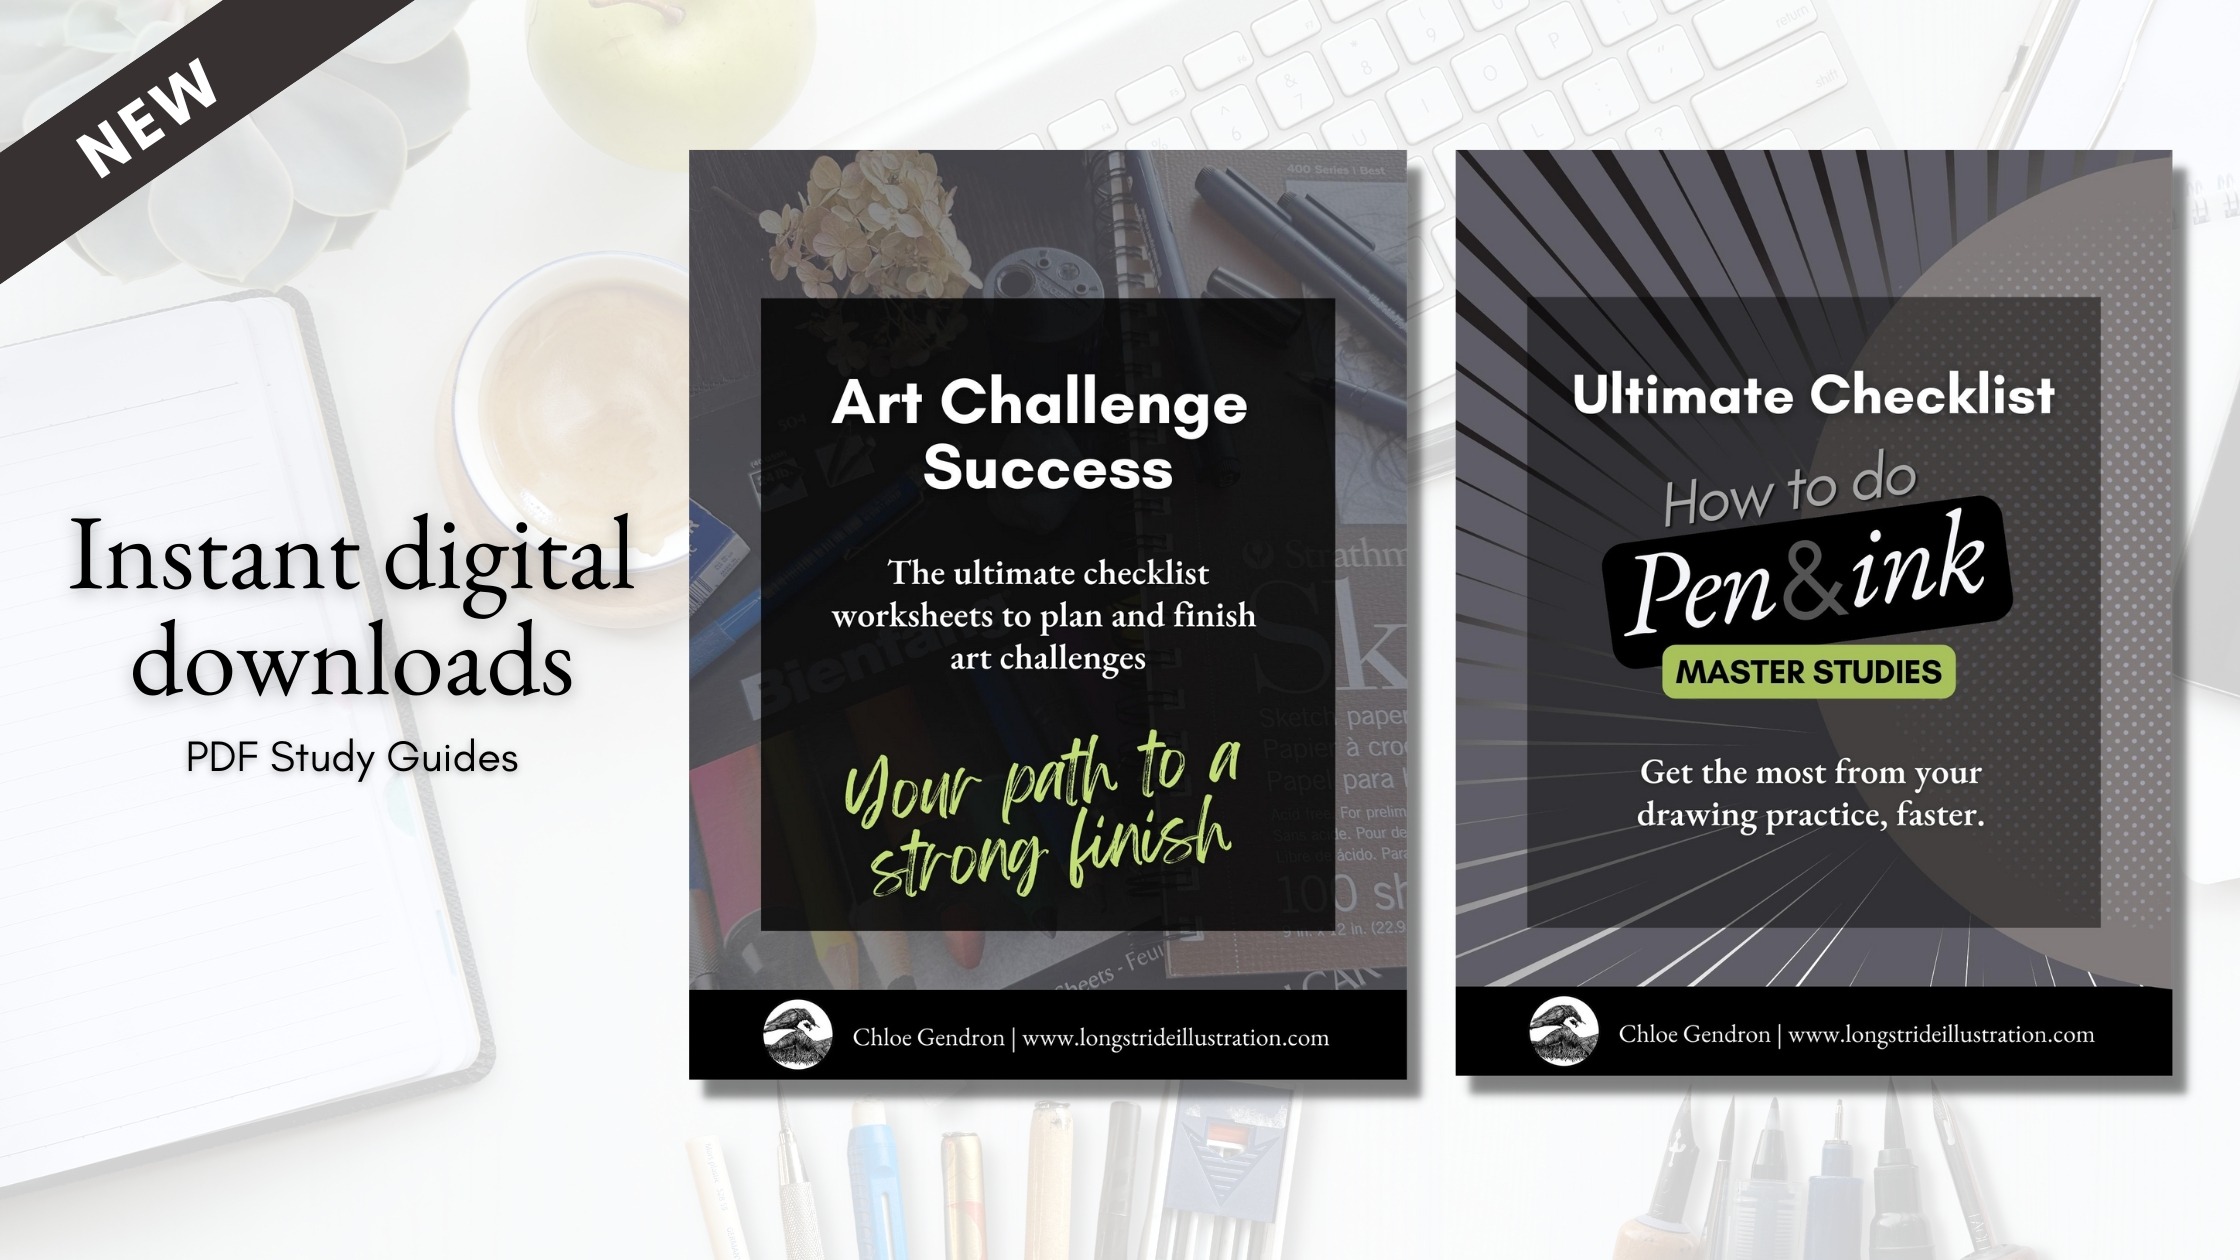
📚 Get the most from your Master Studies for pen and ink with this step-by-step guide.
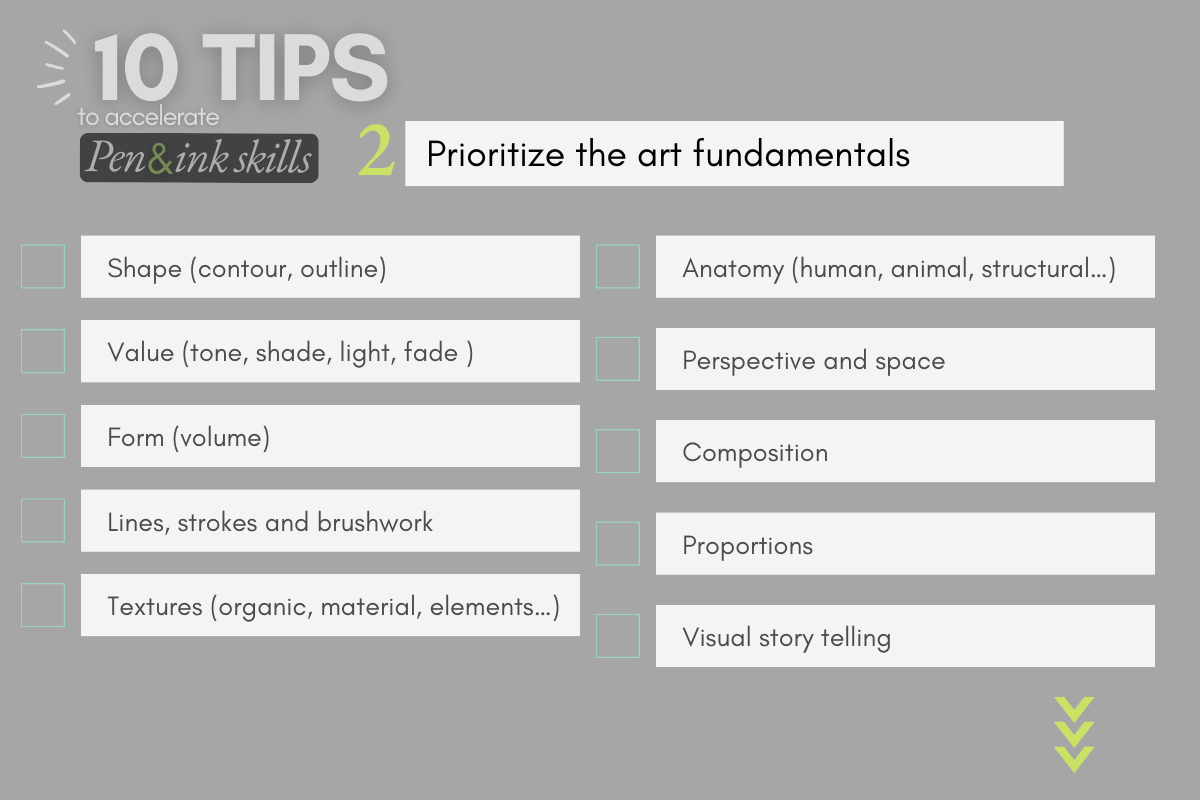
II. Prioritize the fundamentals
Pro illustrators and social media creators alike will give similar advice for growing our art skills, which is to prioritize the fundamentals.
They say to invest the majority of efforts in practicing the basics before technique.
As soon as I stopped obsessing about “finding my art style” and shifted my energy to improving the fundamentals, my drawing skills progressed.
As predicted, a style emerged on its own.
📚 Don’t know what to practice? Build your inking confidence with these exercises.
III. Have a learning plan
To develop my knowledge of the fundamentals, I wondered what courses to take.
At first, I took online tutorials that were either related to ink mediums or seemed exciting to me.
Progress was sporadic because I had no direction for how to develop skills. I dabbled in this or that.
It wasn’t until I had a learning plan that things began to change.
Steps to building a learning plan:
- Determine your desired outcomes (goals)
- Assess your current skills & knowledge (critique)
- Establish steps to bridge those gaps (learning activities)
- For example, let’s assess my first raven drawing.
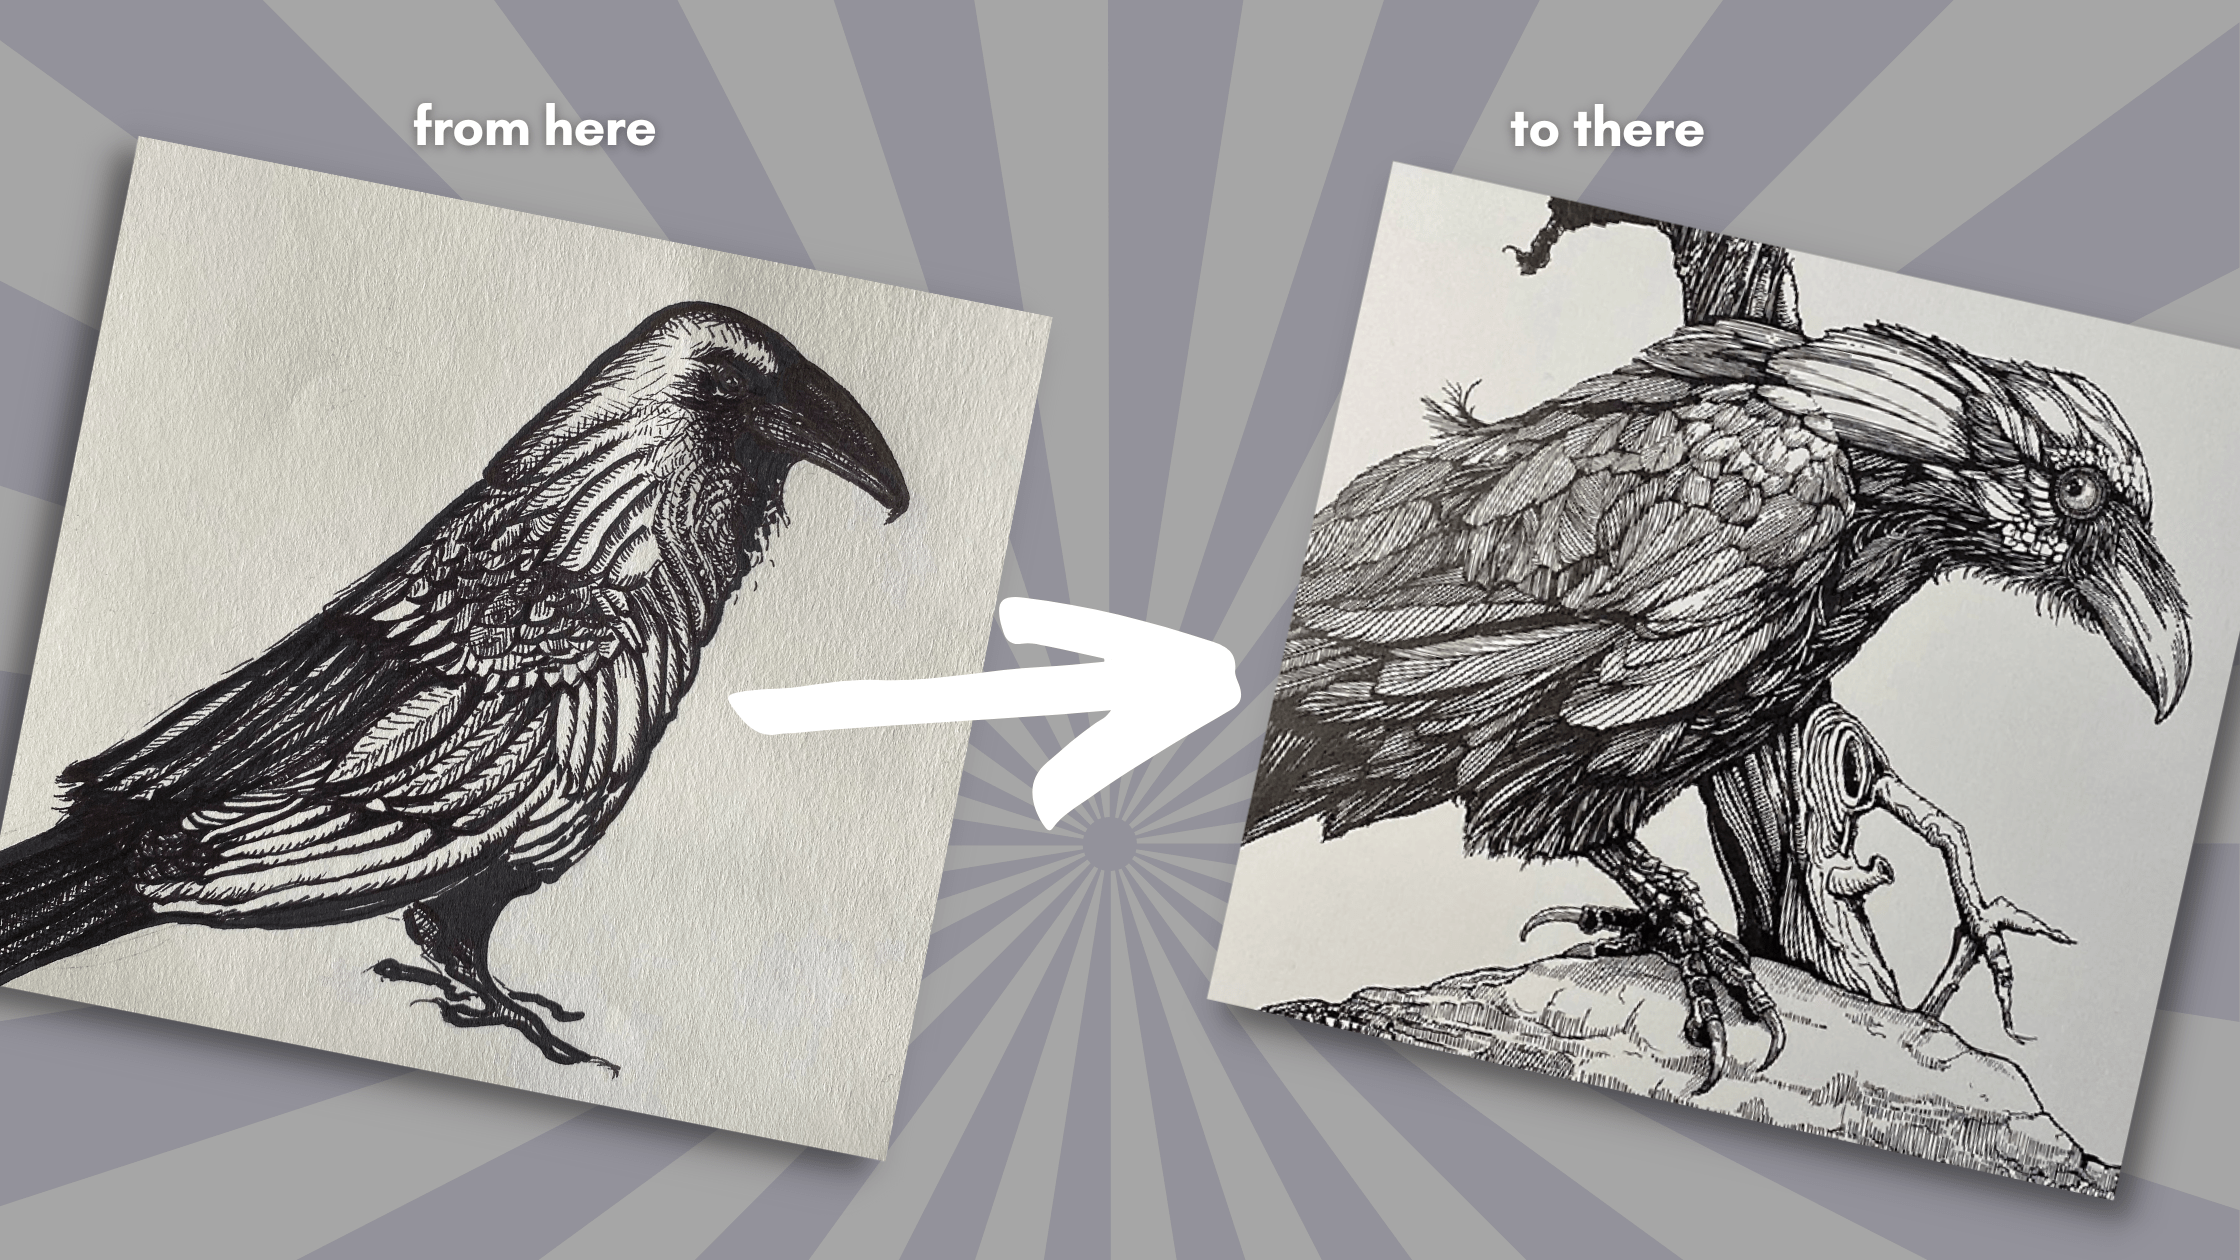
Without even needing to compare my artwork to a particular master’s work, in the image of my first raven, below you can see:
- The shape looks flat.
- My linework is timid and tentative.
- The form lacks volume.
From that quick self-assessment, I had enough information to build a rough learning plan.
This plan had three steps:
- Seek learning resources that focus on shape and form
- Practice exercises that target line work technique to build volume
- Apply new knowledge immediately to my pen and ink projects
📚 Read more about how to create your learning plan.
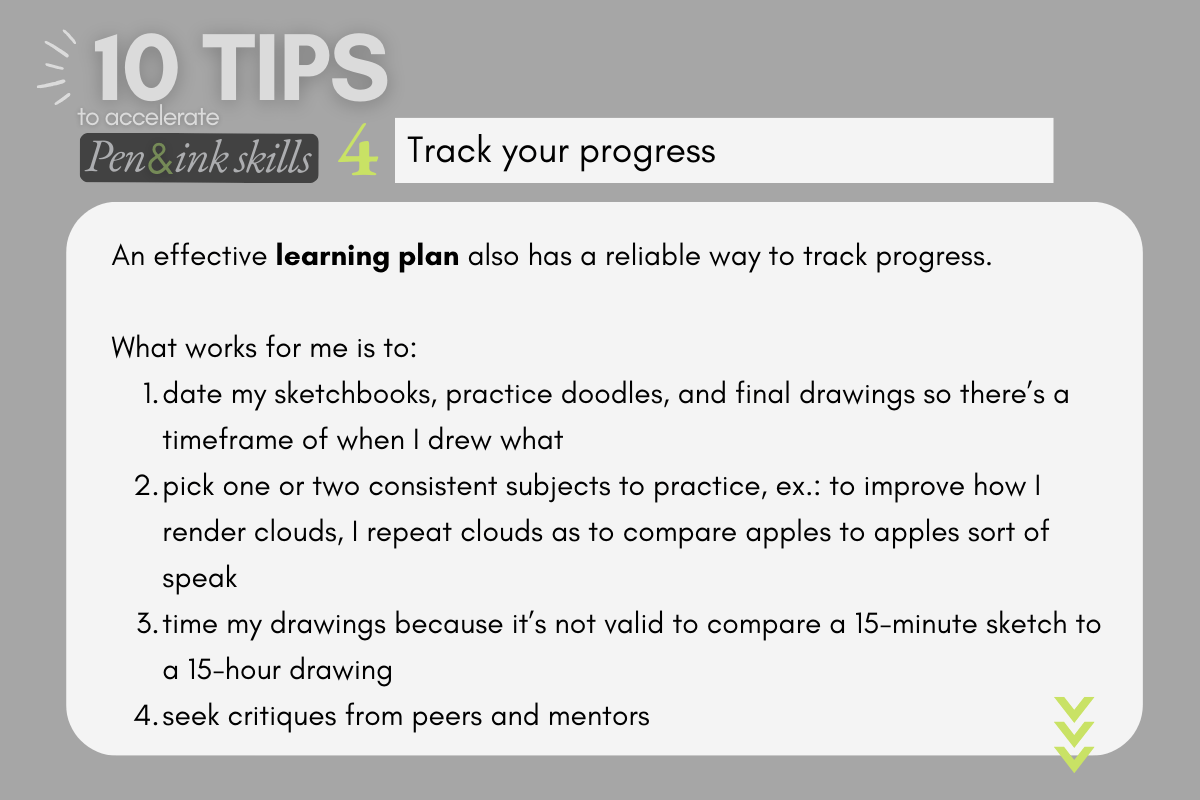
IV. Track your progress
For skills and knowledge development to be consistent, we need a reliable way to track our progress.
What worked well for me:
| Tracking method | Purpose |
| Write down the date (day, month, year) on doodles, sketches, drawings, and final artwork | To keep a chronological record, and for factual analysis – were there periods with more/less growth and why? Was growth steady, exponential, or up/down? |
| Limiting subjects to practice at a time – for example, if I practice rendering feathers only over the span of 2-6 weeks | To compare “apples to apples” with one subject |
| Using a timer when I draw | To compare “apples to apples” under similar constraints (compare a 30-minute sketch against another 30-minute sketch) |
| Inviting critique from peers and mentors | Others might see things that you do not and provide insights from a different perspective |

V. Targeted exercises
My desired outcome, my end goal, was to improve my old raven line drawing.
Earlier, we established that:
- I needed lessons/resources;
- the lessons were to focus on the fundamentals, particularly shape, and form; and
- a reliable way to track my progress would be built into my process.
With the end goal in mind, it becomes easier to know which exercises to practice.
For my raven, I practiced:
Other examples:
| Area for improvement | Key fundamental | Target exercise |
| Buildings | Perspective, structure | Horizon lines, vanishing points |
| Characters | Anatomy, proportions | Figure drawing poses, gestures |

📚 Sketching references: Line of Action (poses) and AllAboutBirds (birds)
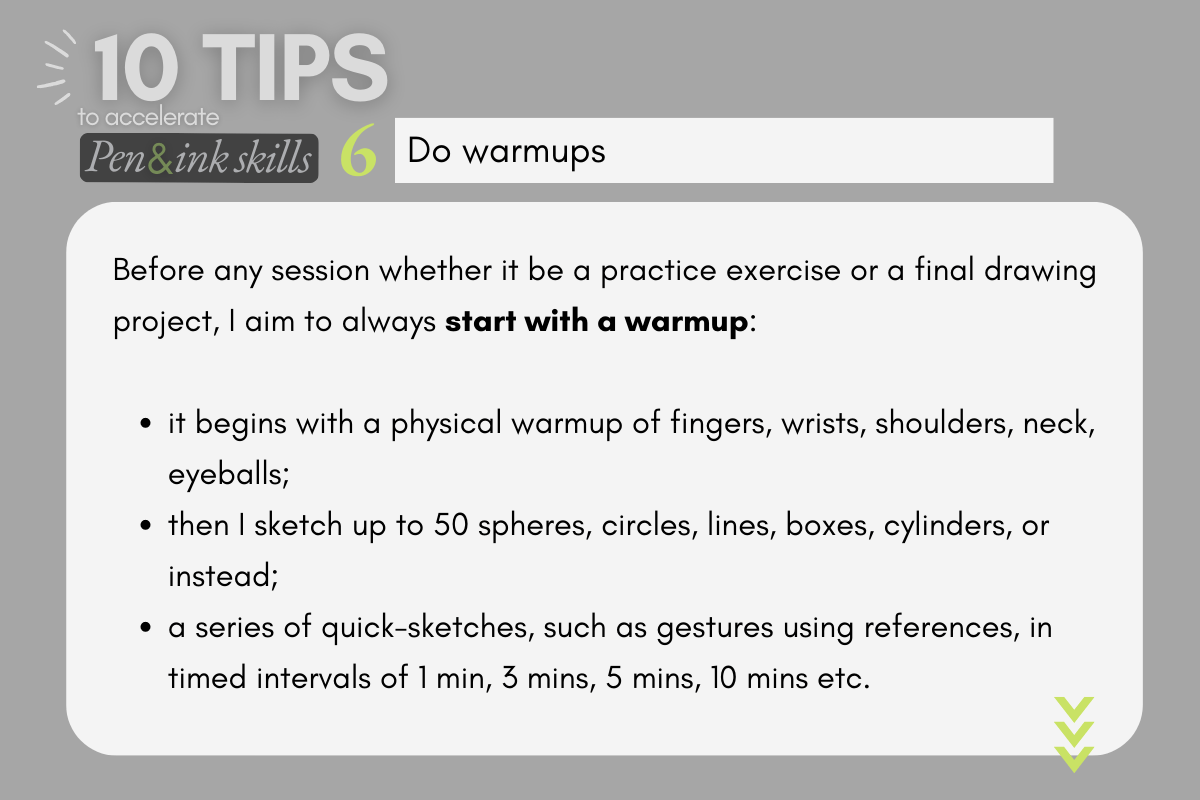
VI. Warmups
I attribute 60% of my linework improvements to being consistent with warmup exercises.
This begins with an actual physical warmup of fingers, wrists, shoulders, neck, and eyeballs.
Then I follow up with a series of basic exercises such as:
- Spheres, cylinders, boxes
- Straight and curved hatches
- Quick sketches (1 min, 3mins, 5 mins, 10 mins)
- Boxes in space
- Gesture drawings, timed poses
- Shading techniques

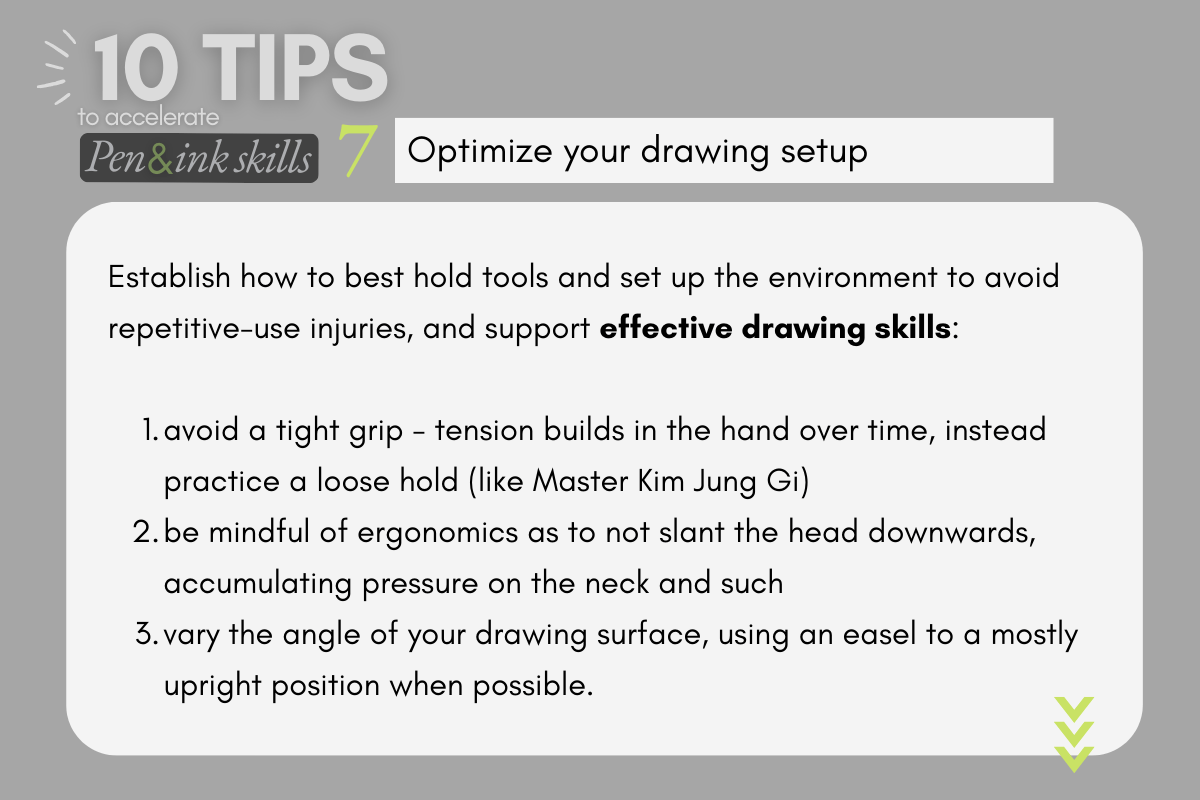
VII. Tools and setup
Do you know how to hold your tools to avoid repetitive-use injuries?
What about setting up your workspace to reduce fatigue?
As a beginner, I was fond of what is called the tripod grip.
The tripod grip builds tension in the hand. It was also limiting the range of movement required to progress with my drawing skills.
After observing pros in action, such as Master Kim Jung Gi, I gradually switched my hold.
I loosened the grip and moved my hand about halfway up the pen. This freed me to access my shoulder and arm for drawing instead of being restricted to my wrist and fingers.
There are situations, such as for drawing small details, where the tripod hold remains appropriate. But I no longer experience hand and wrist pain.
The angle of your drawing board can affect your well-being and motivation to practice.

I vary my stance from sit to stand throughout the day.
I paired my Effy stand-up desk (L-shaped 71×71 inches) with a tabletop adjustable easel.
The easel adjusts from flat to an 80 degree angle.
This puts my body in a more upright position, less prone to slouching and craning my neck over the drawing board.
I placed my table as close to the window as possible to get the most out of natural light.
An anti-fatigue floor mat and a swing arm magnifying lamp also made a difference in both comfort and stamina.
📚 It’s easier than you think to build your dream setup. See home art-studio ideas on my Pinterest Board.
VIII. Workflow
Being efficient as an artist is not an aptitude reserved only for those working in a high-paced industry.
Anyone who aims to maximize their time and energy towards an activity that they value can be empowered by being more efficient.
Once you have:
- clear goals
- a learning plan
- targeted exercises
- means to track your progress
- a warmup routine
- a productive workspace …
… then incorporating a workflow to sustain your forward momentum is simple to carry out.
A workflow is a sequential process or an effective routine that keeps you organized so that you can focus more on your art and less on disruptive tasks.
🎬 Here are four great resources from other artists:
- How An Artist Avoids Procrastination by Dan Beardshaw
- How I Schedule My Week as A Small Creative Business by Mimimoo Illustration
- Ali Abdaal talks about how he uses Notion, a productivity App, in his Creative Workflow.
- The Power of Habit is a life-altering book. If you’ve not read it, watch this WISDOM FOR LIFE animated summary.
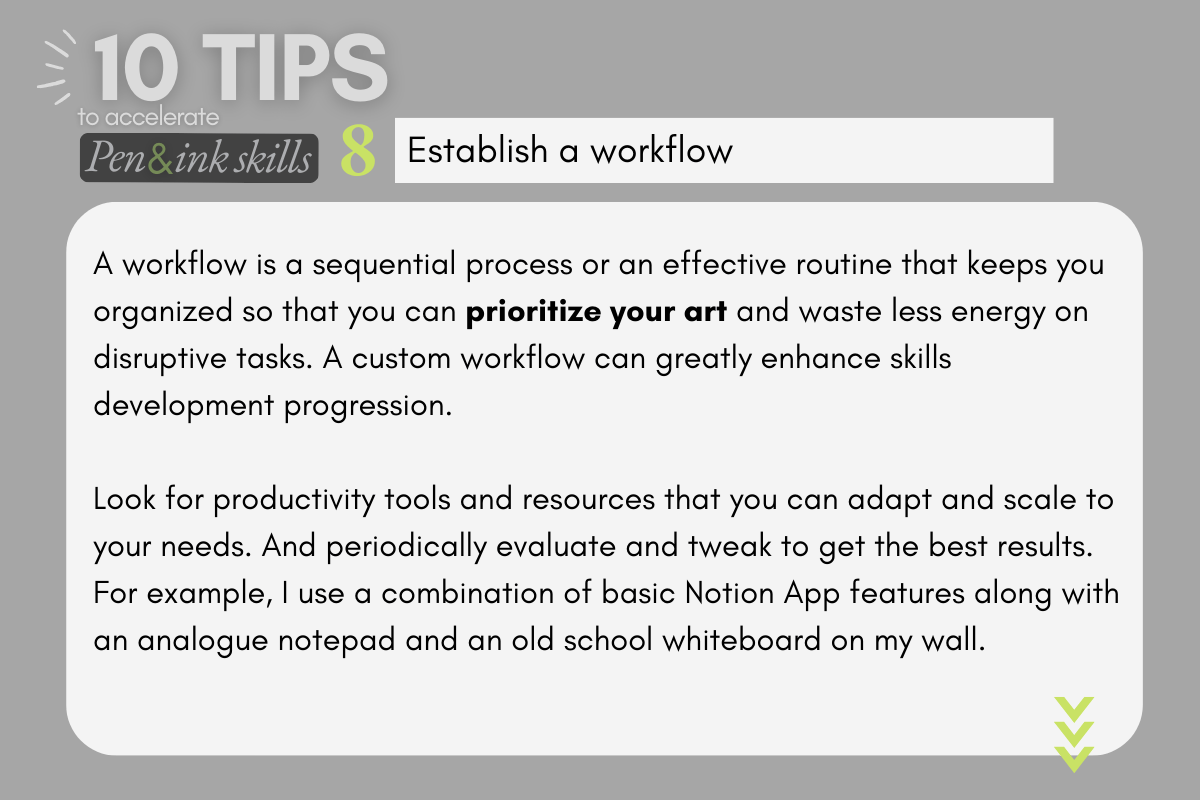
And once you have a workflow, it gets easier to be consistent.
IX. Consistency
I committed to drawing 5-6 days a week and I’ve been able to stick to it since October of 2021.
There are days when I only have 15 minutes. I make the most of those minutes by being prepared.
No time is wasted searching for ideas of what to draw.

I maintain folders and favourite sites with:
- references
- mood boards
- Pinterest boards
- exercises
- concepts
- prompts
📚 Find royalty-free image references on Pixabay and Unsplash. For more drawing prompt ideas, I participate in art challenges.
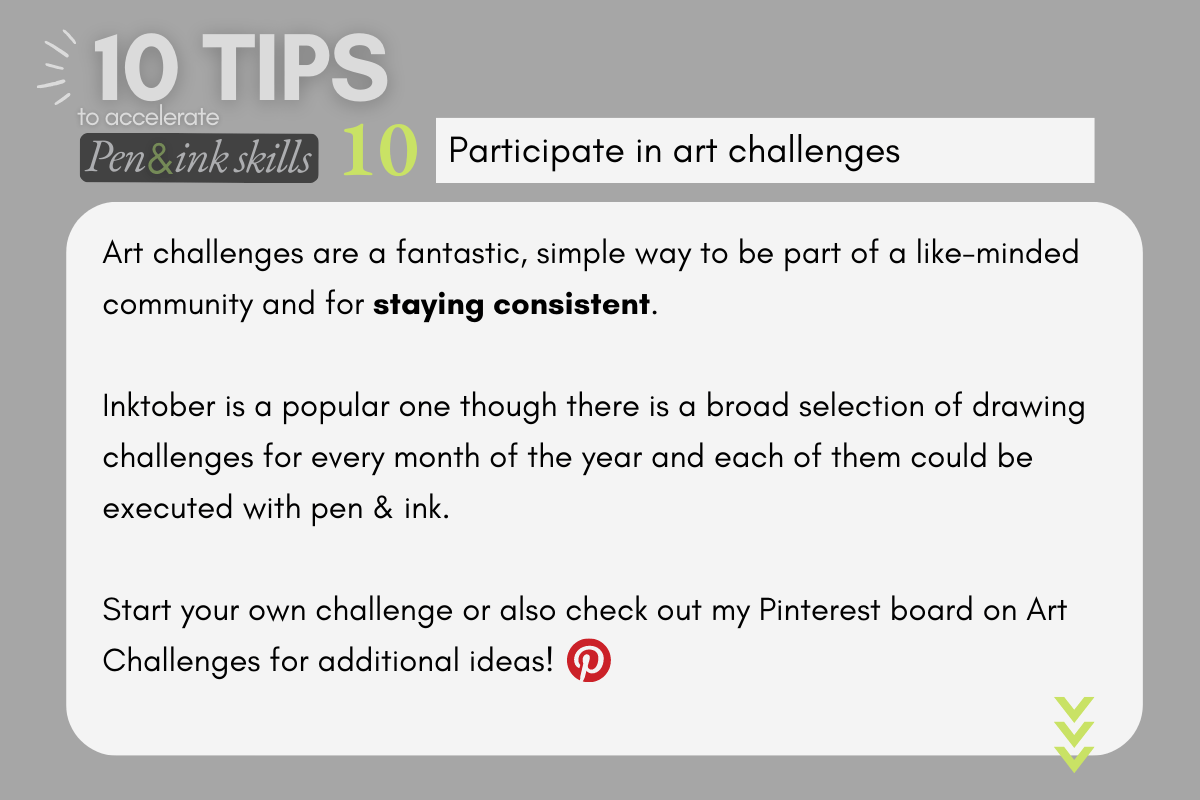
X. Art challenges
Art challenges are a fantastic, simple way to be part of a like-minded community and to stay accountable.
It was thanks to participating in the daily challenge of Inktober in October that I developed habits for staying more consistent.
There is no shortage of art challenges for every day or month of the year to intrigue any genre, plus all of the challenges can be executed with pen and ink (yay!).
📚 Read this guide for tips on how to have a successful Inktober.
📚 Visit my Pinterest Board on Drawing Challenges for prompts on various topics to draw.
Those are the 10 Tips that helped accelerate my pen and ink drawing skills.
I’d love to read your comments and which of the tips you have or will try.
Resources
🎨 Visit the FAQ page to find answers to frequently asked questions as well as a full list of the tools, materials, and supplies I use in my studio.

I love your tips and lessons
I’m so glad that you are enjoying the tips and lessons, Marcos, thank you, and all the best with your pen and ink projects!
hi Chloe..
love your youtube and blog articles.
you mentioned studing the masters and you provided a very comprehensive list…. but if you had to pick one book for a newcomer.. what would it be.. please respond as i purchased all my supplies but need to do a bit of reading first.. dilllaura12@gmail.com appreciate your support!
hi Laura, I recommend “Rendering in pen and ink” by Arthur L. Guptill