When I began my art journey, aside from an awesome learning plan, what most helped grow my skills was having a workflow for my pen and ink drawing projects.
A workflow ensures that you complete your projects, from idea to final artwork.
This workflow is also a process that provides a structure so that your inking projects turn out the way you want. Laying ink to paper is a commitment like no other medium.
//DISCLOSURE: I earn a small commission when you use my affiliate links to make a purchase. Read more about my affiliate partnerships in the Terms.
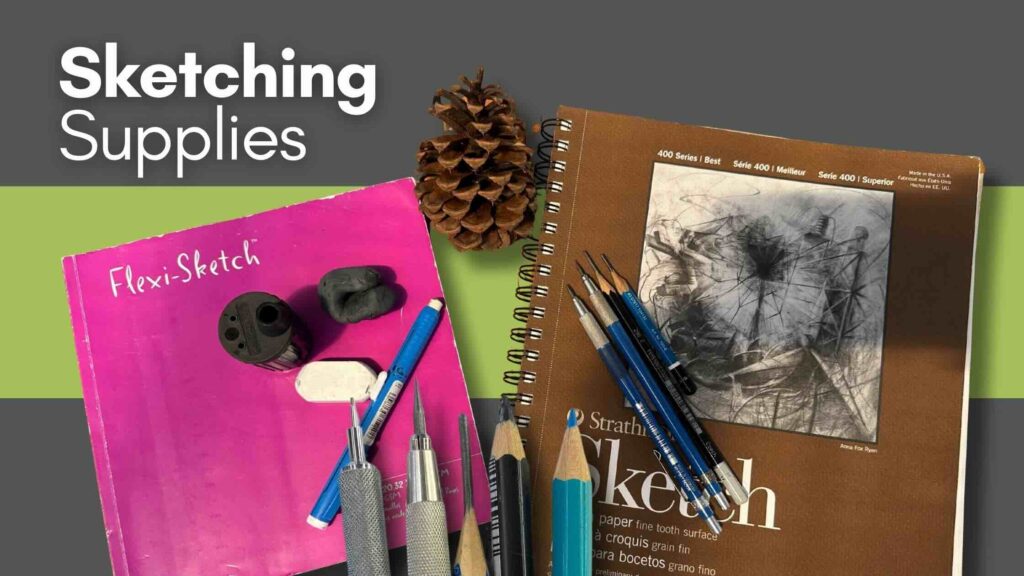
Tools, supplies, and resources
for sketching, drawing, and researching your pen and ink drawing projects.
📖 Learn more about the habits that helped me the most for making progress.
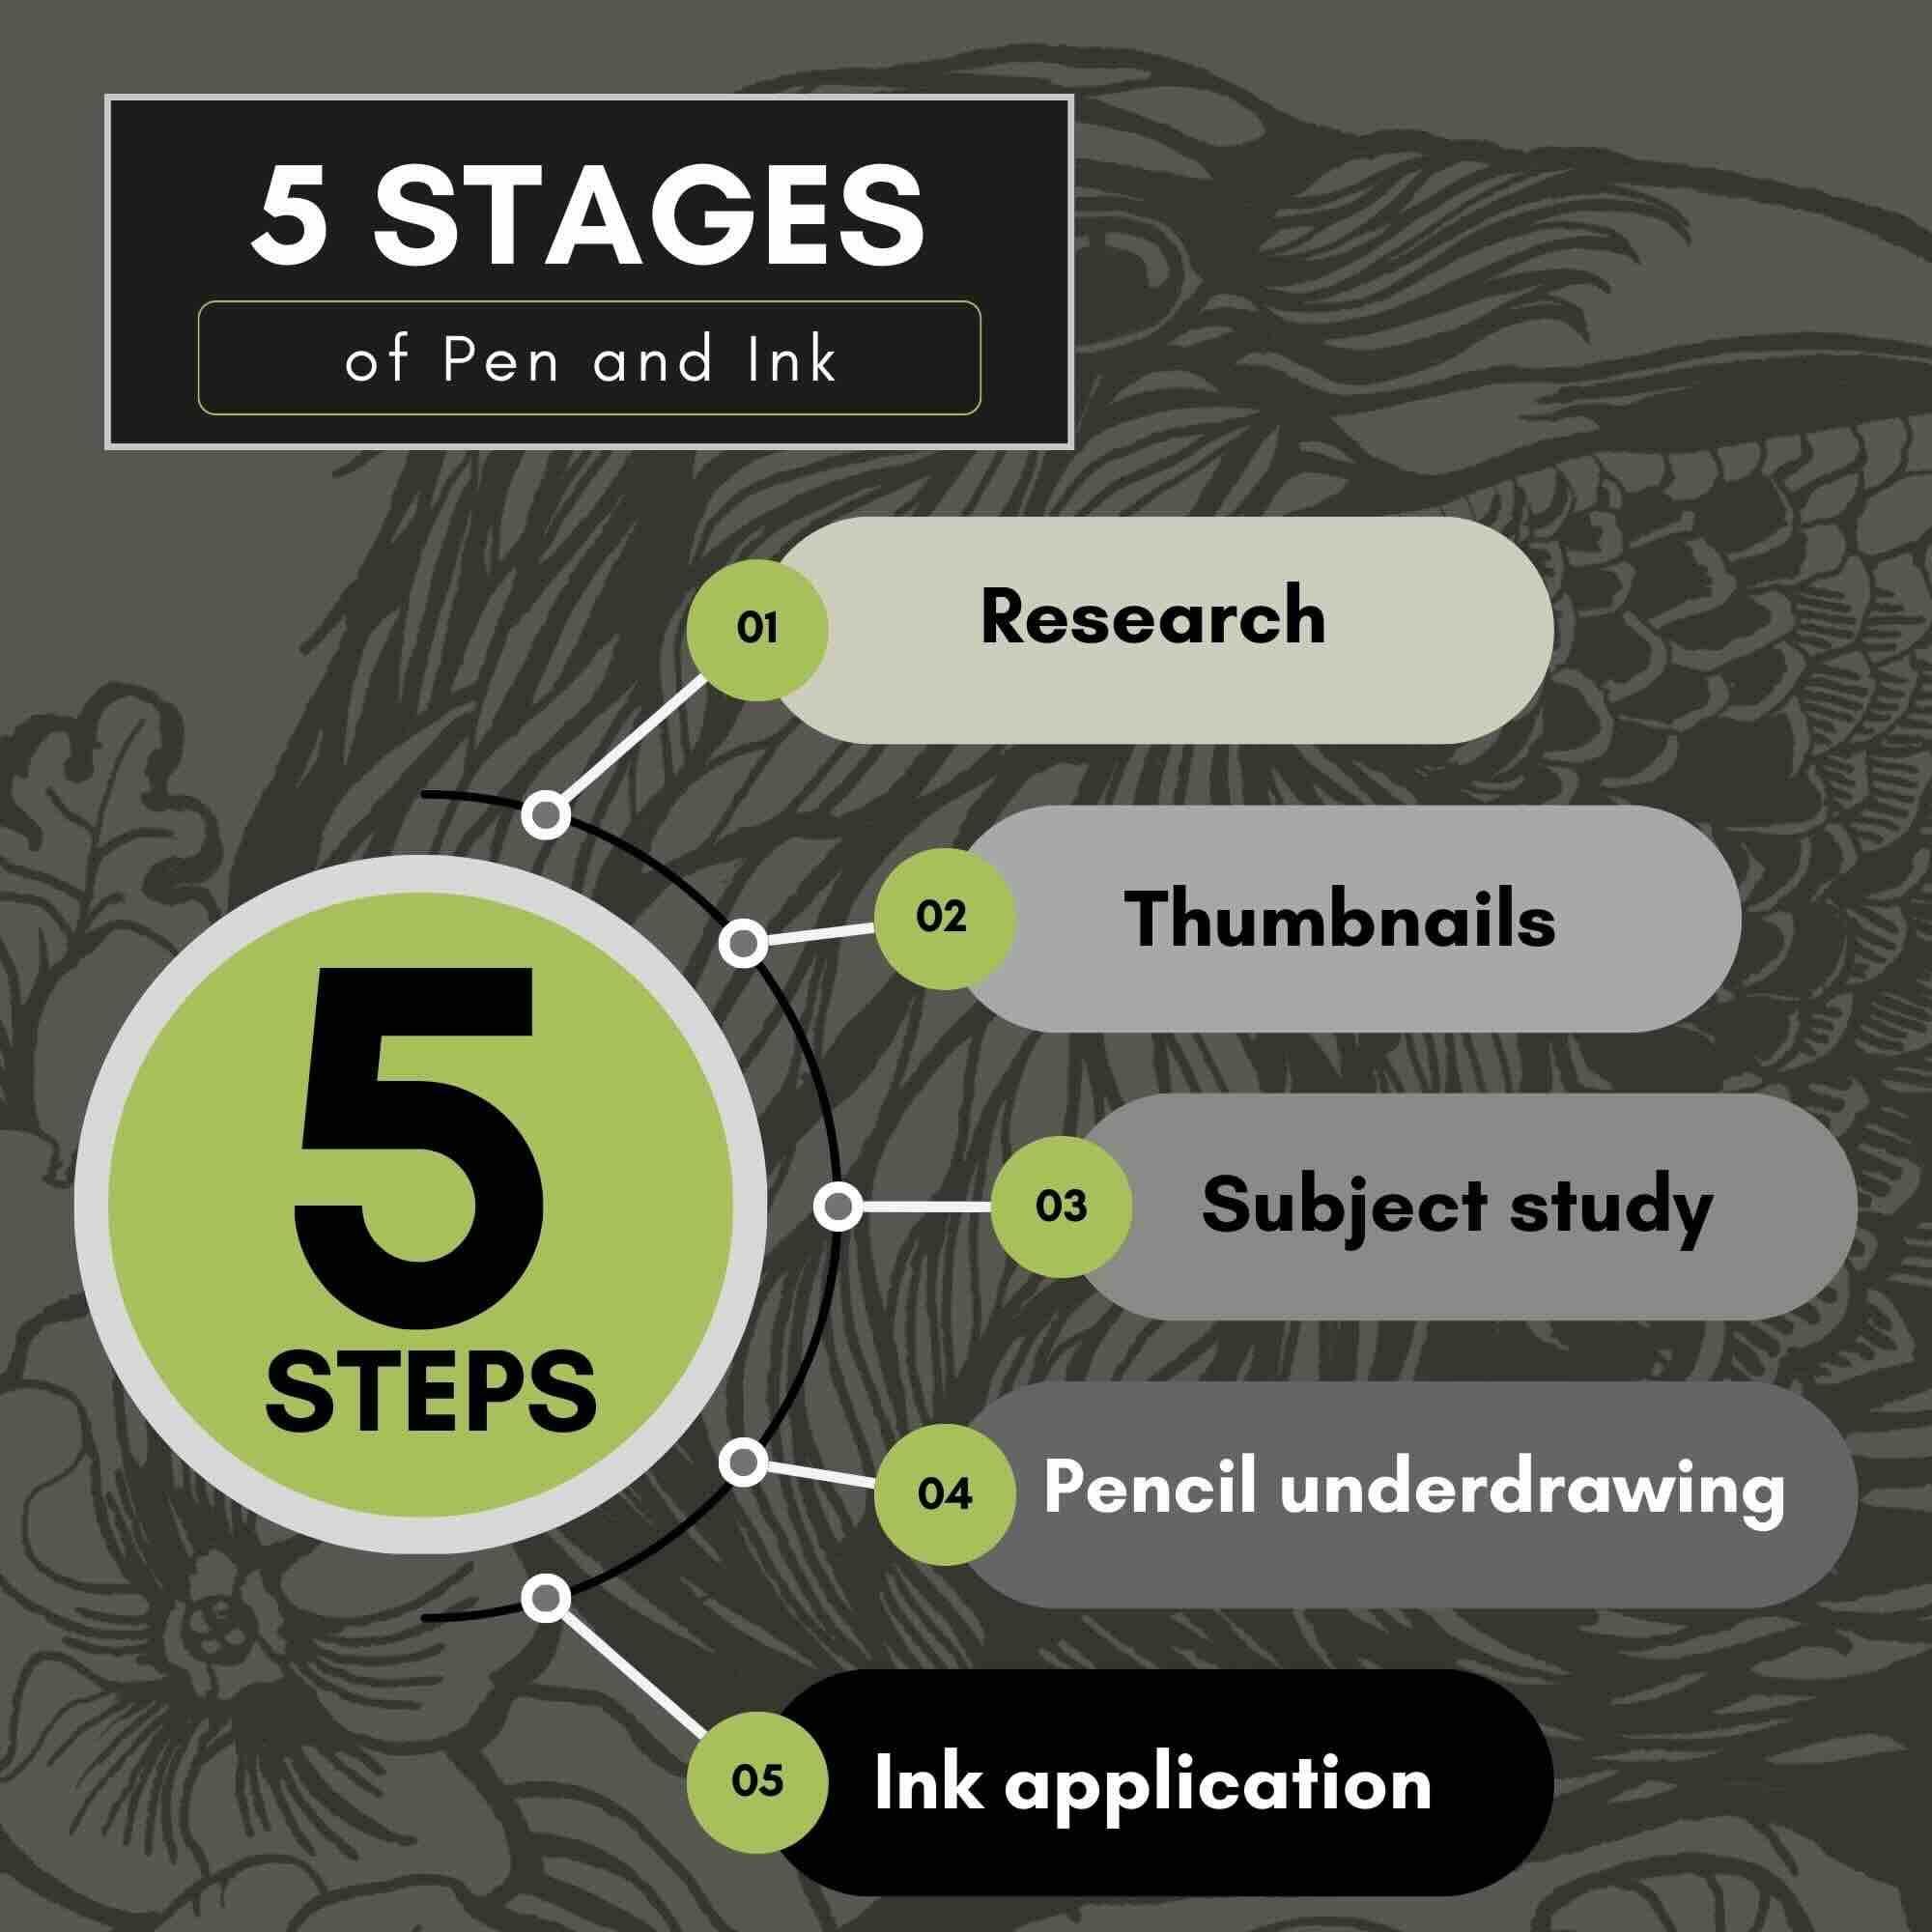
I use different tools depending on the stage of that workflow. In this article, we’ll focus on the supplies and resources for these stages:
- Research
- Thumbnail sketches
- Pencil underdrawing
✒️ For the studies and inking stages, read: Inking Supplies.

For pen and ink projects, books
The first stage is research, where I look for ideas and gather references, so that I’m all set up to later ink my projects.
I create subjects from live observation, imagination, photo reference, or a combination of these.
I keep a folder of nature photos that I’ve taken on walks and adventures for future illustrations. Or I refer to royalty-free photos.
Suggested reference sites:
- Royalty-free photo references: Pixabay and Unsplash
- Sketching references: Line of Action (poses) and AllAboutBirds (birds)
I’ll also look through art books of the great ink masters for inspiration on rendering techniques and for how to tackle common problems, such as:
- Shading and lighting, arranging the values
- Composition, structuring the elements

Some of my favourite art books:
- 101 Great Illustrators from the Golden Age
- Bernie Wrightson’s Frankenstein
- Berserk Manga Deluxe Collection, (Vol 1-13)
- Dynamic Black and White Illustrations by Leslie Cabarga (*note that this book is now out of print; look for a used, affordable copy)
- Franklin Booth: Silent Symphony Paperback
- Mike Mignola: The Quarantine Sketchbook
- Moebius 40 Days in the Desert (in French)
- The Dore Illustrations for Dante’s Divine Comedy
- The Fantastic Worlds of Frank Frazetta
- The Treasury of American Pen & Ink Illustration
- Vagabond Manga Deluxe Collection (Vol 1-12)

📚 For books on drawing and rendering techniques, go to Inking Supplies.
For sketching thumbnails and drawing exercises
Now, looking at the materials I use for thumbnail sketching and drawing exercises.
I usually explore how to convey the subject through a series of thumbnail sketches. At the thumbnail stage, I determine the composition structure and the values arrangement.
For most art projects, thumbnails are small concept sketches. Thumbnails are simple, but they’re the first step to resolving potential problems.
Composition is the structure of a piece. Guidelines for effective composition include the golden ratio and the rule of thirds to divide a picture plane in visually pleasing ways.
By doing a thumbnail first, it provides the opportunity to resolve tonal problems at a low commitment stage of the project, rather than being frustrated to figure out how to keep my values harmonious at the inking stage.
For supplies, I use the same pencils and erasers, but change the paper depending on what I’m sketching.

Pencils and erasers
I use either a traditional or mechanical pencil with a medium-soft graphite lead (HB, B) for sketching.
Eraser
Cheap erasers can mark and damage the paper surface. So, you’ll want to avoid those and use an artist-grade eraser. For sketching and exercises, my Staedtler Mars plastic eraser performs well.

Paper for high-volume sketching
Paper can get expensive, so for high-quantity sketching and practice, I use a lower-grade paper, but not quite newsprint.

Paper for thumbnails and studies
For thumbnails, because I’m exploring lighting and shading, the paper quality is more important for the values to look ‘true’.
I’ll often ink these sketches as part of a subject study to test different hatching treatments. So, I want a paper that holds up to pigment inks, coloured pencils, and even gouache or markers.
A smooth finish is gentler for fineliner pens and markers, which gives the option to practice ink strokes directly on top of pencil doodles or practice sketches.

When I’m doing a more significant practice session, such as a master study, I use the highest quality sketchbooks.
📖 Read more about these supplies in the inking supplies article.
The underdrawing stage
I recreate the best thumbnail sketch in pencil as an undrawing on my good inking paper.
The underdrawing is the final illustration project drafted in pencil. This is the last stage before it is rendered as a completed artwork.
Pencils
For the underdrawing, I use a carbon graphite lead. Avoid soft graphite leads (B and up) and charcoal pencils. These substances are difficult to erase and leave residue on the paper surface. This residue interferes with the ink application.
I use a semi-hard lead (H, 2H) as it leaves less graphite residue on the paper, which helps reduce smudging messes.

My preference for pencilling the underdrawing is to use a mechanical pencil. The one I use is called a clutch lead holder. It holds a 2 mm-thick lead that is easy to switch out to various hardnesses.
This holder is perfectly balanced for drawing lightly, which is what you want for the underdrawing of an ink piece. It is more precise because of the:
- grip
- distribution of weight
- balance of the tool
- consistent lead diameter.
The downside of using a robust technical pencil like mine is that it’s more challenging to control how much pressure to apply without denting the paper.

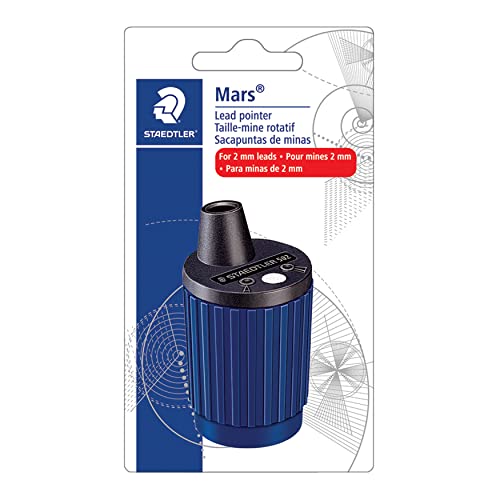
I keep the lead ultra pointy using the Staedtler Mars Technico Rotary Lead Sharpener. Alternately, the push button on the Mars Technico lead holder doubles as a sharpener.
- Staedtler Mars Technico Lead Holder
- Staedtler Mars Carbon Lead, 2mm, H, 12-Lead
- Staedtler Mars Technico Rotary Lead Sharpener
If you prefer a traditional pencil, I recommend:

📖 Refer to the chart from Faber Castell for more info on pencil hardness.
Erasers for the underdrawing
For the underdrawing, I switch to a kneaded eraser. It works well to lift off graphite with minimal smearing.
When I need to “micro erase” a detail, I’ll use a stick eraser for that.

Paper for the underdrawing
My selection of paper here depends on the tools and medium I’ll be using for the final rendering.
If using dip pens and India ink, then a smooth-finish Bristol is my top choice. Bristol or hot press papers are preferred when using liquid ink.
For beginners, I recommend a Bristol vellum finish because the tooth provides stability and is more forgiving. Advanced inkers tend to opt for a Bristol smooth finish.
If there are large sections of solid black in my illustration, that means I’ll be inking those with a brush. In this case, I’ll consider using the vellum finish as it’s a cold-press paper and performs better with wet mediums than the hot-press smooth tooth. Also, if I plan to colour my inks, with gouache or water colour, then vellum is preferred.
A vellum finish Bristol paper will buckle when overly wet. It does not perform like a cold-press watercolour-specific paper. It’s an “in-between”. So, no fancy washes and things like that for “ink and wash” projects when using an inking-specific surface.
The reason I don’t use watercolour paper is because of the rougher texture. Excessive texture interferes with the precision of rendering with dip pens. A porous tooth will catch the nib, splatter ink, and potentially damage the tines.
Of course, if you’re inking the entire piece with a brush or a fountain pen, then layering a wet colour medium, a cold-press watercolour paper is in that case your best choice.
I’ve heard good things from other artists about the Arches Watercolour Papers. Both the hot press and fine-tooth cold press. They’re on my wish list to try!
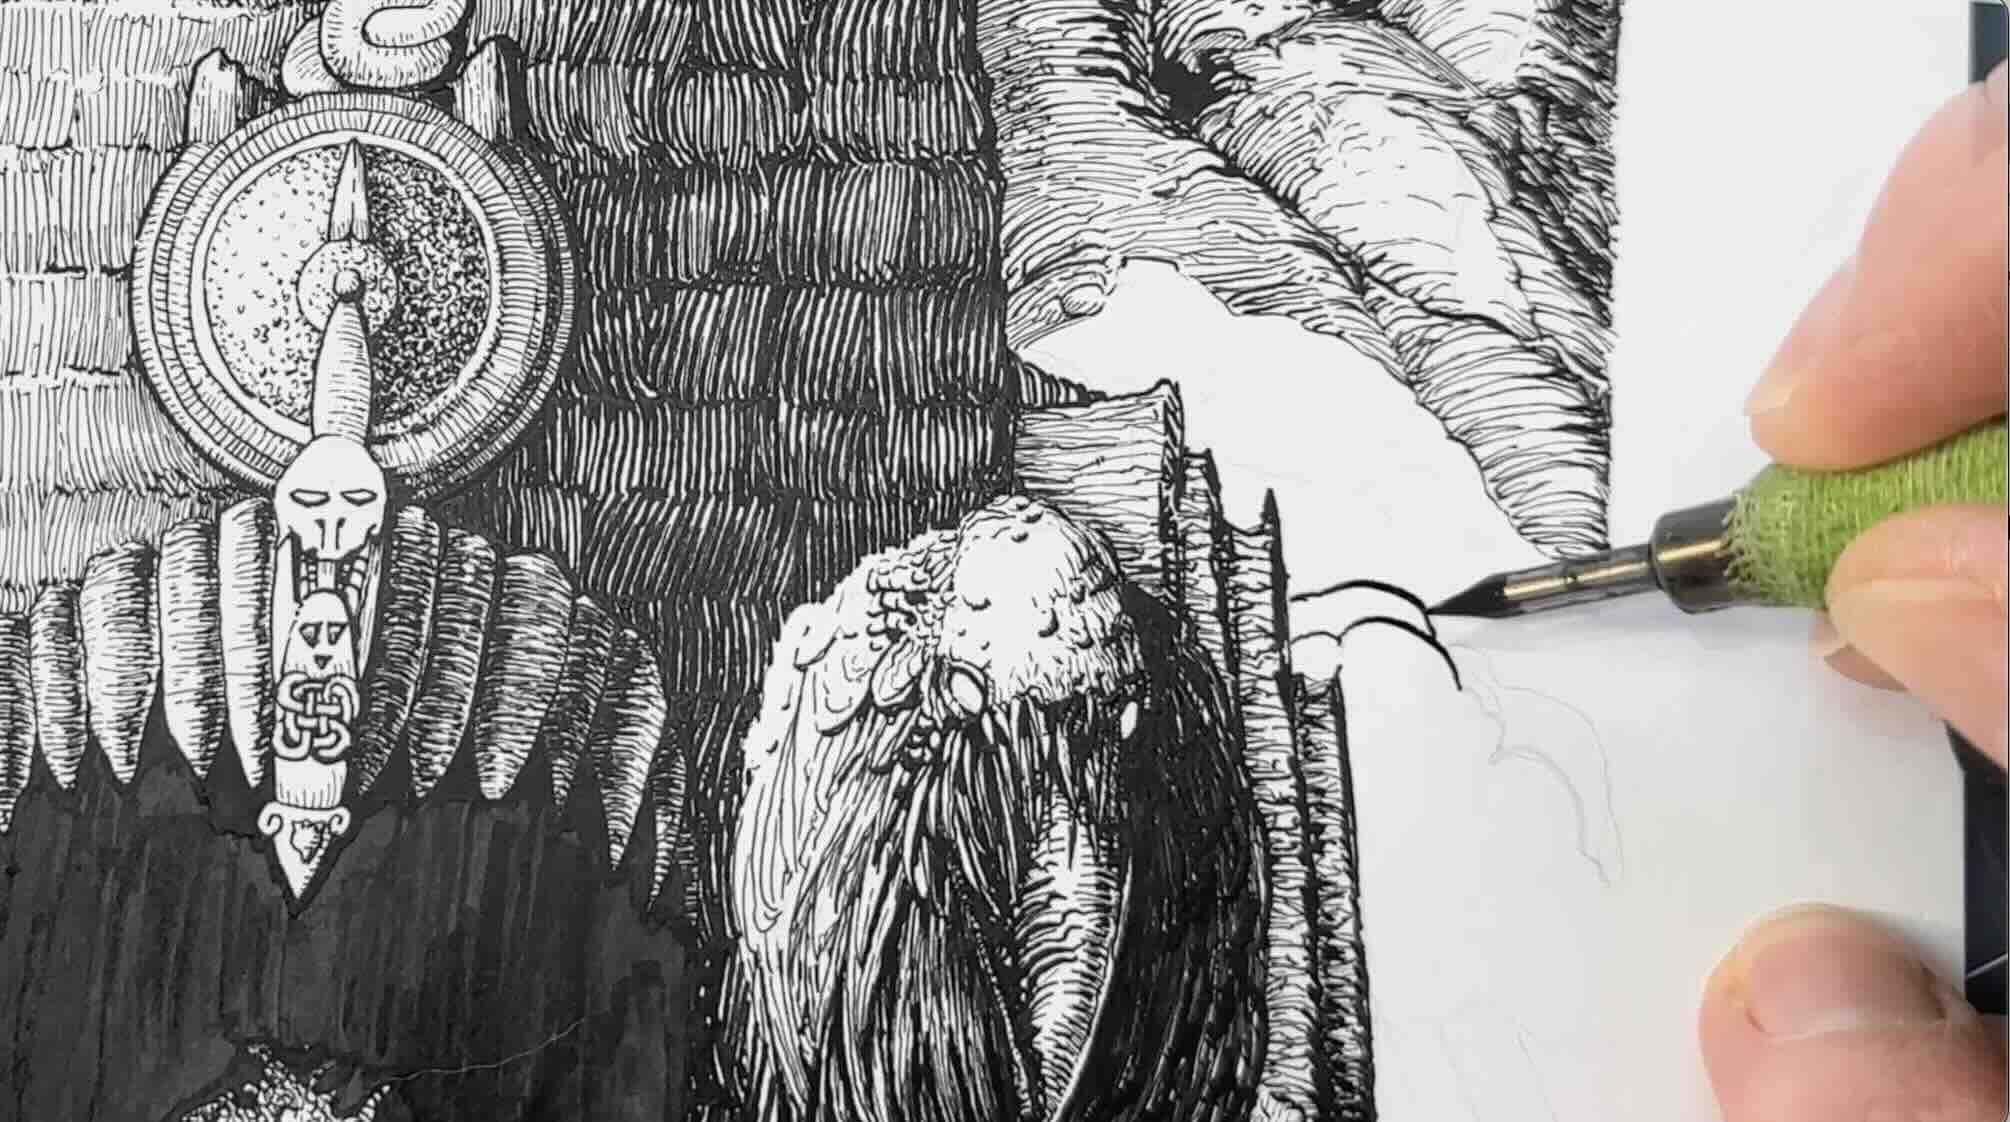
🎥 Watch some of my fave tools in action (below):