
Laying ink to paper is a commitment like no other medium. White gouache or whiteout products to cover up mistakes don’t look good on original artwork. Whiteout only works well if you intend to scan the artwork, either to make prints from the illustration or to share the art digitally.
When I started using dip pens with India ink, what most helped for avoiding blunders was having a workflow.
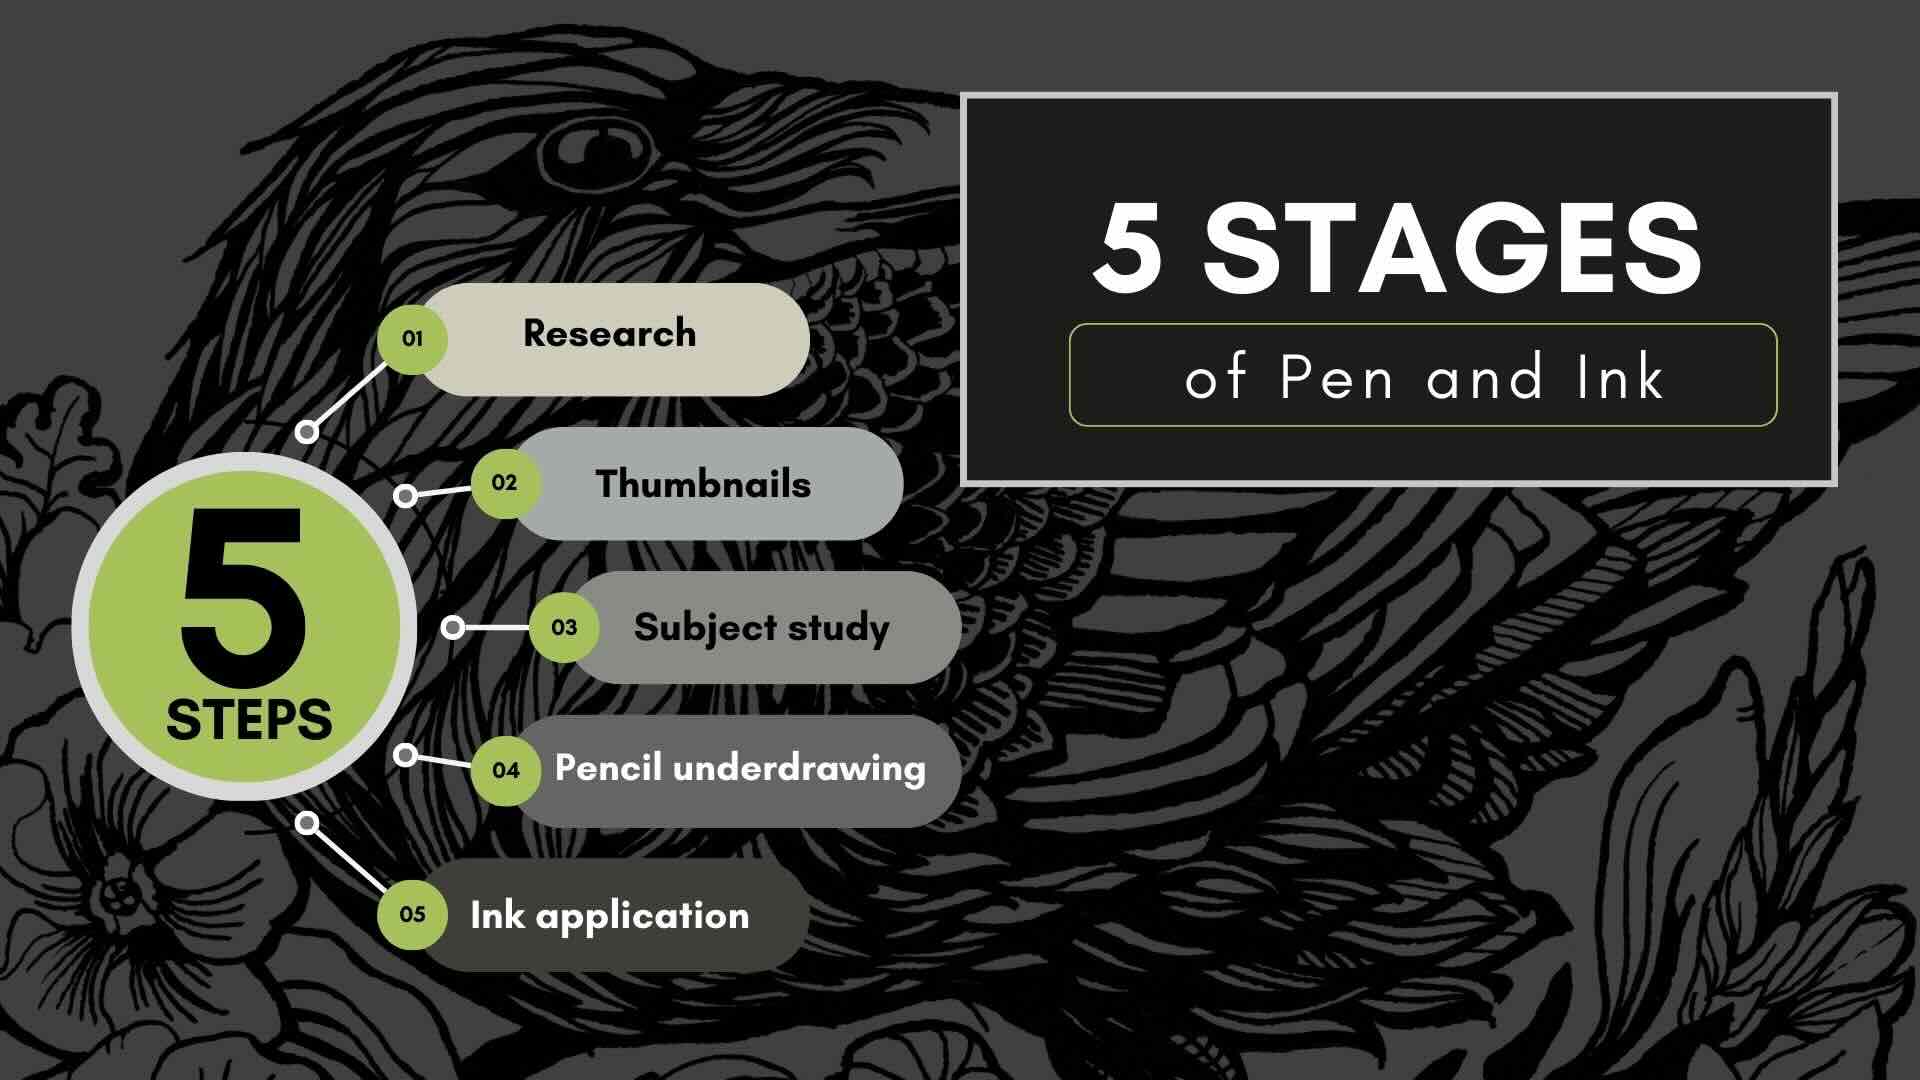
This workflow is a process that provides a structure so that your inking projects turn out the way you want.
It’s best not to push the pace with ink in hand. Take your time. Periodically take a step back to double-check that your inking is going as you planned in the previous stages of the workflow.
When mistakes happen, it means I’m rushing or getting tired. So, I take a break!
//DISCLOSURE: I earn a small commission when you use my affiliate links to make a purchase. Read more about my affiliate partnerships in the Terms.
Inking supplies
I use different tools depending on the stage of my 5-stage workflow. In this article, we’ll focus on the supplies and resources for these stages:
- Studies and training (practice)
- Final ink application
✍🏻 For the other stages, read: Sketching and drawing supplies.

For training and studies, books
Apart from having an awesome learning plan, what has contributed the most to accelerating my skills is how I invest my energy. My focus is 70% on learning & development, and the rest is for completing final projects.
My top two training routines are: 1) targeted exercises and 2) studying master artists.
🎓 Accelerate your pen and ink skills by studying the masters. Go to courses.
Best books for growing knowledge and technique
My number 1 favourite is Rendering in pen and ink by Arthur L. Guptill. It’s comprehensive, with 300 illustrations from other famous masters. The instructional tone is formal (dated); however, the information is timeless. Best suited for intermediate, though great for beginner inkers as well.
Pen and ink technique by Frank Lohan was written in the same era. It also has a procedural step-by-step approach, but the rendering is a less polished style than the teachings from master Gutptill. Still a great book for exercises. Best suited for intermediate, though great for beginner inkers as well.
Pen and ink drawing, guide & workbook by Alphonso Dunn, is approachable and less scholarly than the other masters mentioned. Great for beginner drawers and anyone getting into ink from scratch.
For improving drawing skills, particularly anatomy and other art fundamentals, below are my top picks:
- Understanding Bridgman Drawings by Jeff Watts
- Drawing the Head and Hands & Figure Drawing by Andrew Loomis
- TACO 直伝 Character Anatomy
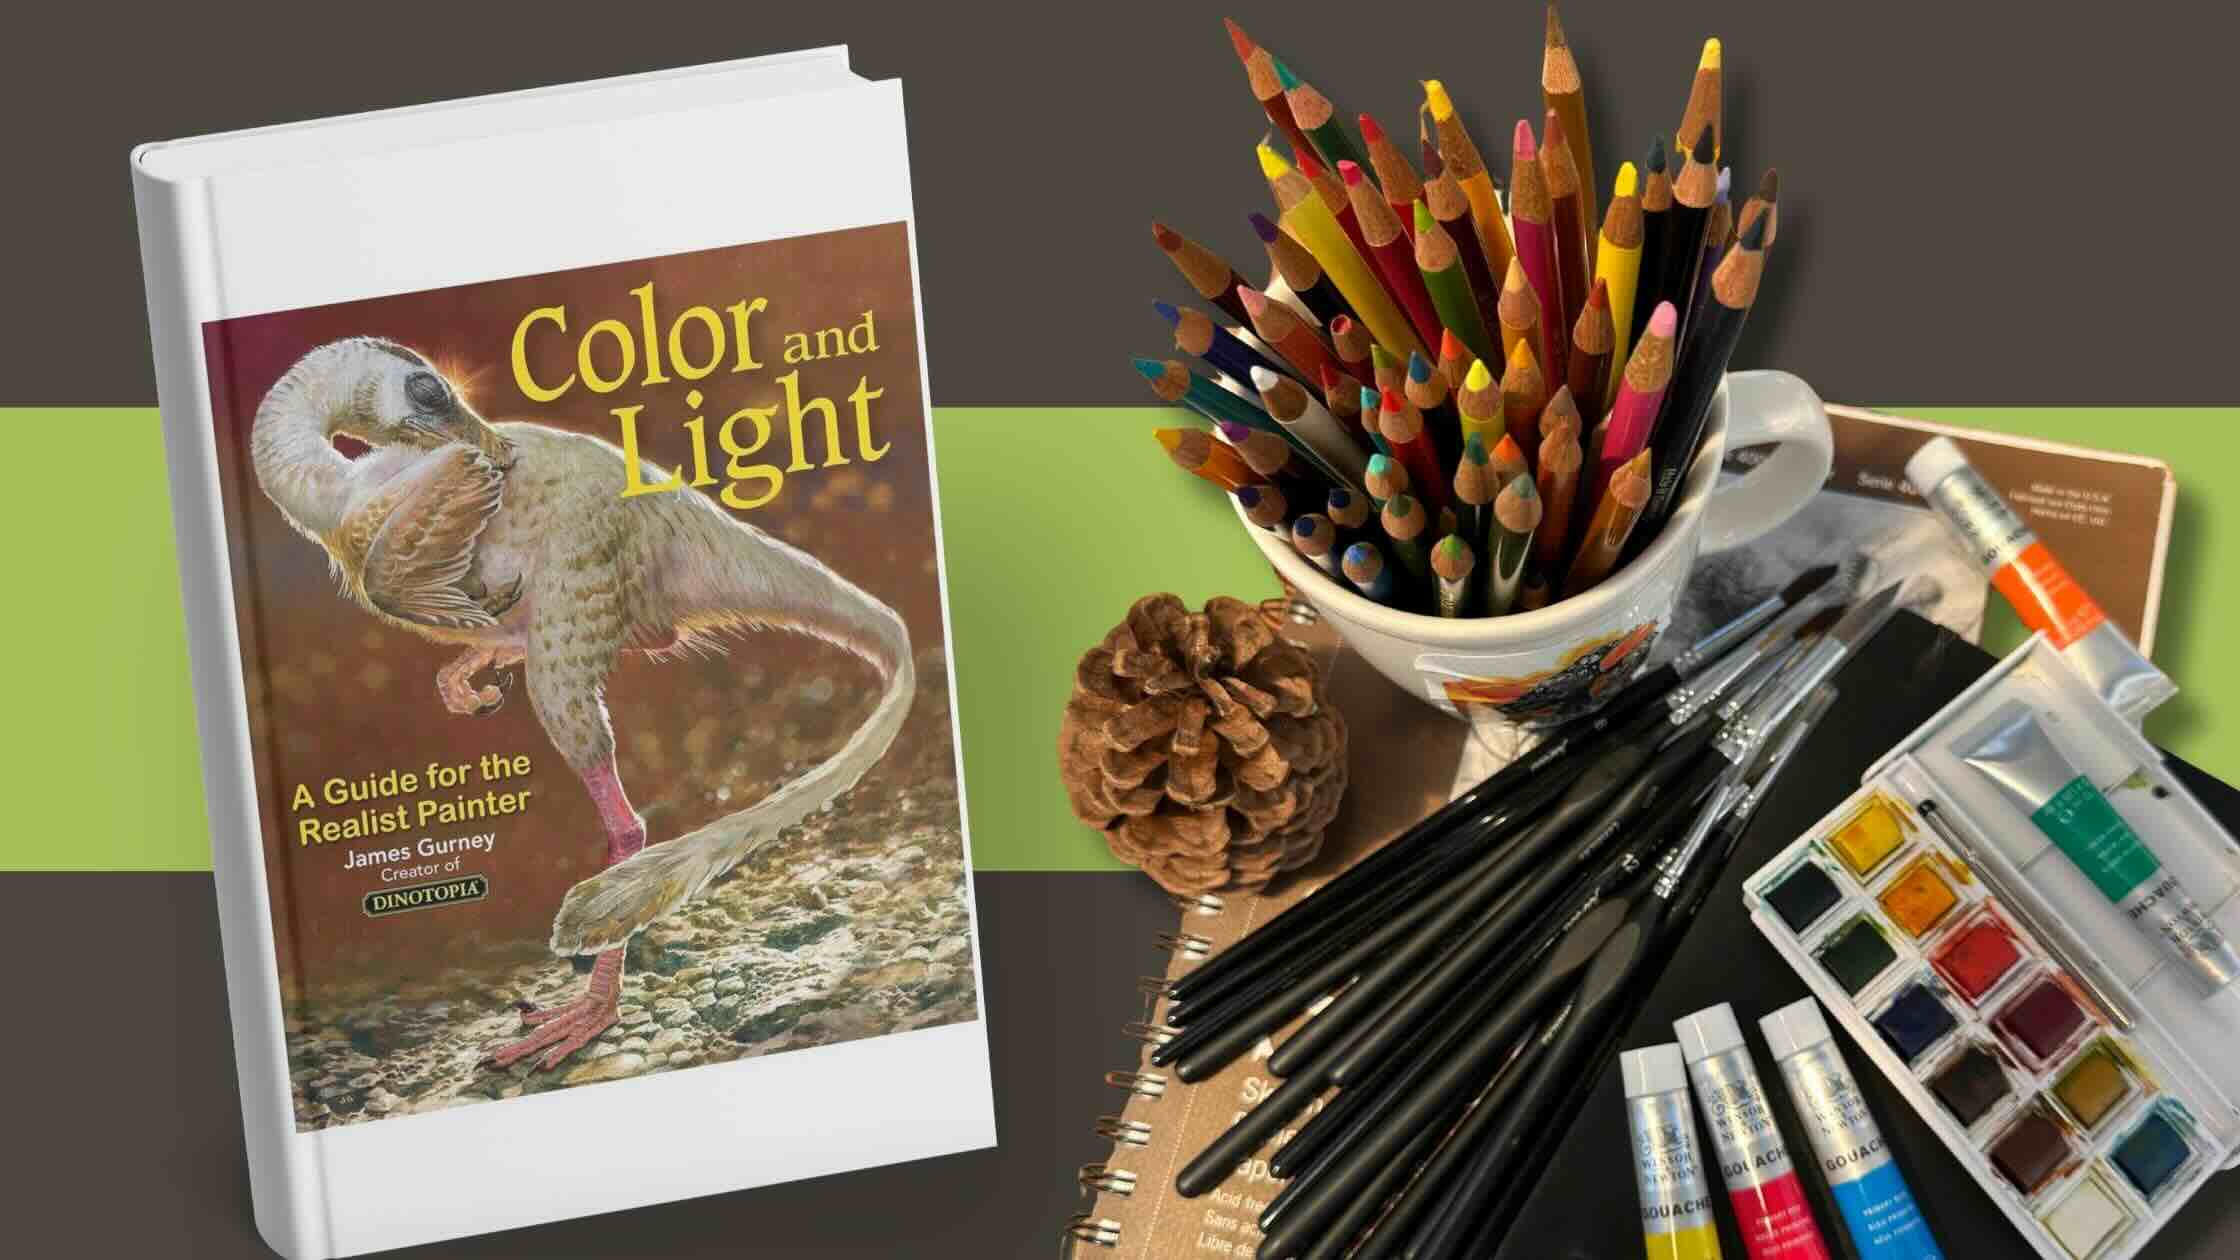
And I just discovered James Gurney’s Color & Light. Although focused on colour mediums, is useful for introducing colour to inked pieces regardless of the medium. Master Gurney shares a lot about using values, which is directly relevant to monochrome art-making.

📖 For inspirational art books, read the article on drawing supplies.
Top YouTube channels and learning platforms:
Some say that to be self-taught means to teach yourself without the benefit of ever taking a class. To me, self-taught just means taking control of what you learn and how. When you have clarity about your goals, it makes sense to search for relevant tutorials or take a class.

Other teachers’ courses I recommend for learning how to draw:
- Proko – Drawing Basics by Stan Prokopenko (69h33 hours)
- Skillshare – How to Draw: A Beginner’s Guide – Brent Eviston (6 hours)
Other teachers’ courses I recommend for learning how to ink:
- Proko – Goal-specific inking courses
- Udemy – Subjects with Pen and Ink by Matthew Fussell
- Domestika – Dip Pen and Illustration by Philip Harris
YouTube art channels

Tools and supplies for studies
For studies and rendering techniques practice, when not with dip pens, I’ll use technical pens like fine liners, brush pens and markers. In this section, we’ll talk about the pens and paper type for this stage of my workflow.
Pens for practice
I’ve tested different brands of pigment-based fine liners. My favourite are Tombow’s fine liners and calligraphy pens.
These pens are similar to the popular Staedtler pigment liners and Sakura Microns, except Tombow’s tips are more pliant. They’re softer. This gives me the ability to vary the pressure for line quality.
Line quality = variety of line weight thin-to-thick in a single stroke.
Tombow calligraphy pens are essentially sponge-tip brush pens. These also fall into the ‘marker’ category. Depending on the brand, companies call their calligraphy pens ‘brush pens’ or ‘markers’.
Not to confuse these sponge marker tips with true brush pens, which have a bristle tip. The bristle-tip pens are made to simulate the effect of a traditional hair-bristle brush. They each handle differently, with the sponge tips being more beginner-friendly.
So, the Tombow Fudenosuke Brush Pens have a sponge tips. They come in both soft and hard tips. Both tips have surprising flexibility and bounce. This combination of flex-bounce allows for varying the line weight from thin-to-thick in one stroke.
This saves you from having to switch pens to different tip sizes to modify your line widths. The soft tip pen has a juicy feel. The hard-tip pen feels more precise.
I’ve tested several brands with similar types of tips. Below in order of preference:
- Tombow Fudenosuke Set
- PILOT Fude Brush Pen, Soft
- ZEBRA Double-Sided Brush Pen
- Kuretake Double-Sided Brush Pen
- Faber-Castell Pitt Artist Brush Pen
Some of these markers are great for filling in solids and hatching thicker strokes, but are not comparable to the Tombow’s Fudenosuke Set in terms of flex-bounce ratio.
As far as bristle-hair brush pens, my top pick in order of preference are:
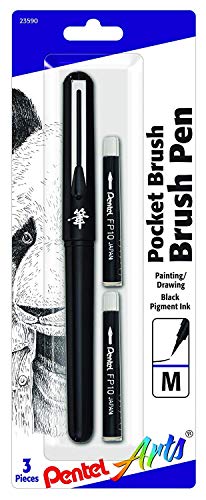
- Pentel Arts Portable Pocket Brush Pen
- Pentel Arts Color Brush with pigment ink, medium tip
- Kuretake Bimoji Fude Pen medium brush tip
📖 To learn more check out Jetpen’s guide on best brush pens for drawing

Practice and study paper
If inking with fine liners or brush pens, I use a fine or medium-tooth paper labelled for:
- pen and ink
- dry mixed-media
- markers
My favourites are:
- Strathmore 400 Sketch fine tooth
- DELETER 201-1034 comic book paper
- Speedball Art Flexi Sketch Pad 8×8
- Bienfang vellum tracing paper 11×14
The vellum paper is handy for tracing over your sketches to explore different rendering options or for master studies.
When in doubt, my go-to all-purpose wet-dry paper that never disappoints is the unbeatable Moleskine Art Sketchbook. The high-quality paper allows for a wide range of mediums, and also its robust construction ensures preservation of the art. Plus, it travels well.
For doing master studies, I use a dedicated Moleskine so the studies are all date-stamped and saved together. This makes it easier to monitor progress and keep track of learnings over time.
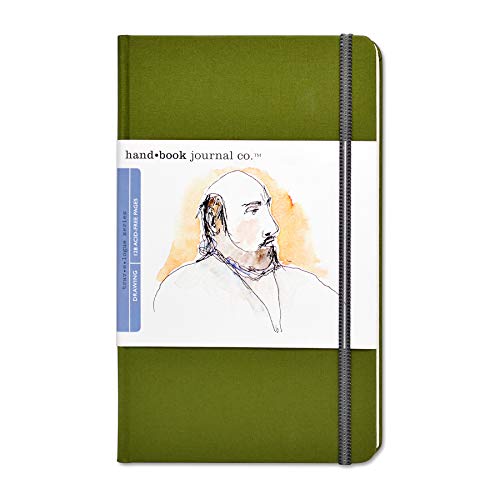
Another comparable quality sketchbook brand is the Speedball Journal Signature Series. They come in a broader range of formats and paper choices than Moleskine and are competitively priced.
📖 Find the best dip pen for your drawing style.
Tools and supplies for inking
To make the best selection of dip pens for your project, level, and style, read my dip pen guide.
If I could keep only one dip pen, I would pair a Tachikawa t-40 pen holder with a Speedball Hunt 512 bowl nib. The bowl nib is one of the most versatile, beginner-friendly nibs. My other top favourite nibs are:
Large nibs:
Fine nibs:
For filling solid blacks and thick line weights, I use a traditional hair-bristle brush. My favourite are the Winsor & Newton Series 7 Kolinsky brushes.
📖 For an example of the steps in action on a project, read Rendering Elric of Melnibone

India ink for drawing
Speedball super black India ink is pigment-based and my top choice for drawing. It has a balance of viscosity and drying time that works well with dip pens and brushes.
📖 Refer to the Sketching supplies article for inking paper at the underdrawing stage.
Adding colour?
I already had an assortment of round watercolour brushes for inking. These range in size from 5/0 to 12.
I’m primarily an inker, so my preference is to do the linework first. Once the ink is dry, I layer the colour on top, regardless of the colour medium. For the ink, it’s always Speedball super black India ink.
For paper, I typically use Bristol vellum, which is a smooth cold-press paper or any of my higher-quality sketchbooks (Moleskine or Speedball).

- Winsor & Newton Cotman Watercolour Set
- Speedball Art Color Pigmented Acrylic Ink Set (10)
- Paint Brush Set 10pcs (similar to the Lenbicki brushes)
- Winsor & Newton Cotman Short Handle Brushes, Set (4)
- Winsor & Newton Designer Gouache Set
- Faber-Castell Polychromos Colored Pencil Set (60)
🎨 To learn more about my resources for learning “ink and wash” check out my Jojo’s Adventure article


Your YouTube videos and this website are an inspiration as well as informational. I did calligraphy years ago but I do not have any pointed nibs. I want to begin incorporating I am planning on buying both the Speedball 512 and Brause 361 to begin incorporating with my watercolor art I started last year. I know how finicky nibs can be fitting into holders. Do you have a suggestion for the Brause 361? I have experience using the double ended Brause wood holder but I am not a big fan. Speedball nibs usually fit well in their cheapo black plastic holders…but if you could suggest something else…
Both Brause and Speedball make nice Universal mounts for the 361 nib. I’ve tried to fit them in my Tachikawa t-40 holder but it doesn’t fit. You’ll find more details in this article: https://longstrideillustration.com/best-dip-pens-for-drawing/