Step-by-step line drawing
Do you enjoy drawing flowers?
Are your botanical illustrations starting to always look the same?
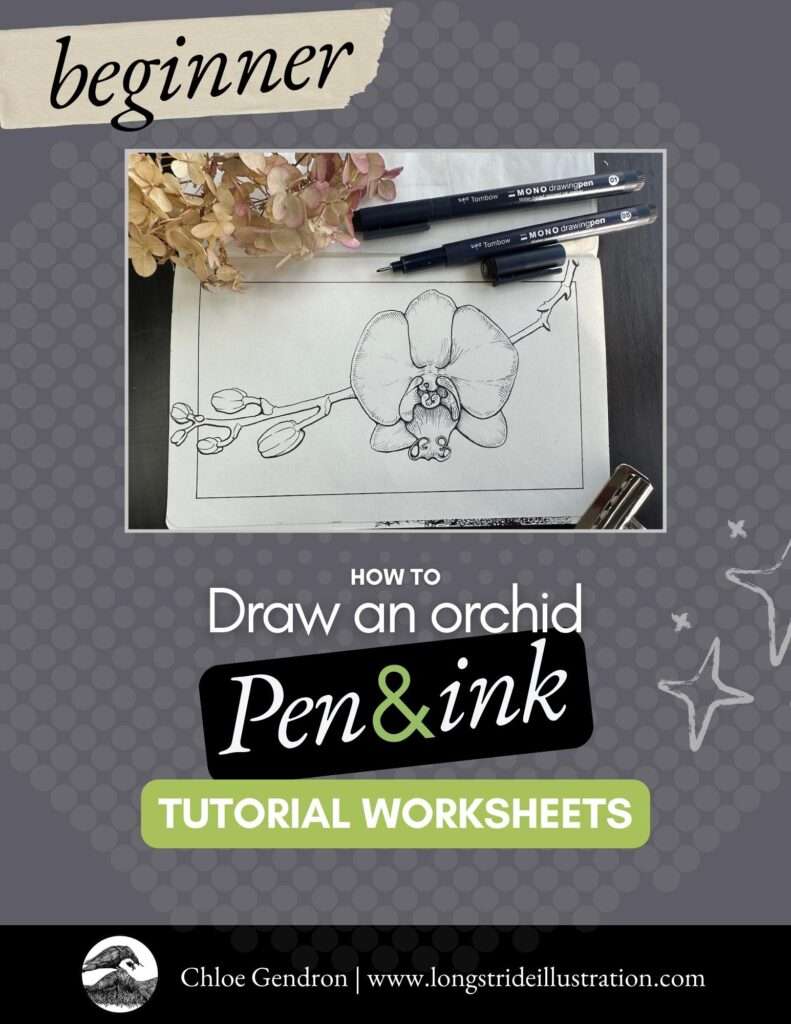
If you’ve wanted to add variety to your pen and ink flower drawings, in this article I share my step-by-step process for creating a stylized line drawing of an orchid.
This is a beginner-level tutorial.
What we’ll cover:
Disclosure: Please note that some of the links on this page are affiliate links. I earn a reward or small commission when you use those links at no cost to you. I only recommend products that I use and stand behind. To learn more about my Affiliate Partnerships, read the Terms Page.
Do you have a process?
No matter what level you’re at, as an artist, it’s beneficial to have a problem-solving process.
It’s especially worthwhile, as a beginner because that process can be applied whenever you want to draw something new or more complicated.
“…that process can be applied any time you want to draw something new or complicated.”
Like a complex flower.
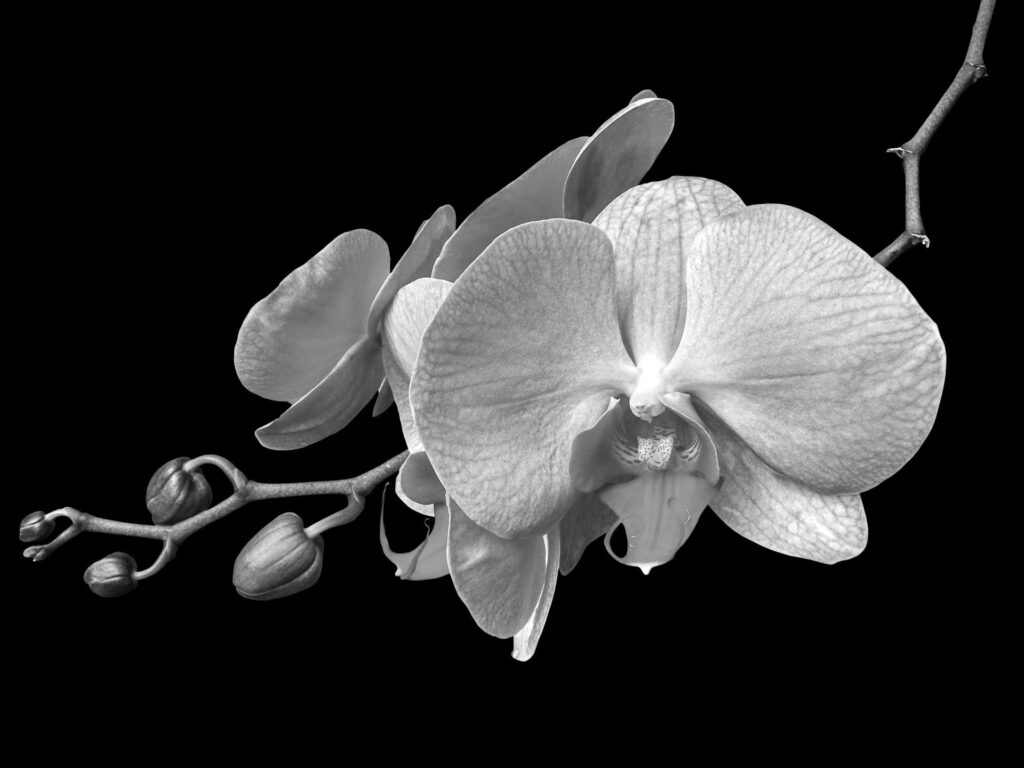
For the tutorial, we’ll be using this royalty-free image from Pixabay as our reference:
Step I – Thumbnail sketches
This step takes approximately 5-10 minutes to complete.
You’ll find the list of art supplies in the resource section at the end of this article.
You’re encouraged to draw along with me. Alternatively, you can use printouts of any of the templates provided in the PDF download.
Using a pencil in your sketchbook, the first step is rough sketching a couple of thumbnail doodles. This will give options to assess the best composition for your subject, in proportion, on the picture plane.
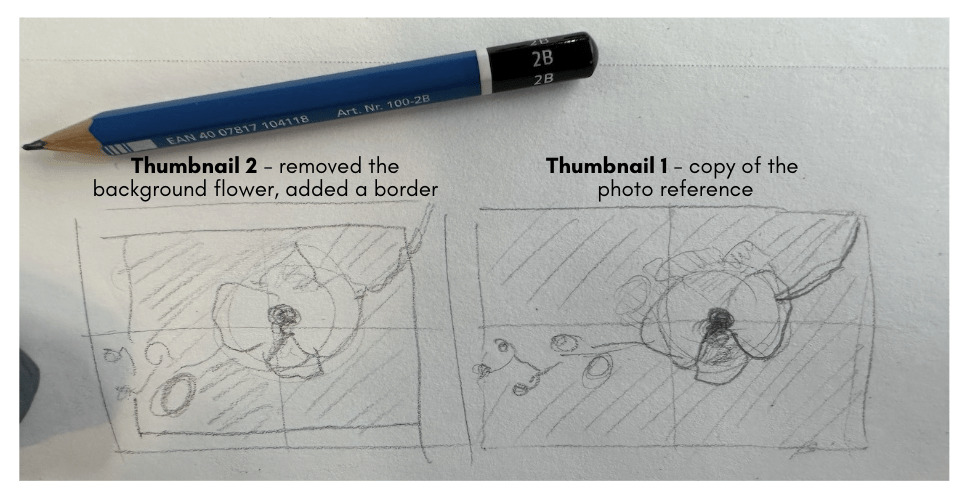
My first thumbnail looked fine. However, sketching it a second time provided a point of comparison. The benefit of doing this step is that it shows you concretely which composition will work better. I saw that the second flower in the background was potentially distracting to the viewer.
So, I eliminated that problem by removing it entirely. We solve the composition by framing it with a border.
By problem-solving at a low-commitment stage of our project:
- we’ve saved a bunch of time, and;
- improved our chances for a better outcome at later stages.
Step II – Subject Study
Next is to study our subject. This step takes approximately 15-25 minutes to complete.
Focus on what’s difficult about drawing this orchid. Looking at the photo reference, would you agree that the center part of the flower protruding towards the viewer seems like the most challenging?
“What looks difficult about drawing that orchid?“
We can tackle this problem by reviewing the art fundamentals.
Shape and form are likely the most important fundamentals to capture correctly for this subject to look believable.
We therefore shift our focus from what’s difficult to what is easy – and that is to construct the subject using basic shapes.
To learn more about the art fundamentals for pen and ink, read this article on “How to improve pen and ink technique“.
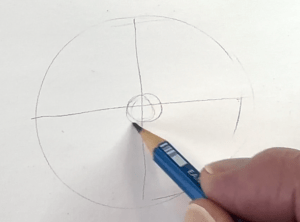
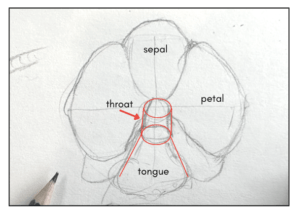
- With a pencil, in your sketchbook draw a circle as a guideline.
- Divide it into four parts.
- Then from the center, build a cylinder by joining two smaller ovals.
This immediately gives the illusion of form to the flower’s throat.
- Draw a triangular shape for the tongue in the forefront.
- Add two symmetrical shapes for the petals.
- Then add the three sepals that are tucked behind.
With pen and ink, lines are used to explain the three-dimensionality of a subject to the viewer. We’ve established the overall design of our subject. But how will we render it convincingly using just lines?
We’ll use a method from the great masters, which is to problem-solve parts of the subject individually.
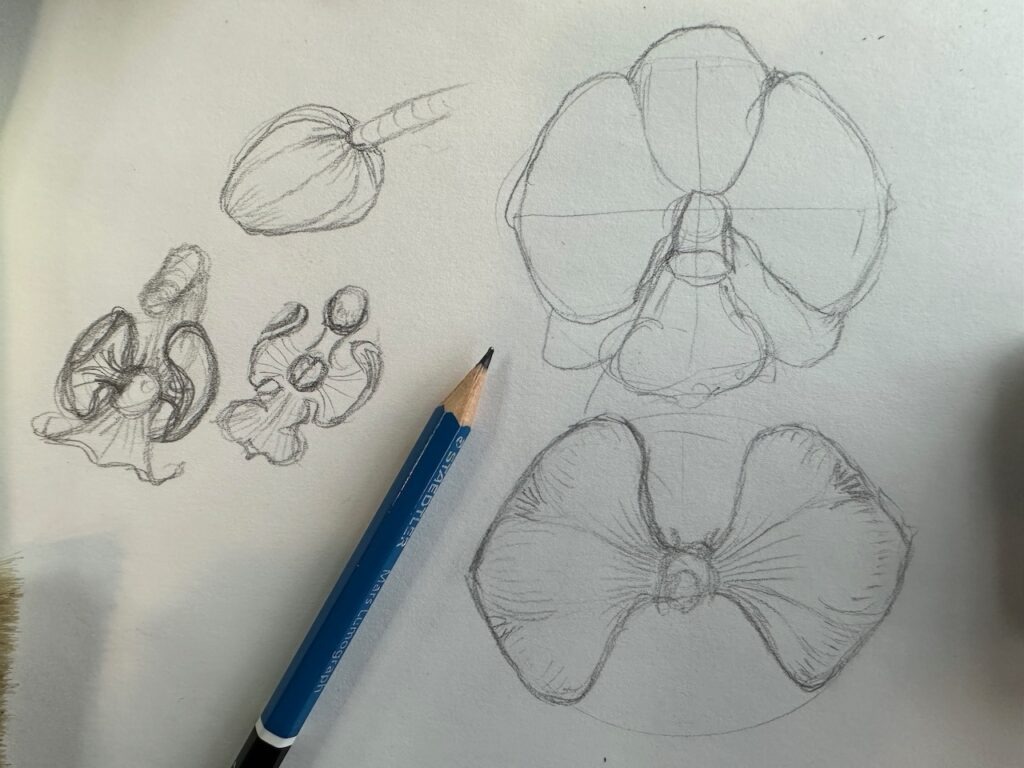
We’ll start by studying the petals.
In the reference, the petals appear flat like sheets of paper. With closer inspection, we see the petals have a veiny pattern. The direction of the veins provides evidence of a slight undulation.
At that point, we can decide to omit the intricate vein texture, because with linework, that pattern could get overly busy. However, by having made that observation we now have valuable information on how to render the orchid more convincingly using just lines.
The answer is to angle our hatch marks in the same direction as the veiny pattern.
Now for the center part – the throat and tongue.
Again, use cylindrical shapes to build the throat and tongue -which vaguely resemble a tiny alien. After experimenting with the direction and length of the hatch marks, I sketched the alien again from a different angle.
The second sketch was an improvement, though now it reminds me of a tiny angel.
Also, practice one of the buds with its stem/branch.
Step III – Line quality exercise
This step takes approximately 20 minutes to complete.
One noticeable thing that differentiates the great masters from the rest of us, is the quality of their mark-making lines. This is even more observable with a medium like pen and ink.
A line-quality warmup would therefore be helpful to us before the execution of our final project.
For materials, I’m using fine liner pens. Aim to use the same size nib throughout this exercise such as an 05 or 08. I like Tombow’s water-based pens because the tip is softer than competing brands. Whatever brand of pen sets you have will work.
Use the template in the provided PDF, or you can quickly pencil some boxes in your sketchbook as a template for the exercise.
- In the first box, with your fine liner pen draw equally spaced parallel horizontal lines using even pressure.
- In the second box, we vary the pressure to achieve thick-to-thin lines.
- In the third box, we repeat the process of reversing the pressure from thin to thick.
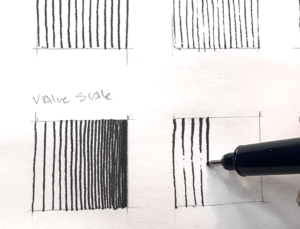
- In the following row, for the first box create a value scale using even pressure on the nib. We achieve the gradation by incrementally reducing the space between the lines.
- In the second column box, repeat the gradation except we vary the pressure to achieve thick-to-thin lines.
- Then in the third box, repeat but thin-to-thick.
This is a great exercise to practice line quality and the command of our instruments.
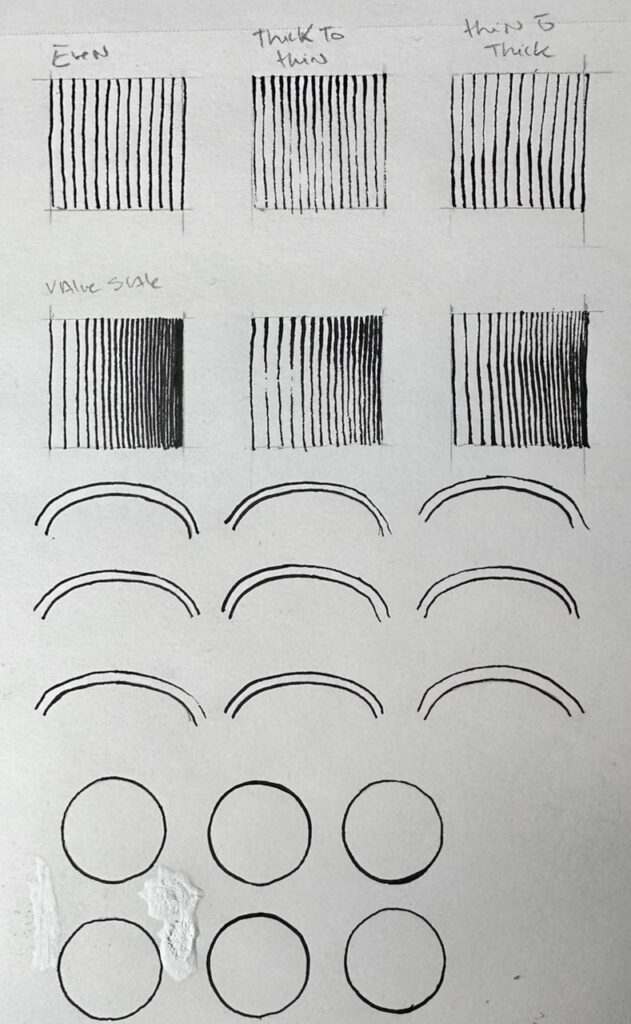
My hand has better control going from thick to thin. What about you? Did you notice a more natural aptitude for one pressure direction versus the other?
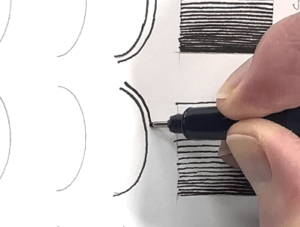
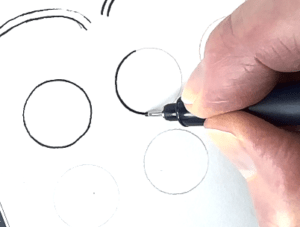
Now for the tricky part. Follow the same principles as before except with curved lines.
Practice all three line styles (3 times) on a curve as well as with full circles:
- even pressure,
- then thick-to-thin,
- thin-to-thick.
I found that the weight variety was less obvious in the curved line. And even more subtle of an effect with circles. This tells me there’s room to improve and a valuable exercise to practice regularly.
TIP: another benefit of doing this exercise regularly is that it serves as a simple tool to gauge progress over time. Compare your charts month to month and assess what stands out.
For more line-quality exercises like this, have a look at Arthur L. Guptill’s classic Rendering in Pen and Ink book (Kindle).

Step IV – Final project, pencil drawing
Let’s apply what we practiced to the final project. This step takes approximately 20-25 minutes to complete.
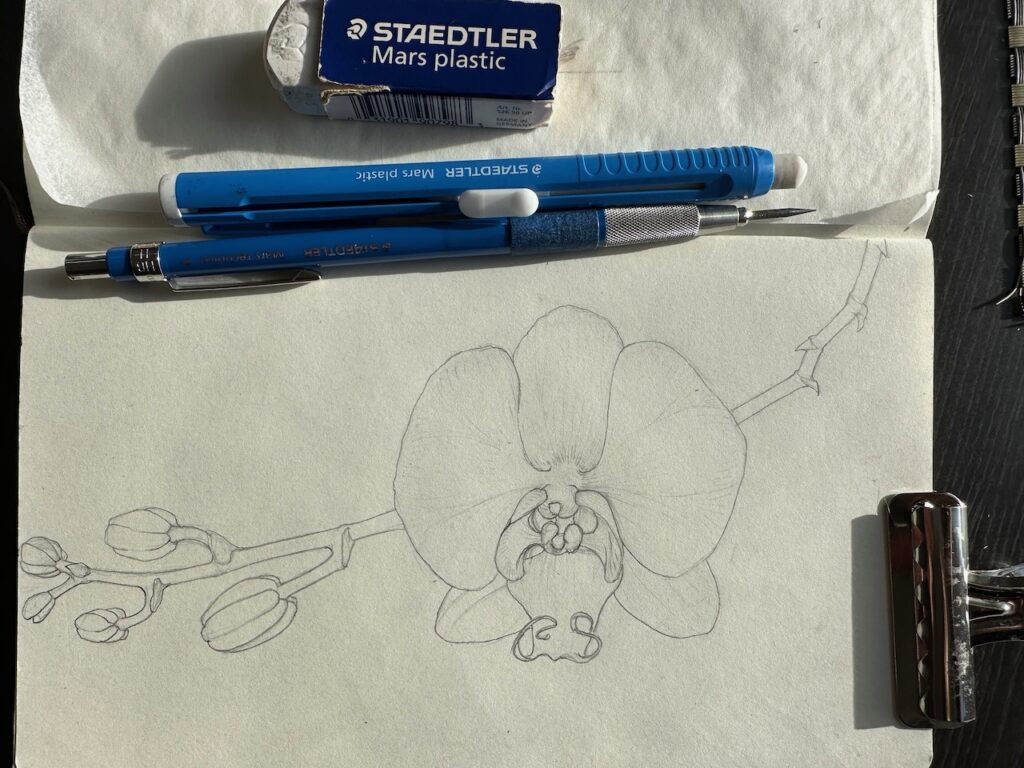
Choose a paper suitable for pen and ink. Today, I’m using my Moleskine Art Collection sketchbook and a 2 mm mechanical pencil with an H lead to do the underdrawing.
Estimate dimensions and proportions by referring to both the photo reference and your initial thumbnails. Roughly mark the positioning of the subject on your paper.
- Again, start with a circle as a guideline.
- Then add the center tongue-throat angel-thingy the same as you did in the step II study. Keep the shapes loose for the petals, aiming for symmetry.
- Add the branch and buds.
Once you’re happy with the pencil drawing, go over the main lines for emphasis then erase the construction lines.
Lightly add the hatch marks, paying particular attention to the line angles that show directionality towards the viewer and away from the orchid.
Step V – Final project, ink application
This step takes approximately 20-25 minutes to complete.
For the ink application, let’s first establish that the source of light comes from the upper right corner.
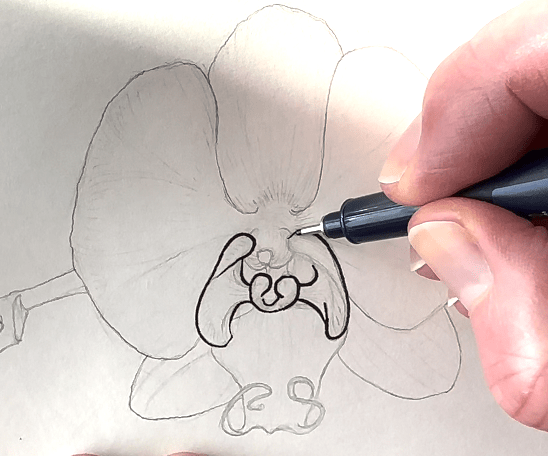
With your 05 or 08 pen, begin outlining the elements closest to the viewer. We can apply the line weight variations that we practiced in the step III exercises.
Since I’m more comfortable rendering lines from thick to thin, I rotate the paper to the angle that best suits my preference.
The orchid has a lot of curved lines, and so the line-quality exercises prove to be handy.
Use thicker lines to create depth in the areas of shadow.
If you’re not seeing an obvious thickening effect from adding pressure on the nib, no worries. Do a second pass to add line weight once all contours are done.
I’m using the same nib size, a 05 throughout for both the outline and the second pass.
” … a good rule of thumb with pen and ink is to bold the lines on the aspects of the subject closest to the viewer.”
To create an illusion of dimension, a good rule of thumb with pen and ink is to bold the lines on the aspects of the subject closest to the viewer. And use thinner lines for the elements further in the picture plane.
With line art, especially a contour drawing without a background or much texture, the bolder lines also serve as ‘holding lines’ or visual boundaries.
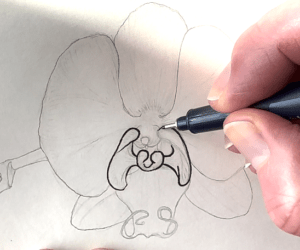
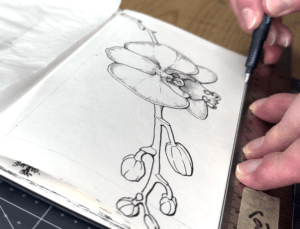
Switch to a smaller nib size (01 or 03) for the hatch strokes contained inside the boundaries. Use even pressure. We already know about the importance of line direction.
These strokes also create tonal value. We practiced value scales, and on the tongue especially, which is more in shadow, is where that gradation exercise applies.
Periodically glance over to the photo reference and your work from the exercises.
Just like with the values-scale practice, reduce spacing between the lines for the darker areas and use short sparse dashes in the areas of lighter value.
Once you’re satisfied with the hatch marks, erase any remaining graphite lines and add the finishing border.
And that concludes our final project.
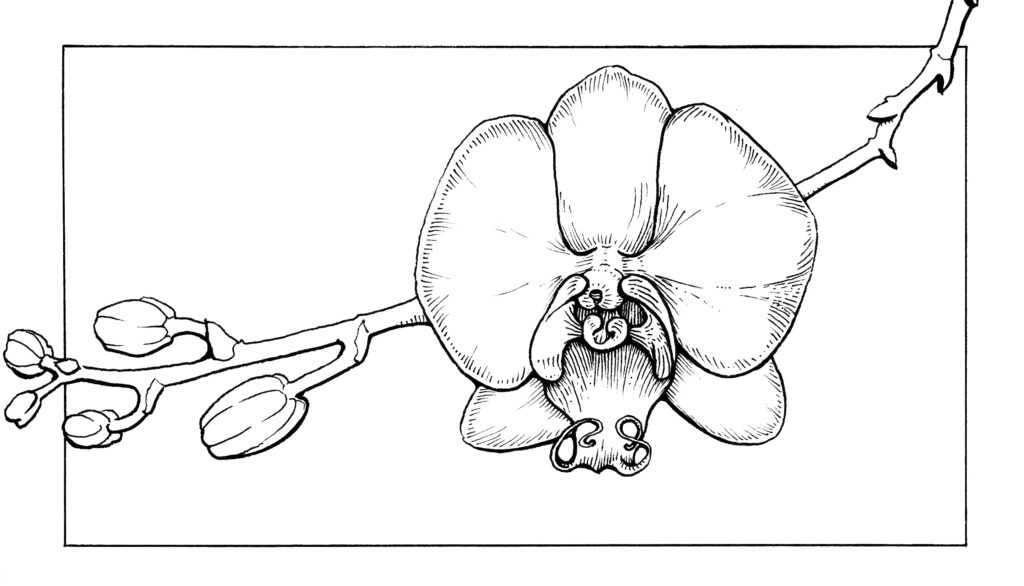
Each exercise provided practice leading us to the final project with more confidence in our pen and ink drawing skills.
- Doing preliminary thumbnails presented options for the best composition.
- Sketching basic shapes was a simple way to problem-solve.
- Building a subject with construction lines was a helpful method for exploring how to draw something new or unfamiliar.
- Practicing line quality regularly is an effective way to improve continually.
I hope that you enjoyed this step-by-step approach to creating a line drawing. The orchid flower was a request from the community.
Let me know in the comments what other subjects you’d like to see in future tutorials.
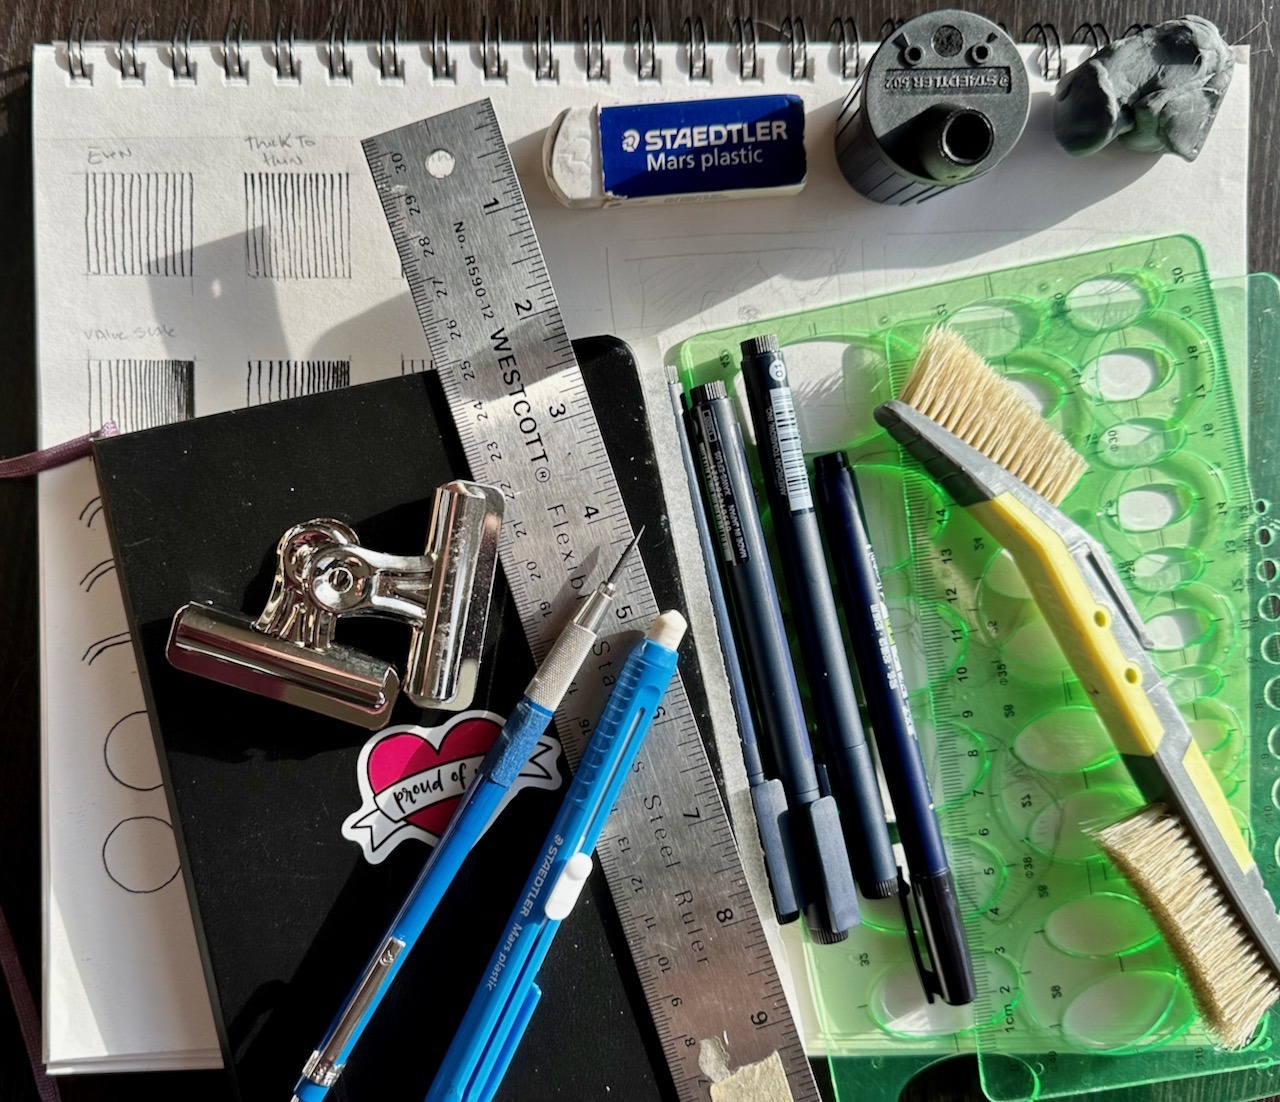
Resources
Disclosure: Some of the links below are affiliate links. I earn a reward or small commission when you use those links at no cost to you. Read the Terms Page to learn more.






I’m still learning from you, as I’m trying to reach my goals. I absolutely enjoy reading all that is written on your blog.Keep the aarticles coming. I loved it!