
How to complete a big Art Challenge
//Disclosure: Some of the links on this page are affiliate links. I earn a reward or small commission when you use those links at no cost to you. Read more about the Affiliate Disclosure on the Terms page.
Is this your first Inktober?
Perhaps you’ve made attempts without completing it? Or have you made it to the end, but are curious about tips for a smoother experience?
In this guide, I share my approach to completing the 31-day Inktober pen and ink challenge.
Whether you’re a hobbyist or a seasoned artist, if you aim to level up without feeling completely drained at the finish, this how-to guide is for you.
Why you want a guide
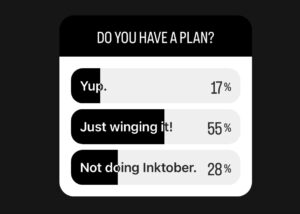
If your default approach is to “wing it” and that’s served you well in the past, great.
Otherwise…
The purpose of this guide is to prepare you so that you can look back on Inktober as having been a rewarding experience with artwork that you can be proud of for years to come.
2021 was my first Inktober.
Although pleased with my accomplishment, it was a bittersweet ending. I felt drained. And disappointed with the quality of my art.
I wrote down the issues so that I could improve for the following year.

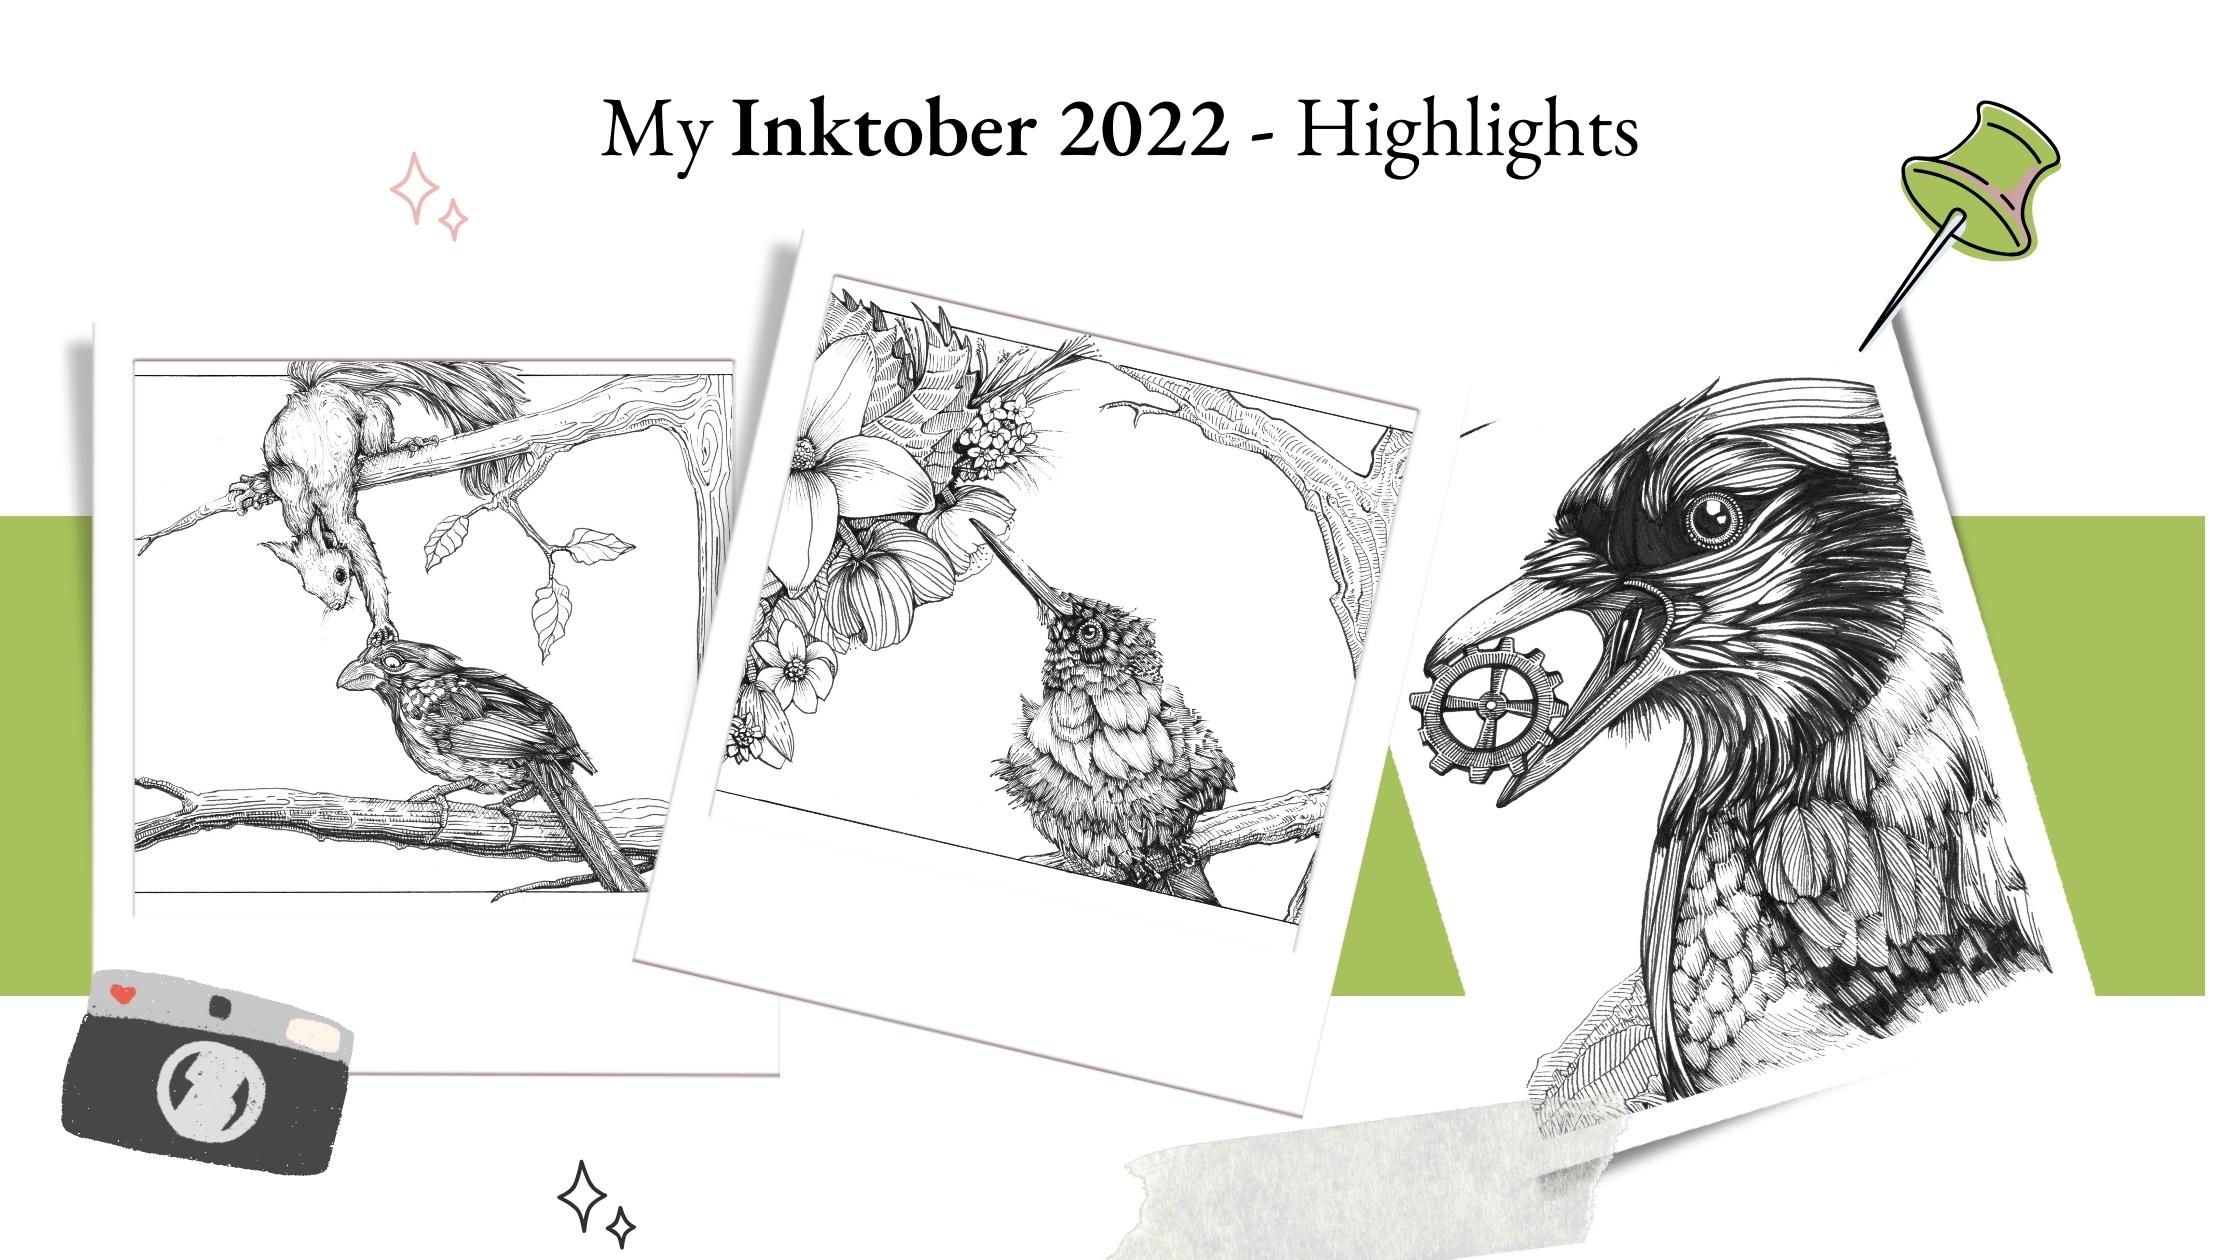
In 2022, I applied my learnings, and thanks to those changes, things went a lot smoother.
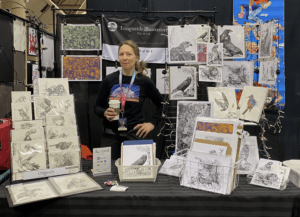
As a bonus, my illustrations were re-posted by the Inktober Instagram account. I’ve since been featured as a pen and ink artist in their monthly newsletter and the opportunities from this scale of exposure keep coming.
Creating 31 ink illustrations in 31 days is a huge endeavor.
It’s simple but hard
I view Inktober as a major art project and that’s why I take the same approach with this challenge as I would managing any other large-scale project.
How to plan your Inktober
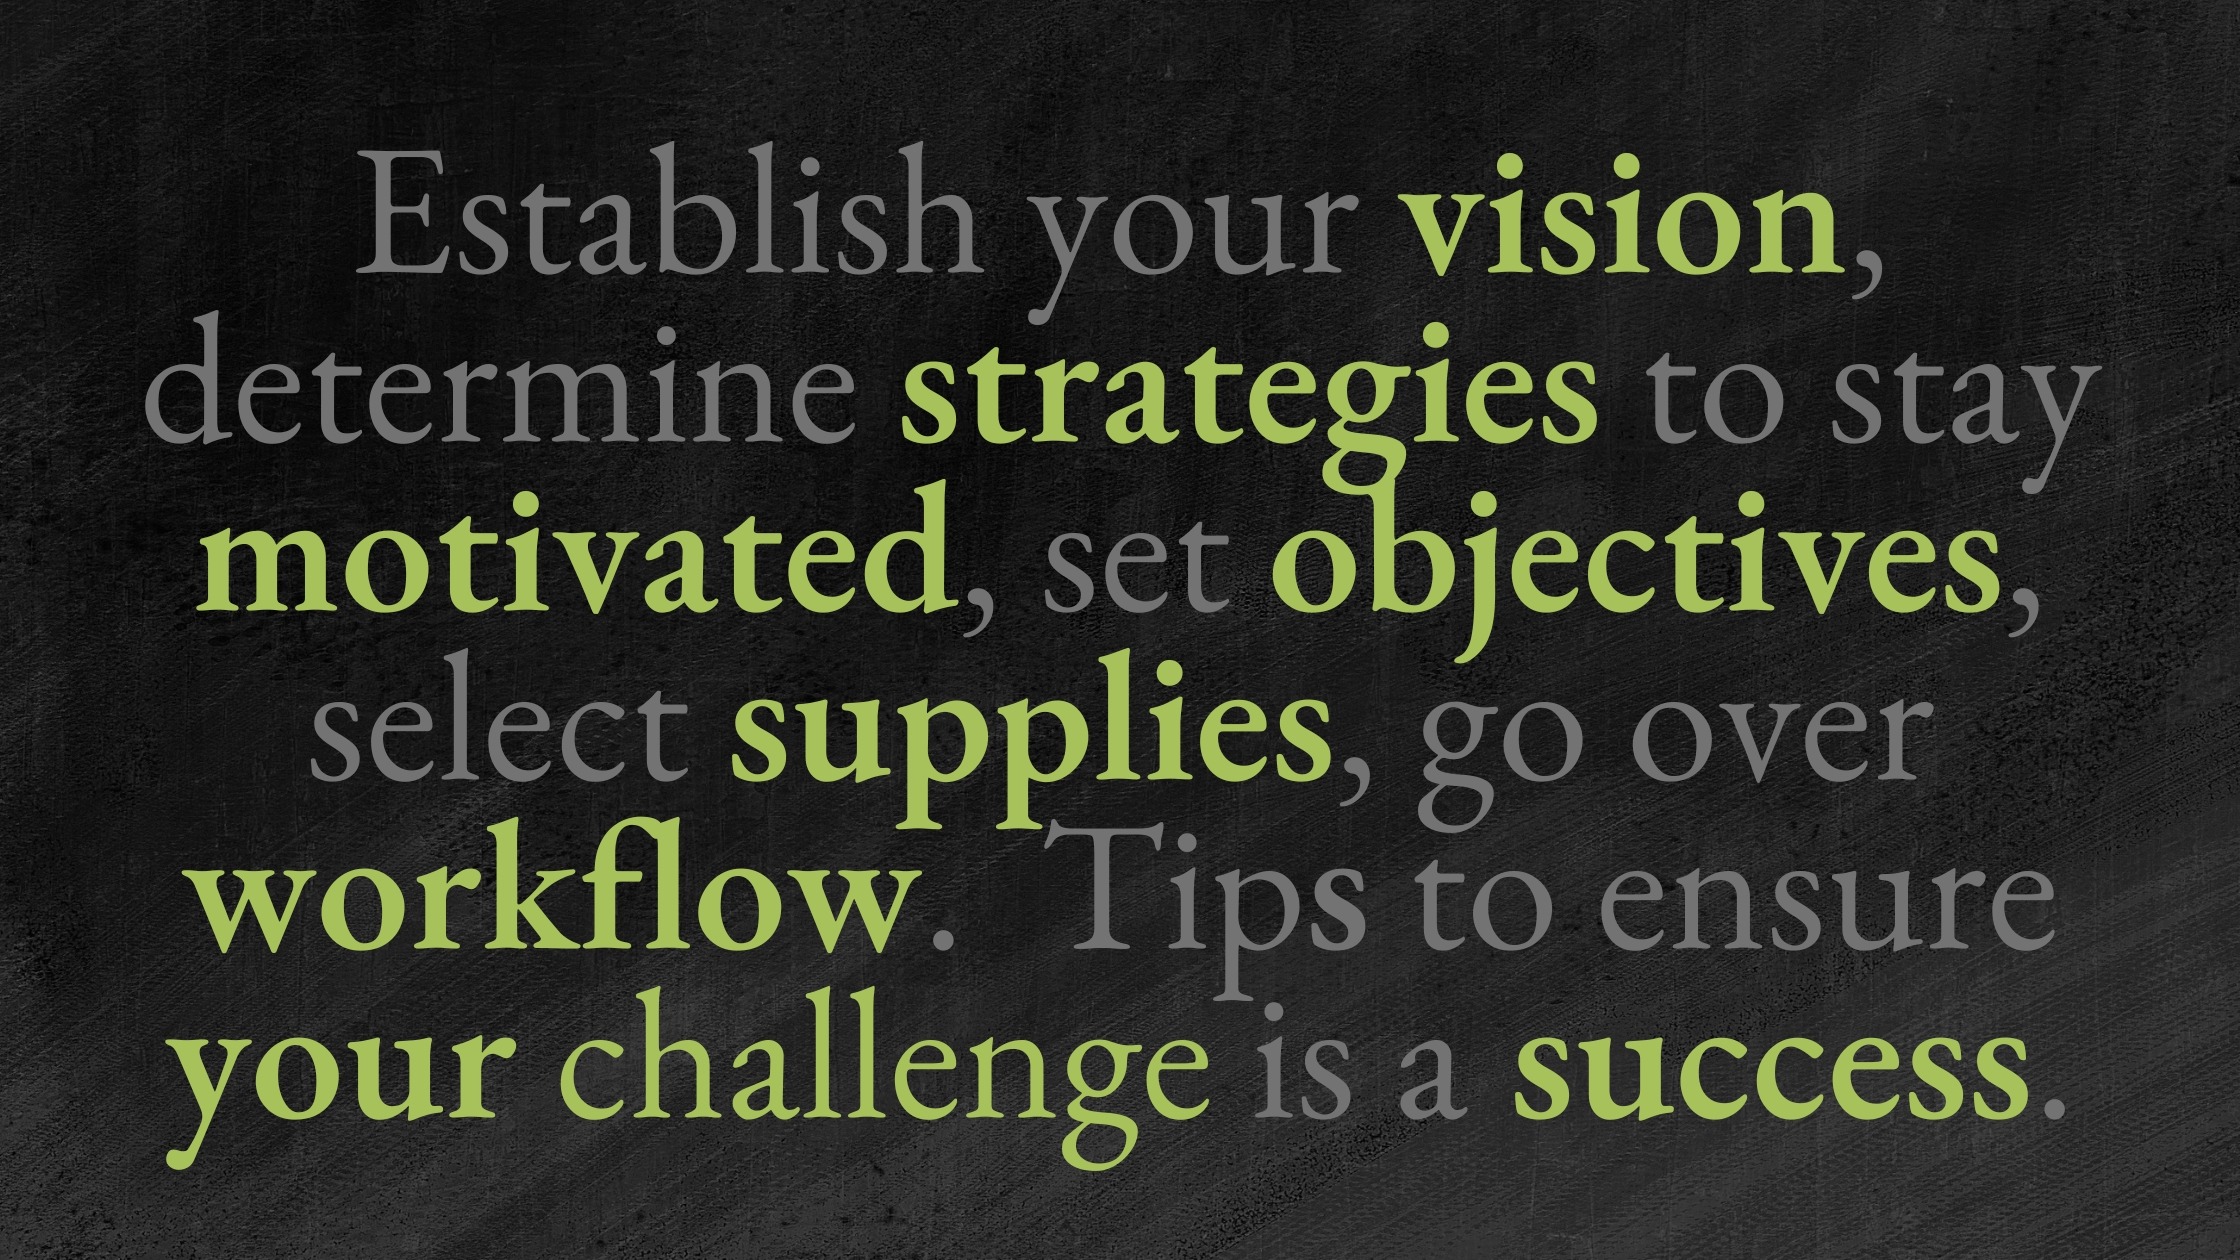
The path to a strong finish becomes clear when you have:
- a vision;
- strategies to stay motivated;
- personal objectives;
- selected supplies, and;
- follow a schedule and/or a workflow method.
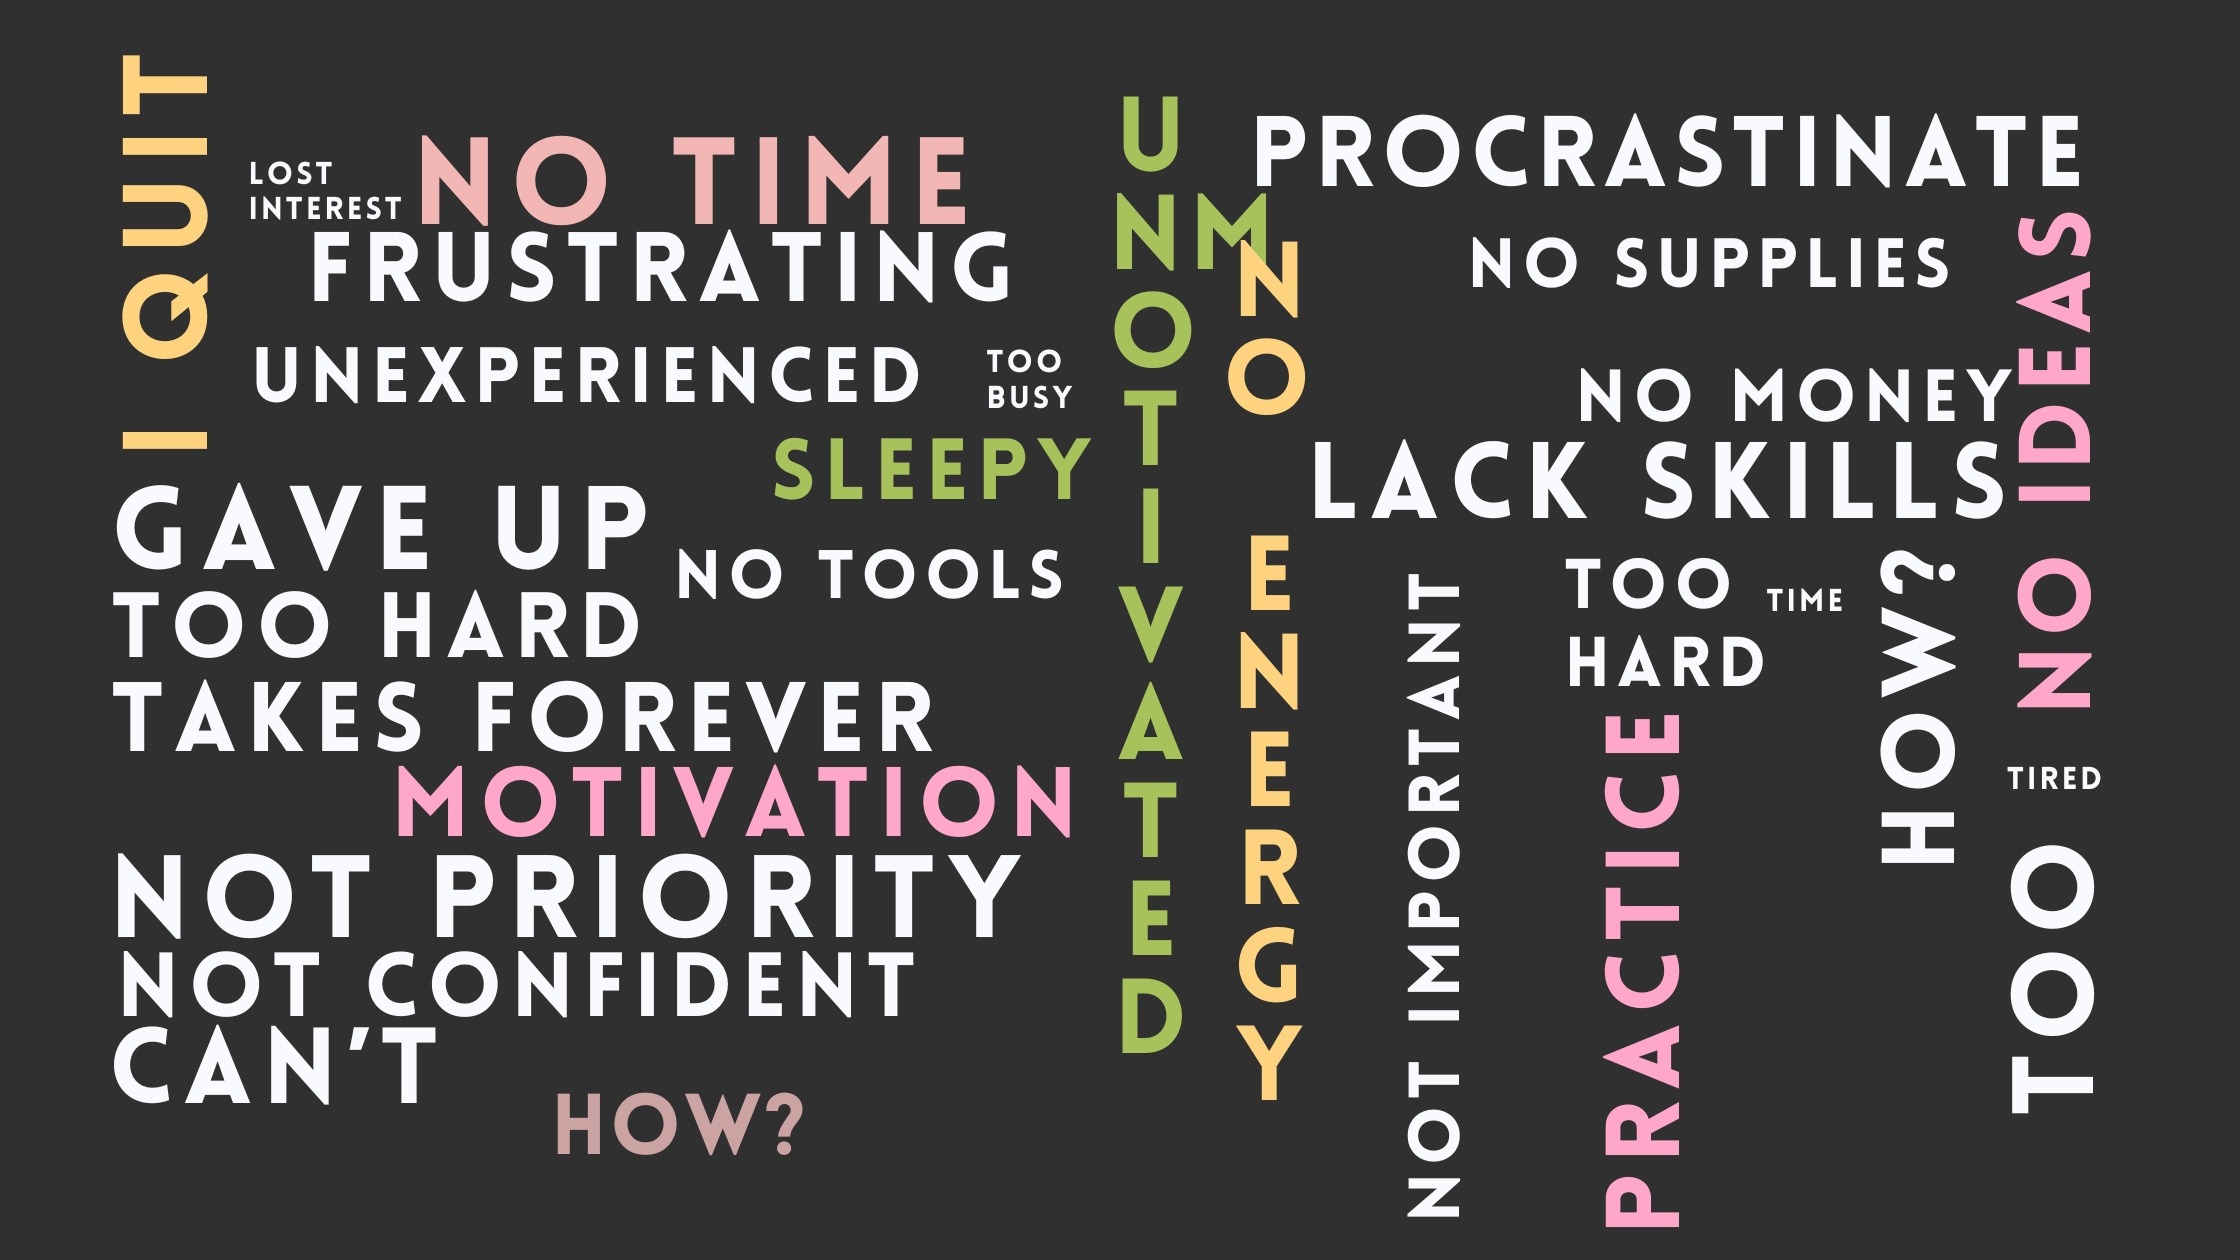
Why people quit Inktober
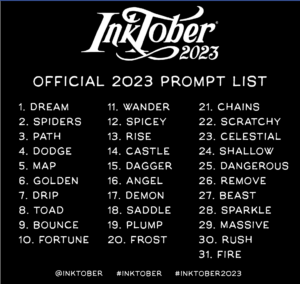
The Inktober official prompt list is released on September 1st to encourage a head start. The reality is … many of us still procrastinate.
Counting procrastination, I’ve heard a multitude of other reasons why the challenge is abandoned.
No time
The number one issue is juggling to find time. A solution is appropriate planning.
Appropriate being, realistic objectives that satisfy our needs.
I say satisfy needs, because, planning can only carry us so far. We’re human.
Staying motivated is the second biggest hurdle. Somewhere around prompt 17 our aspirations start to fade.
Motivation
To maintain our motivation, follow plans, or a well-intended schedule – it helps to develop a rhythm. A routine that drives momentum.
Momentum takes place when there is deep meaning behind our intentions.
What is the purpose of you doing this challenge? What do you want to get out of it?
The glory and camaraderie of participating might not be enough to maintain your enthusiasm, doing prompts late at night, tired, every night for a whole month.
Focus on compelling reasons for why you want to complete the challenge. It must be powerful enough to propel you to do it.
Decide that this is so important, nothing will stop you.
Momentum takes place when there is deep meaning behind our intentions.
Six compelling reasons to participate
Based on what others have shared with me, the most common reasons for participating in the Inktober daily art challenge are:
- To improve pen and ink skills.
- Struggling to come up with new ideas.
- Working on discipline and being more consistent.
- To get more comfortable drawing under a deadline.
- Sharing our art with the others.
- Accepting a new challenge and having a fun time doing it with like-minded friends.
Last year, I wanted to be part of a group of like-minded friends and attended the Inktober Focus Retreat Centre.
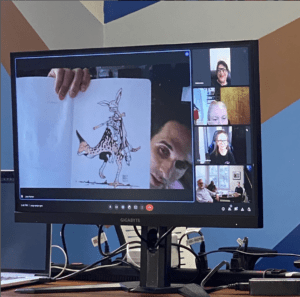
Jake Parker shared with us (in a ZOOM call) that his purpose for starting Inktober was to boost his pen and ink skills, quickly, and a good formula for fast results is to impose a time constraint (one drawing per day) and a means of accountability (sharing it with others).
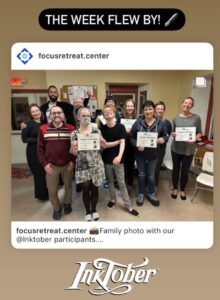
@focusretreat.centre, @jakeparker, Mike: @necromike
Create a vision
Create clarity by writing down your reasons for completing the challenge.
These reasons are the basis for your overall vision. This vision then works as a strategy to maintain your momentum.
Write it on a poster, hang it on the wall, pin it to the fridge, and load it as a digital wallpaper. Keep it top of mind.
Now that we have a vision and a strategy to stay motivated throughout – we’re ready to start planning.
Follow your objectives
We have two categories of objectives. One is related to your art and one is related to your process.
Figuring these out is key because your objectives will guide subsequent decisions.
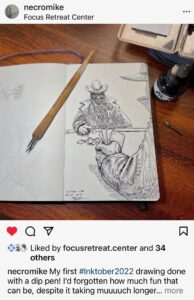
In the first year, I made a poor decision.
I had newly acquired a dip pen kit and wanted to try it, thinking “Inktober is ideal for testing new supplies”.
What I didn’t know … is that dip pens have a learning curve and also take way longer to ink a drawing (with the constant dipping etc.). Since I hadn’t accounted for a ‘way longer time’, a dip pen was an impractical tool for achieving the outcomes I wanted.
BTW: I’ve since written a guide if you want to learn more about drawing with dip pens.
Objectives for your artwork
Let’s start with your artwork objectives and you’ll see how that can impact your choice of supplies.
End usage
What will you do afterward with your drawings?
- Are they for presenting in a portfolio?
- Will you be framing them as gifts?
- Selling the originals?
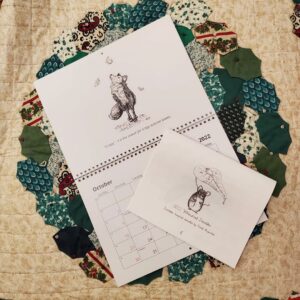
- Making prints, a colouring book, what about a calendar?
If none of the above, a popular choice is drawing in a sketchbook for its convenient travel size. Plus, it’s pretty satisfying to flip through a hard-cover journal.
Visit the tools page to see my favourite tools and supplies.
Heidi: @artandadventures and George: @drawn_n_quartered
Paper type
The first year, I used a sketchbook and afterward realized that the pages being bound together limited my options.
In 2022, I used Strathmore, 50lb, acid-free, smooth marker paper. Because my drawings were showcased on individual sheets of high-quality paper, I sold 29 of the 31 originals.
Even as a hobbyist, there’s an opportunity to extend the joy you get out of creating for the challenge, such as gifting your creations either as framed originals or as printed reproductions.
Other products besides calendars and colouring books that make thoughtful gifts:
- Folding cards with envelopes
- Postcards
- Stickers
- Buttons
- Mugs
- Tote bags
- Notebook covers
Most print-on-demand vendors allow for single print quantities. So, consider what you will do afterward with your drawings.
Format and dimensions
If you’re working digitally, obviously paper choice is less of a dilemma though you may still consider the dimensions.
If primarily sharing online, the 9:16 ratio is ideal for most social platforms.
In 2022, although I made a good choice with the paper type, I made a regretful choice with the dimensions.
I went with a landscape format intending to print calendars. The landscape format did not work as well for sharing posts on social media, especially on Pinterest.
As a cautionary note – if you’re reproducing your art from the challenge for commercial use (to sell your reproductions), I believe the official Inktober logo, and possibly the challenge itself, are registered trademarks. So be mindful of this with your branding.
Medium and style
Will you be using a consistent medium and style throughout for an overall cohesive look?
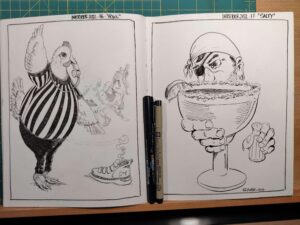
I like themes.
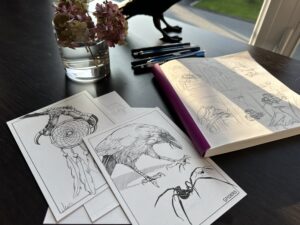
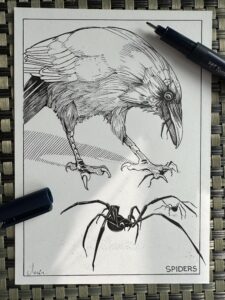
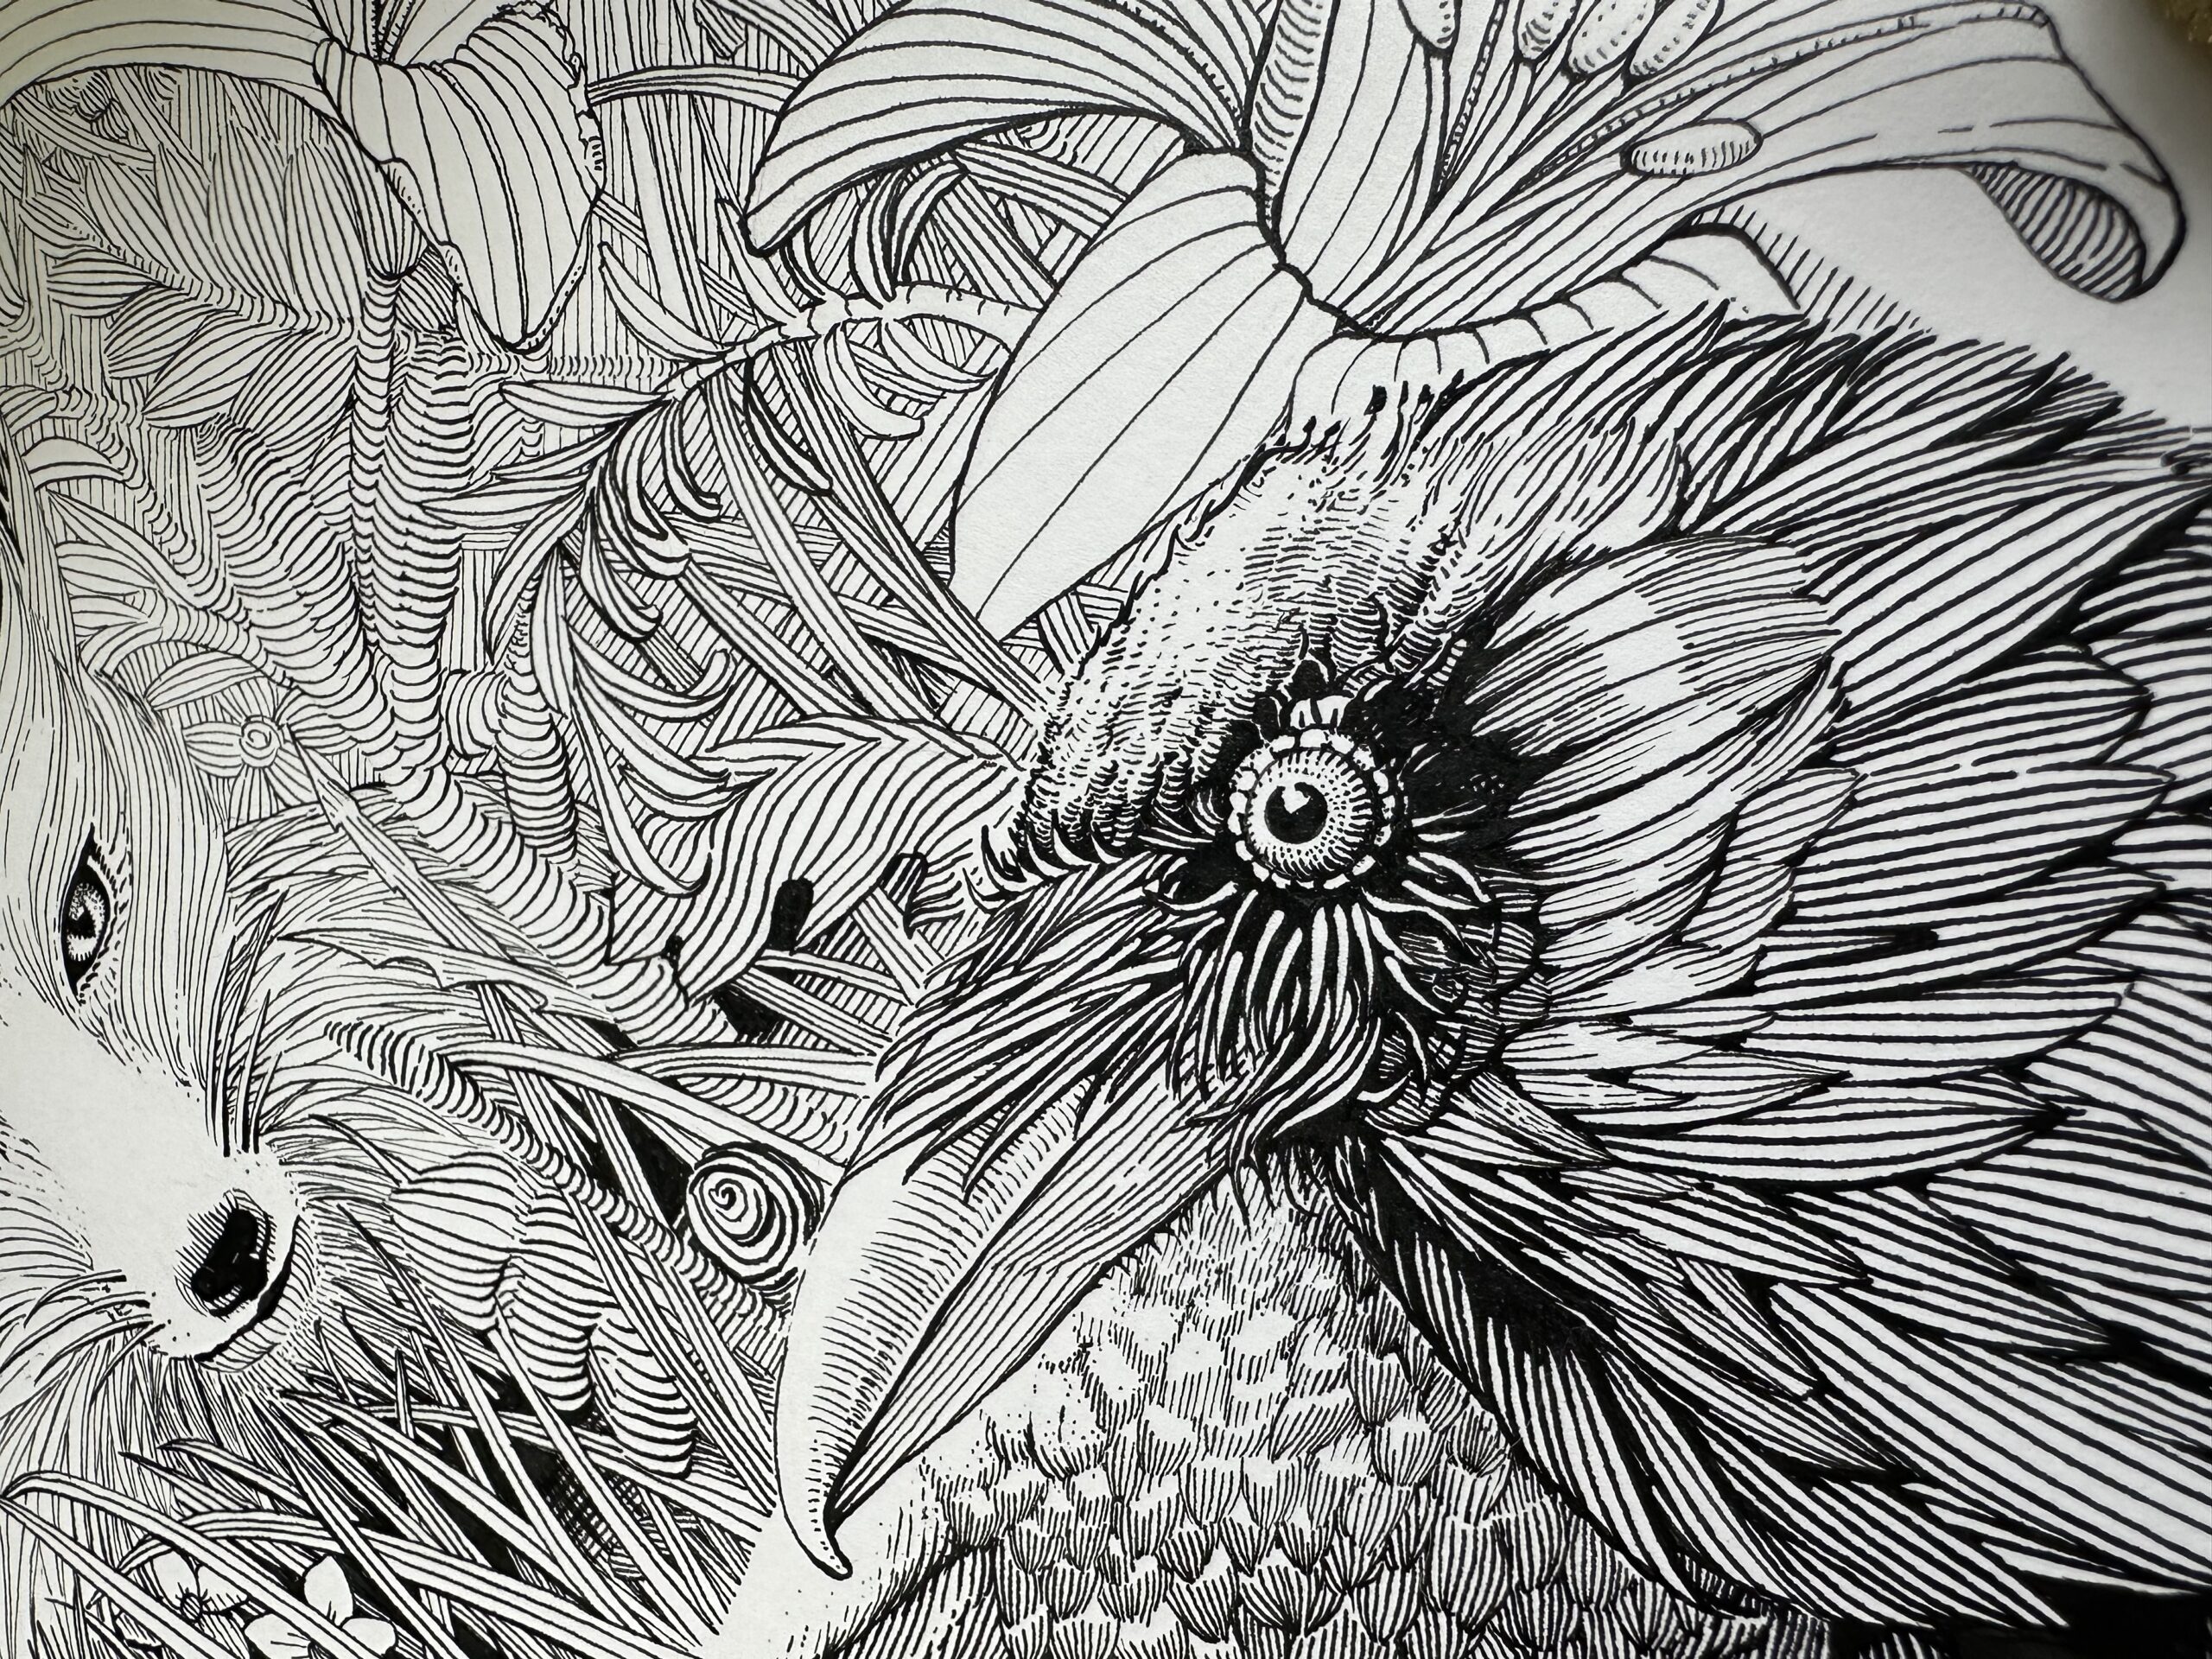
The first year I weaved the prompts into a narrative with two characters, Brynn and her raven companion Krum. The following year, I did a bird theme. And you can likely guess my theme for this year’s.
Objectives for your process
How much time will you allocate per drawing?
I say ‘per drawing’ because if you’re going for a cohesive look – then it makes sense to invest an equal amount of time into each piece.
Before you answer the time question, reflect on what you wrote down as:
- reasons for completing the challenge;
- what you want to get out of it, and;
- why it’s important to you.
I’ll share mine as an example so you can see how these answers affect the next decisions.
This year, 2023 my reason for doing the challenge: I’ll admit is marketing. Inktober is the right exposure to promote my art.
What I want to get out of it: I’m striving to reach higher levels. The challenge pushes me. I will be intentional with my learning by focusing on growing a specific skill.
It’s important to me: To contribute value to fans of pen and ink with what I share.
The objective for my original illustrations: Is to sell them.
Based on those four things – I now know to:
- use good quality materials; and to,
- focus my efforts on inspiring narrative.
Using good quality materials (lightfast) ensures the longevity of the art for collectors.
Visual storytelling can be a more powerful technique than perfectly executed strokes. Therefore, under time constraints, my priorities shift from polish to narrative.
With that in mind, now I can also answer the time question.
Time allocation
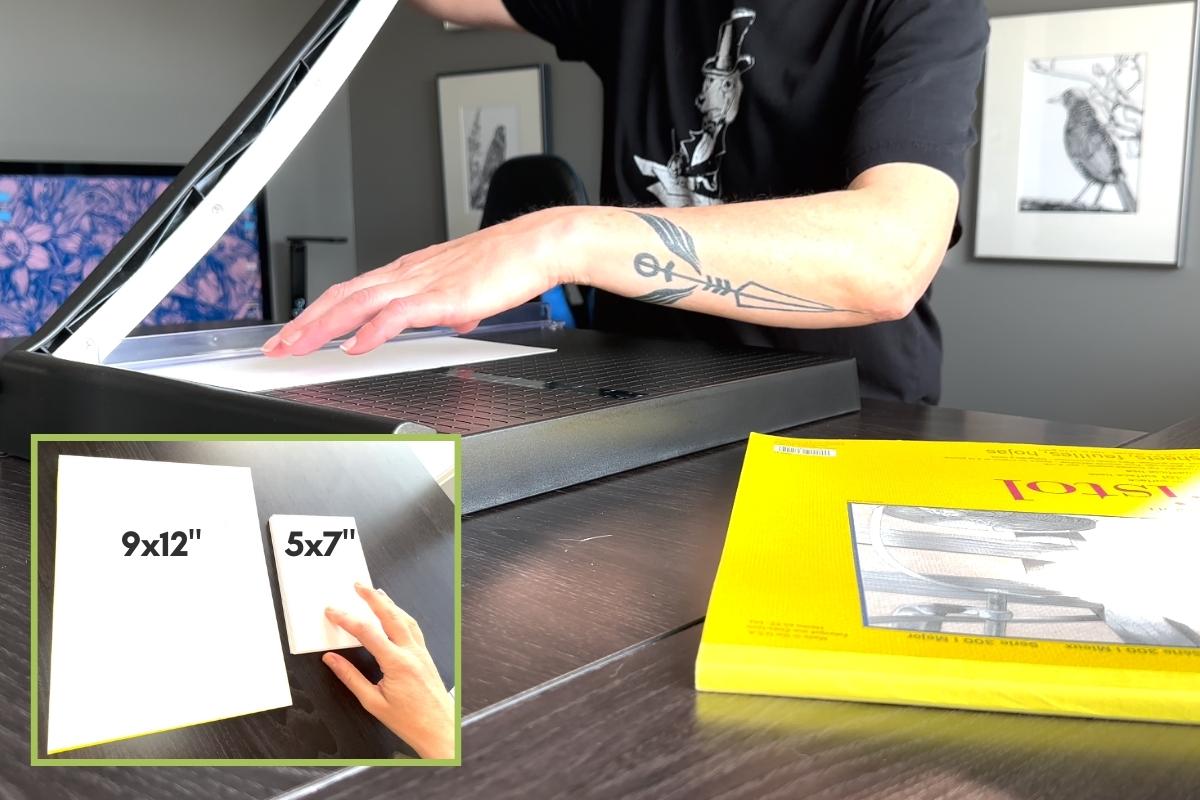
Usually, creating a collector-quality 9×12” piece drawn with dip pens takes me on average 10 to 30 hours from start to finish, including all the prep work.
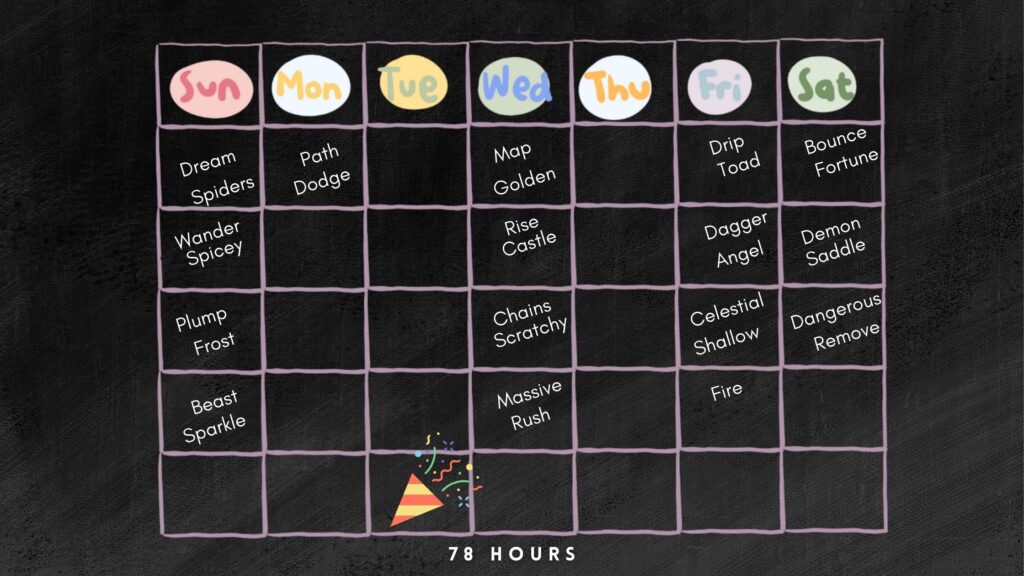
If I’m being honest with my schedule, I can only invest 2.5 hours per illustration. That’s around 78 hours total for 31 finished pieces.
Now your turn.
On average how long does it normally take you to do a finished piece?
Based on your vision for Inktober, determine how much time you truly, possibly, can invest.
Top time-savers
Is it possible to produce ‘collector-quality’ art in 2.5 hours?
Not at my current skill level it isn’t. There’s a mismatch between my aspirations versus reality.
If you suspect there might be a mismatch for yours as well, let’s review top time-saving strategies.
The medium
For pen and ink, my 2.5-hour time allocation eliminates wet mediums including dip pens.
This is personal of course, depending on what mediums you are most familiar using. However, if we consider drying time, the ink application is quicker with fine liners and markers.
Dimensions
The larger the artwork, the longer it takes to render. Subsequently, I’m reducing my inking surface from 9×12 to 5×7 inches. Which is also a cost-saving in paper.
Style
My rendering style is time-consuming.
Therefore, I’ll streamline my compositions, reduce the number of elements in the picture plane, and omit decorative backgrounds or effects.
Simplicity will be my challenge, by aiming for a ‘less is more’ approach.
Organization
I’ve seen others set up document folders to gather references.
It seems wise to use a planner or a productivity APP and to block time in a calendar.
I ensure my tools and supplies are stocked and in good working order. And aim to prepare as much in advance as possible (when I’m not busy procrastinating).
Schedule
Will you be sharing your challenge on social media? If yes, assuming that you’ll publish at the right time for your audience, this becomes your daily deadline. For myself, this is between 10 am – and 12 pm EST.
If you’re not sharing on social media, do share with someone.
“Pin it to your refrigerator”.
– Jake Parker
Workflow
If developing a daily drawing habit is your motivator, then it makes sense to work on one prompt per day from start to finish.
Many, myself included, batch the process in flexible clusters of time.
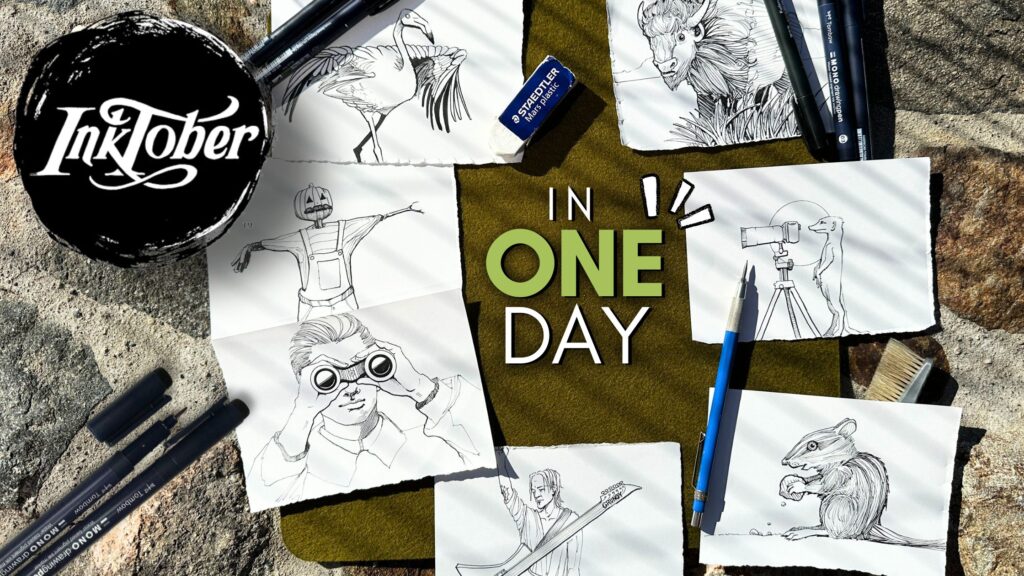
I know pro artists who complete a week’s worth of prompts, all seven, in one weekend. I even saw on YouTube a prolific artist who fulfills the entire challenge in a single day.
I will publish daily, but otherwise, my workflow is a series of flexible 2.5-hour time blocks.
Step I – First-time block
The first 2.5 hours go towards prompts Day 01 through Day 07.
I’ll do research, and gather references in folders.
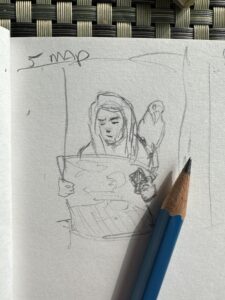
Then, on a sketchpad, do rough 2” x 3.5” thumbnails until I’m happy with the seven concepts or until the 120 minutes are up.
Step II – Second-time block
Based on those thumbnails, I’ll use the next 2.5-hour available window of time to draw prompts for Day 01 through Day 04.
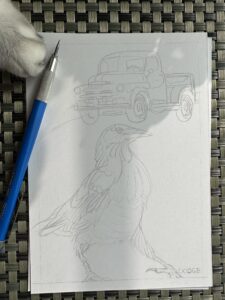
These are clean pencil drawings done on my 5” x 7” inking paper.
Step III – Third-time block
I’m ready for the ink application for the first two of those pencil drawings. It works out to approx. 50 minutes to ink each drawing.
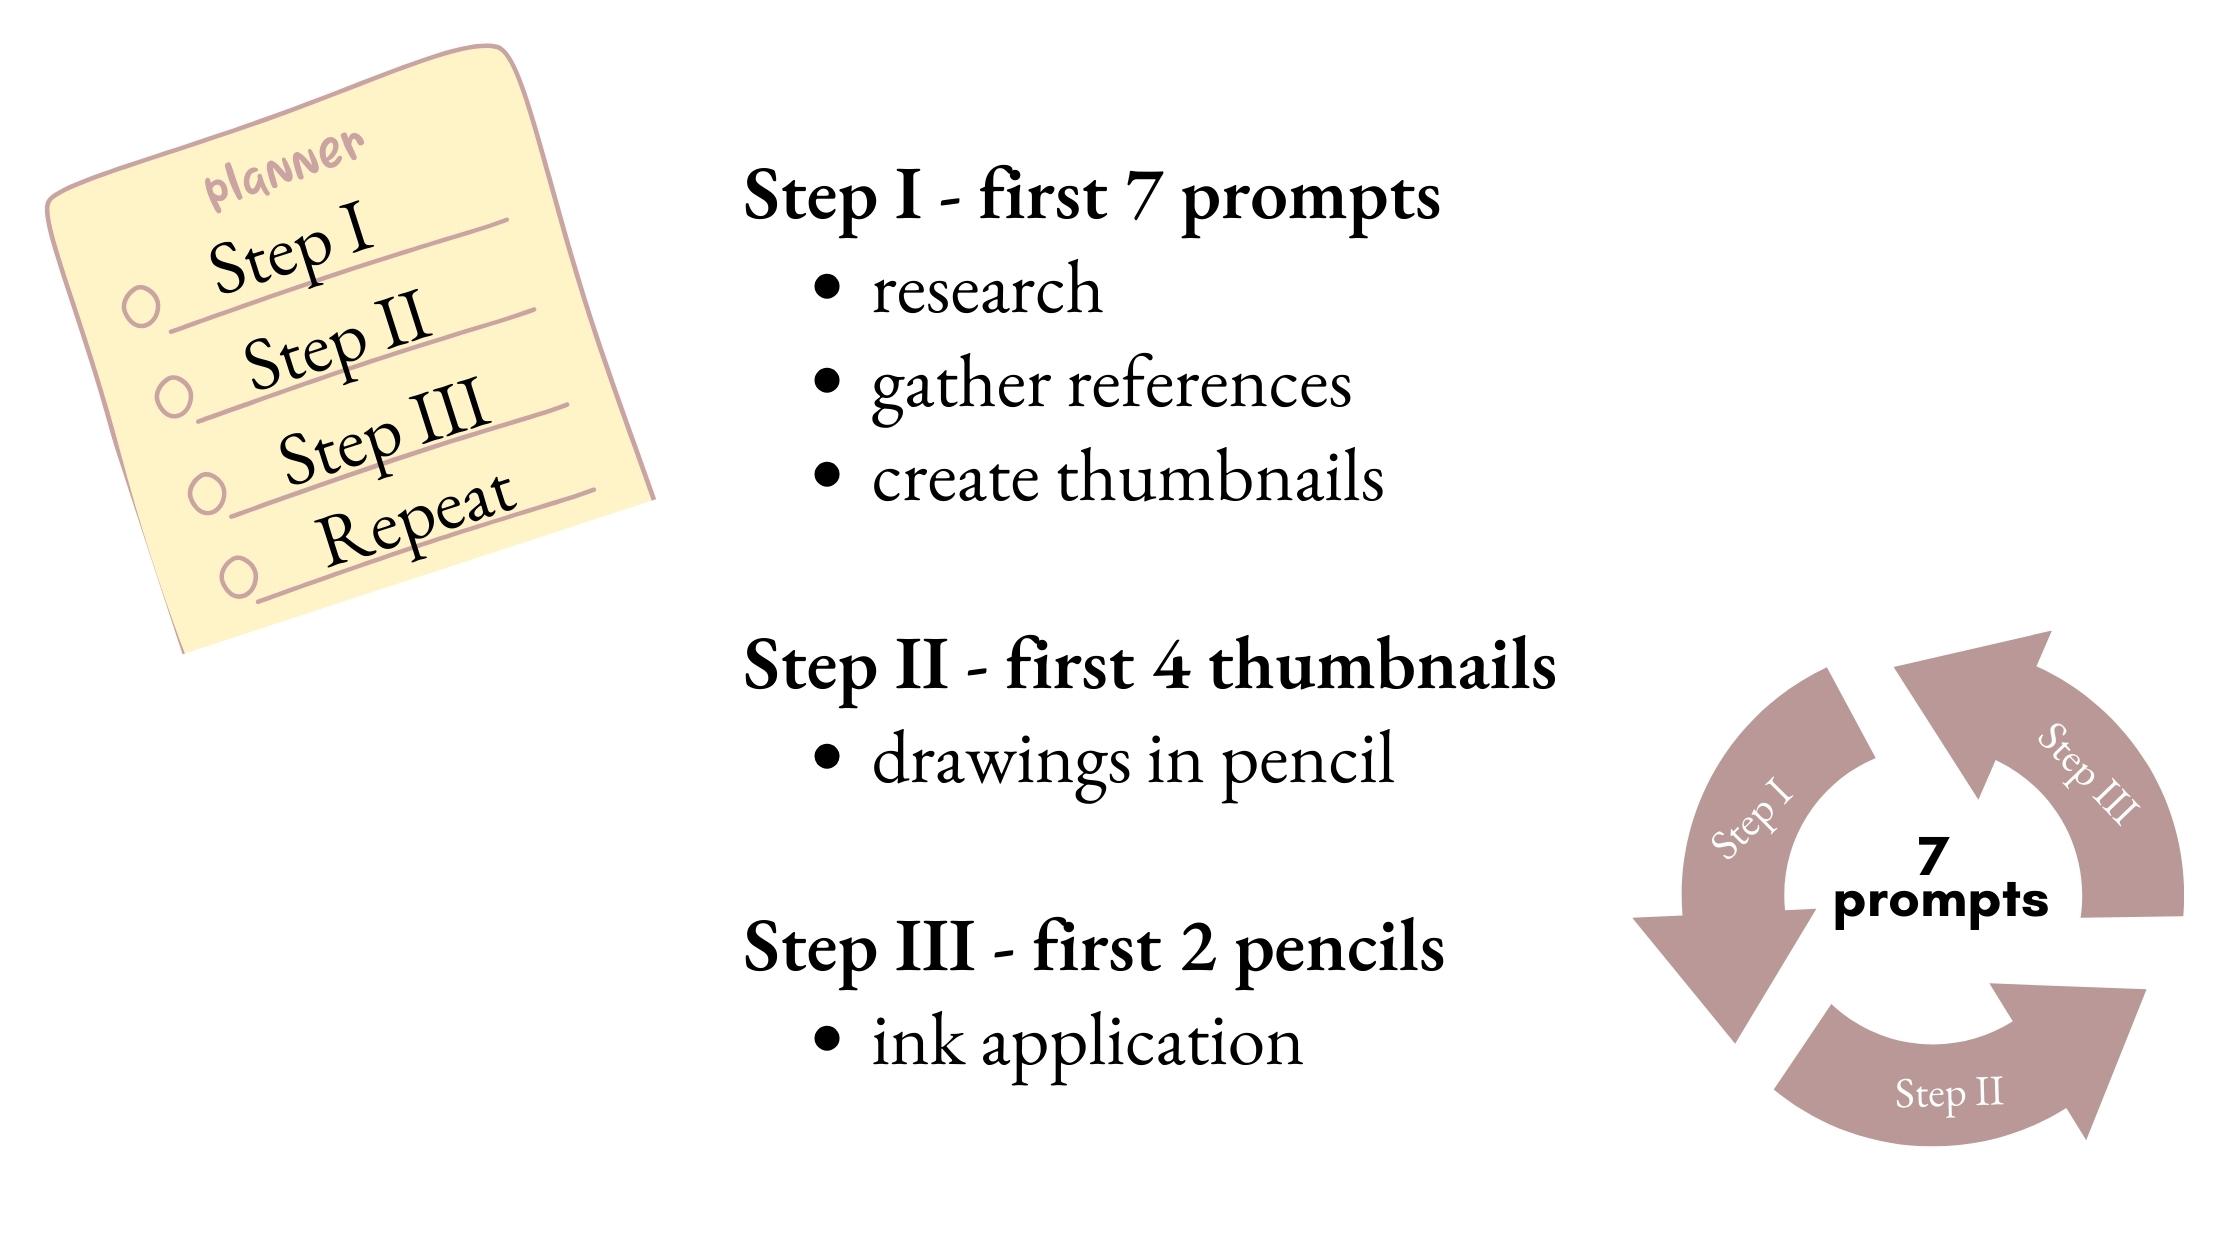
I repeat steps II and III until all seven prompts are complete. Then back to step I for the next set of seven and so forth until the 31 prompts are done.
In total, 134 minutes are dedicated to completing all the steps through to the inking stage.
The remaining allocated 16 minutes are used towards documenting the process, photos, and filming video, to later edit and publish online.
This works perfectly for me because it keeps me:
- organized and on-task
- always ahead of the prompts
- energized with scheduled breaks between steps
- motivated by having a rhythm
How these decisions help
By following the methods described above, I’m able to level up my skills as an artist and finish a major project (on top of everything else) feeling strong.
To review, we have:
- reflected on a vision – a purpose for participating in the challenge;
- strategies to stay motivated – why completing is important to you;
- personal objectives – what you’ll do with your art afterward;
- considered supplies, and;
- determined schedules and workflow options to maintain momentum.

What if you’re not going to make it?
If the methods in my guideline are not a good fit for you, and you’re still leaning toward “winging it”, consider the following tips below.
Tip 01 – Shift priorities
Does a time allowance per drawing restrict your creative freedom? Consider reprioritizing your other commitments. This would afford you time buffers against disruptions or those pesky distractions that pull you off task.
Tip 02 – Shift mindset
Does pushing to create collector-worthy artwork under tight deadlines sound more stressful than fun? You could aim to sketch the prompts as studies for exploration, that you can later reference to create more polished projects.
Tip 03 – Shift the rules
Inktober is intended to encourage positive drawing habits and to share in the experience – whatever that may look like within your capacity and desired outcomes. Why not participate on your terms?
As well, there are loads of other October Art Challenges to choose from as alternatives to the official Inktober.

You’ve likely guessed my raven theme for this year. Follow my challenge on Instagram to see more about that process.
If you found this article useful, I ask that you share it with others who might also appreciate it.
You never know how joining a challenge like this can impact someone’s life. It was thanks to a friend that I decided to participate in 2021. My art skills have grown as a result of getting involved.
If you have a question, be sure to look through the resource section below or to reach out. I always look forward to reading your comments and suggestions.
I wish you the best with your pen and ink challenge!

Resources
The Ultimate Checklist Worksheets for Art Challenges
Frequently asked questions and a full list of my supplies
Follow my challenge on Instagram
Disclosure: Some of the links below are affiliate links and at no additional cost to you, I’ll earn a commission or reward. Read more about the Affiliate Disclosure on the Terms Page.
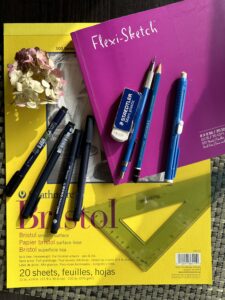
🎨 My Inktober Challenge supplies and materials (see studio supplies on my FAQ page)
- Staedtler Mars Lumograph Art Drawing Pencil Set
- Staedtler Mars Technico lead holder
- Staedtler Mars plastic eraser
- Staedtler Mars plastic stick eraser
- Faber-Castell Kneaded Eraser
- Tombow mono drawing water-based ink markers – box set
- Speedball Art 8×8/60lb Flexi-Sketch pad
- Strathmore 300 Bristol smooth paper 9×12 – cut to 5x7inch sheets for this project
What to read next:
► 10 tips to accelerate pen and ink drawing skills blog post
► Five steps to becoming a better self-taught artist blog post
Amazing blog for inktober, thanks for the resources! Thanks for the youtube video for inktober! It helped a lot! This is my first time joining and i can’t imagine what would happen if u never made this guide/video! – Narnia (aka Sheep)
I’m so glad that you found the resources helpful! All the best with your challenge Narnia Sheep 🙂