Learning from Takehiko Inoue’s Vagabond
We can learn a lot from studying a mangaka.
DISCLOSURE: I earn a small commission when you make a purchase using one of my affiliate links. Read more about the Affiliate Disclosure on the Terms Page.
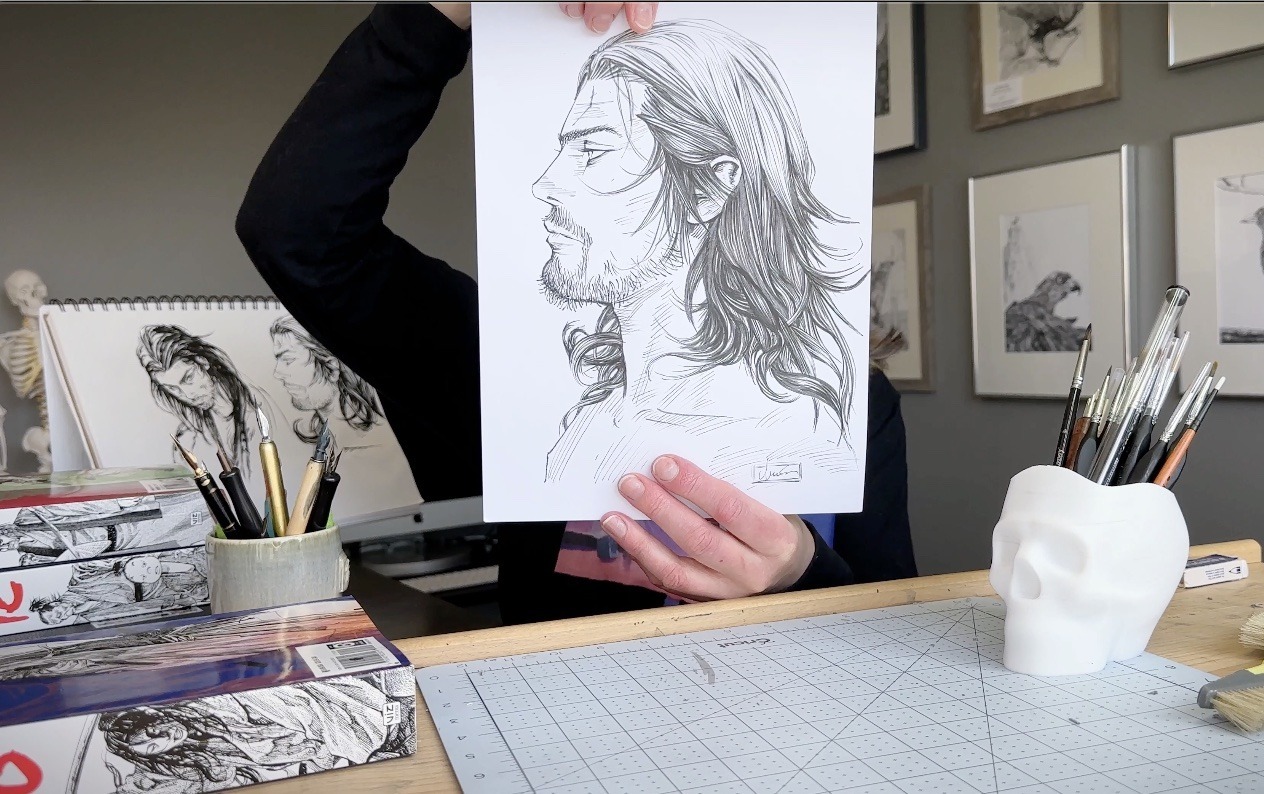
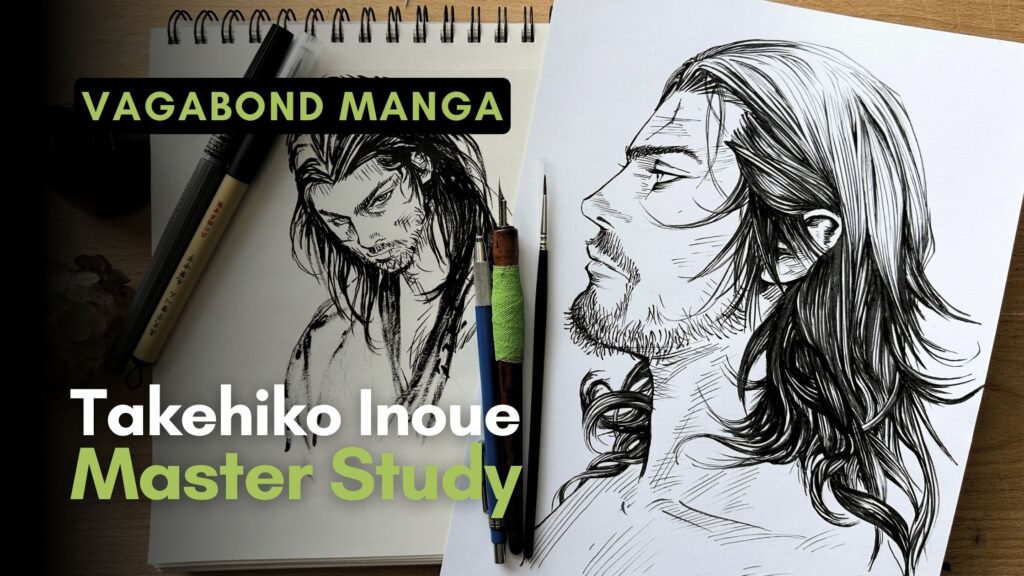
While scrolling on Pinterest, this Miyamoto Musashi piece (above) caught my eye.
It was soon after that I became a fan of Vagabond Manga and Takehiko Inoue’s work.
From a pen and ink learning perspective, there are 3 things that stand out about this master, including his:
- Distinctive style
- Control of the instruments; and
- Economic techniques.
Distinctive Style
Sensei Takehiko Inoue’s style is distinctive in that it is immediately recognizable.
His creations incite emotion, with characters you get attached to.
Like many great mangas, the story provides both escapism and introspection.
His illustrations and visual narrative are:
- Dynamic
- Realistic
- Relatable
Vagabond manga is one of those stories that slowly seeps into your soul.
Control of the Instruments
Control of our instruments to create art is something most of us still strive towards.
Let’s agree that we each have a natural way of making marks that come more naturally.
For instance, I’m more comfortable primarily pulling marks towards me.
Some artists prefer to push the marks away from the body.
Takehiko Inoue uses both motions based on what he’s illustrating. Plus, he adjusts how he holds each tool to get the desired effects.
Notice (below) how he holds a mechanical pencil.
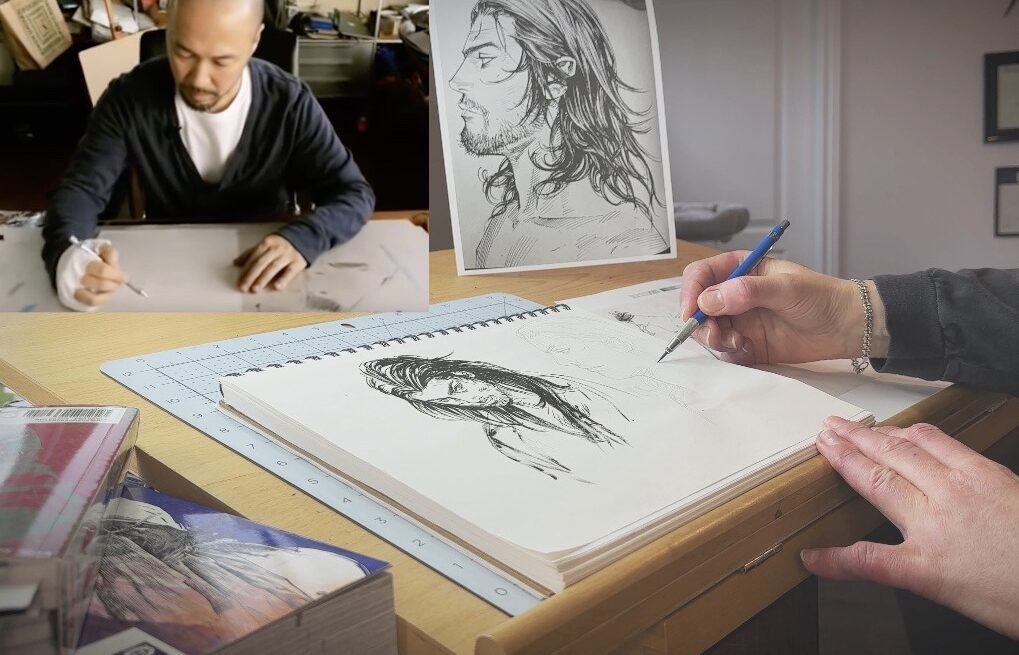
His hand then moves higher on the shaft when using a dip pen.
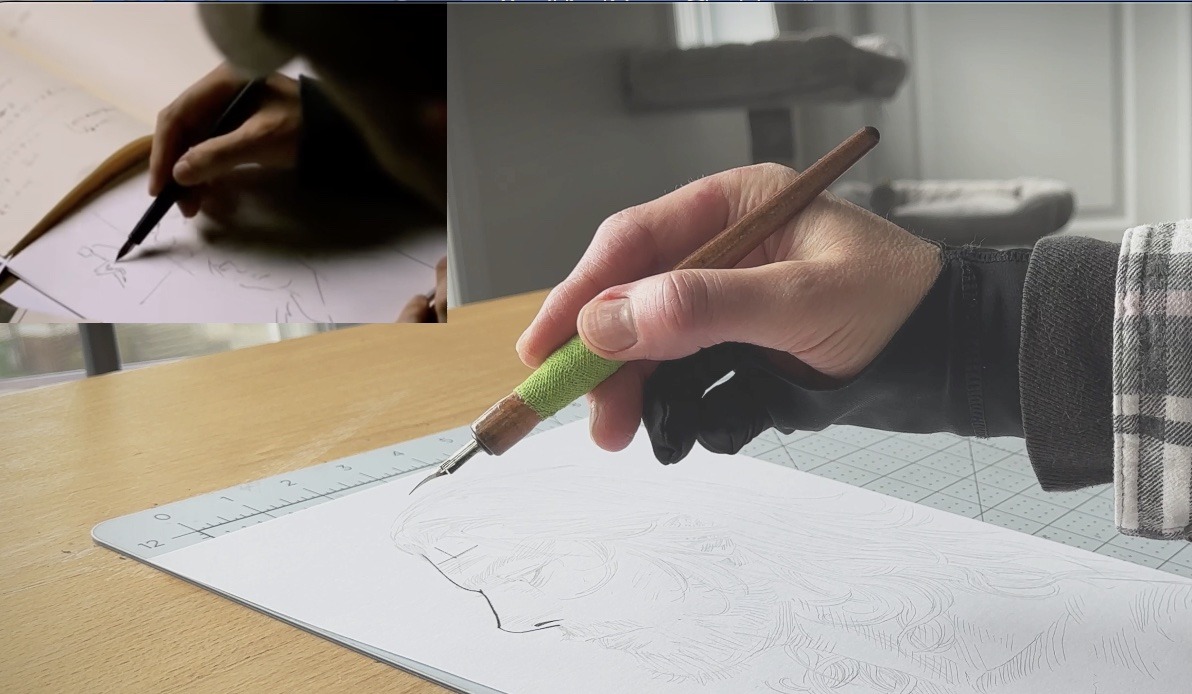
He holds a brush more upright than a dip pen and a little closer to the tip.
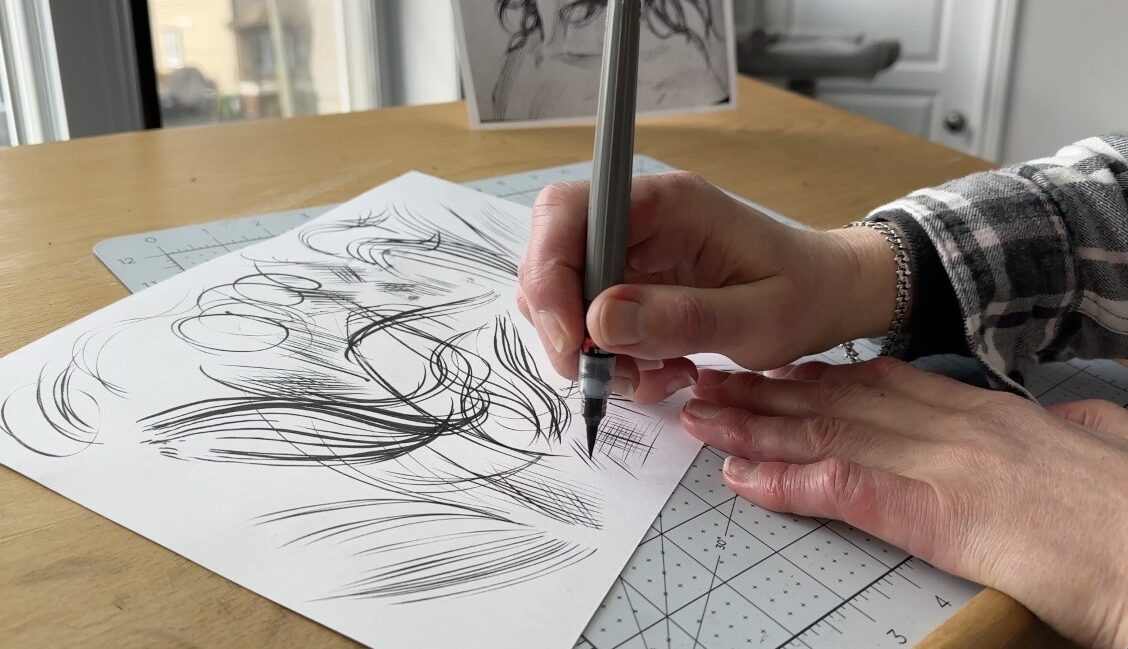
You might argue that the tool doesn’t make the artist, but Takehiko Inoue demonstrates that it can be advantageous to control each instrument to its full potential.
Take note of how masters hold their instruments in motion.
You can gain a lot by practicing what you observe to train your muscle memory.
Economic Techniques
What fascinates me about Takehiko Inoue’s techniques is what I would categorize as an ‘economy of lines‘ or mark-making strokes.
Rendering Objects
In the images of Sasaki Kojirō (below), you may be inclined to judge the illustration as having many lines.
You could be thinking, it is the opposite of an economy.
At a glance and as a whole, the swords look like they were drawn with a lot of detail.
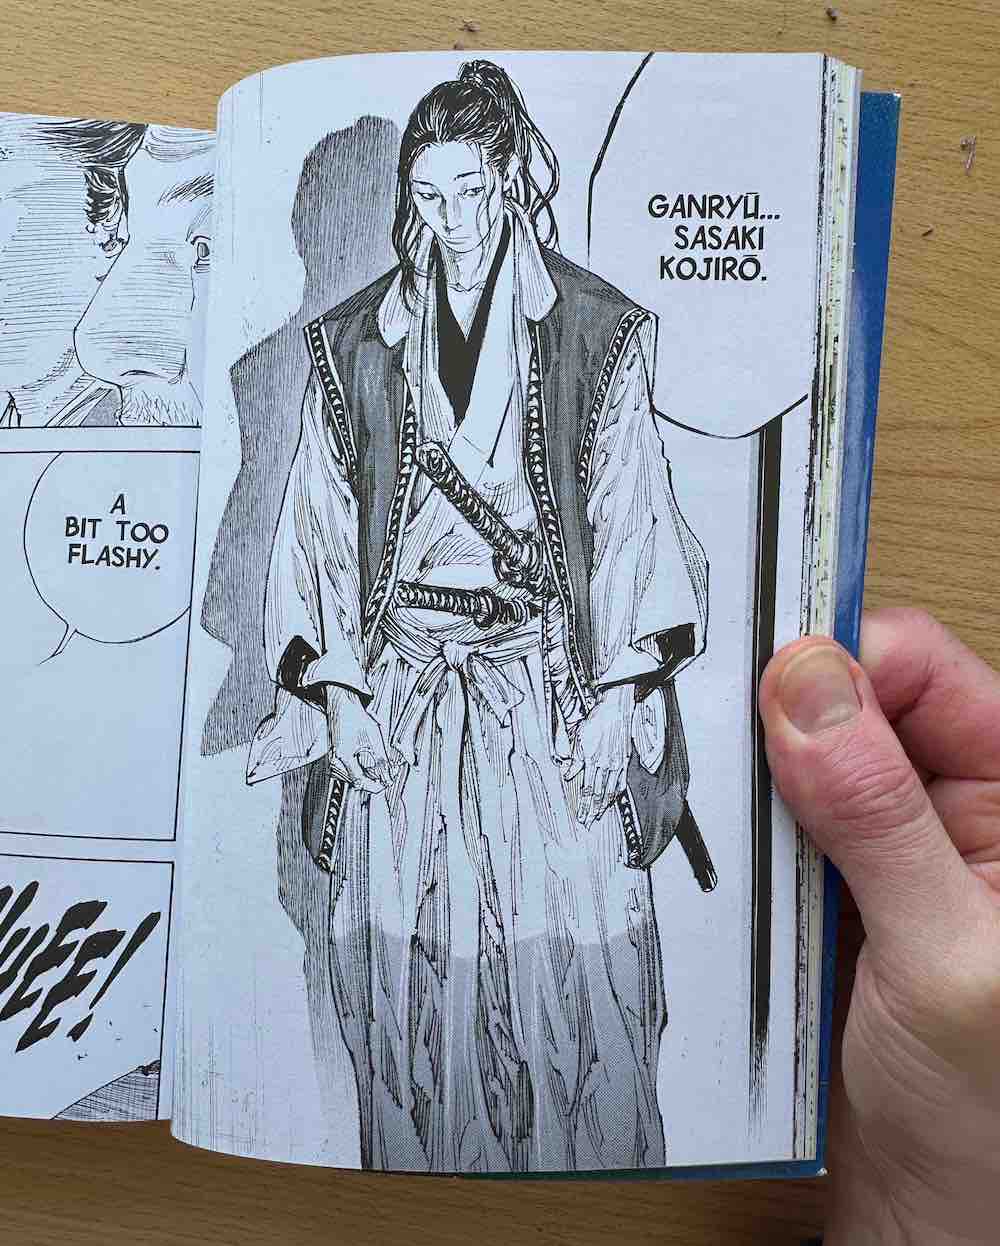
Upon closer look, note how the swords are drawn using loose scribbly strokes.
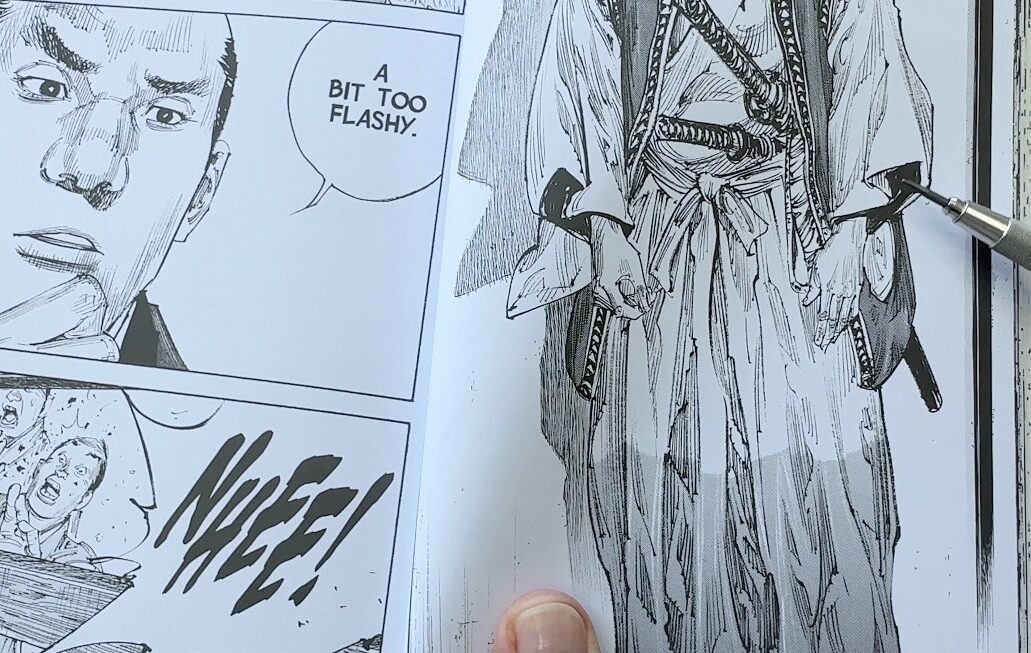
By zooming in, you can see how rough the scribbles are, yet they are also intentional.
Each mark precisely explains the sword’s:
- Shadows
- Highlights
- Proportions
- Volume
- Texture
The strokes even convey the weight of the swords.
There are spots where the outline that defines the contouring edges of the swords is altogether missing.
This technique is called “missing edges” where the outline is minimized.
Minimizing or omitting edges invites the viewer to complete what is missing in their mind.
When this technique is applied correctly, the result is a more convincing illustration.
Rendering Drapery
Takehiko Inoue’s economic technique is also prevalent in how he renders drapery.
Note how the drapery of Kojiro’s hakama* has very few folding edges.

* A hakama is part of a traditional outfit called a kamishimo (上下/裃). This outfit was worn by samurai and courtiers during the Edo period. It included a formal kimono, hakama, and a sleeveless jacket with exaggerated shoulders called a kataginu. – Wikepedia
The skirt I’m drawing below exemplifies how we would typically see cloth drawn. The edges of the folds are clearly defined with a contour line on the folding edges plus I’m rendering marks to indicate the forms.
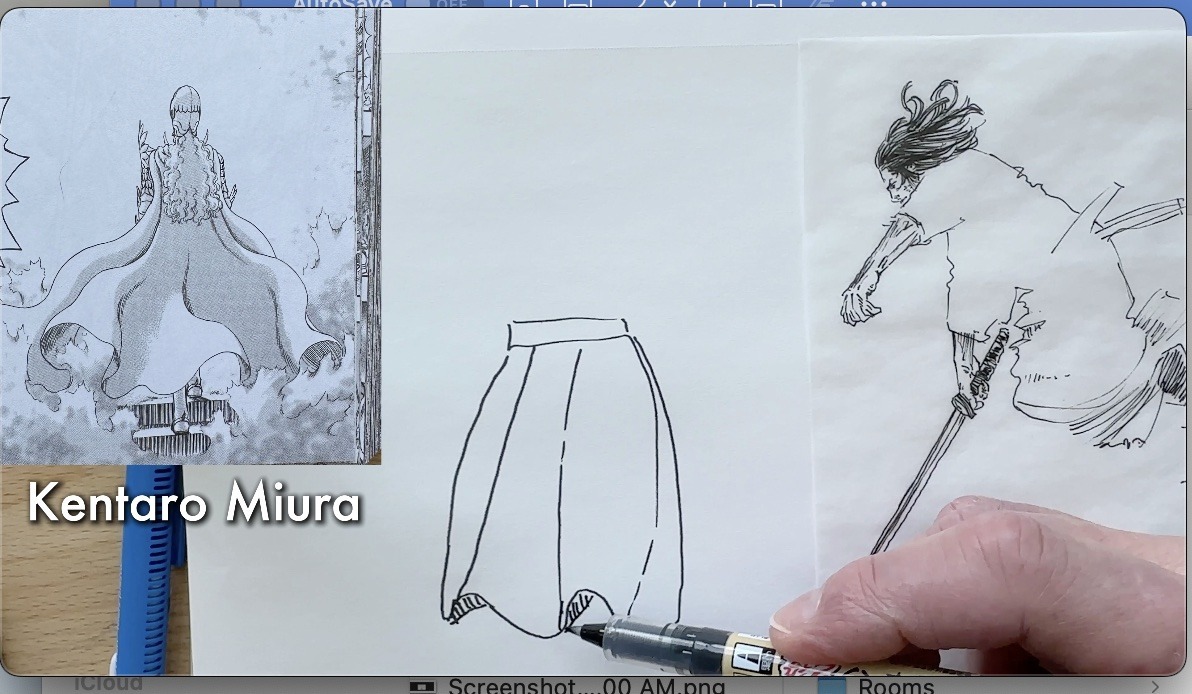
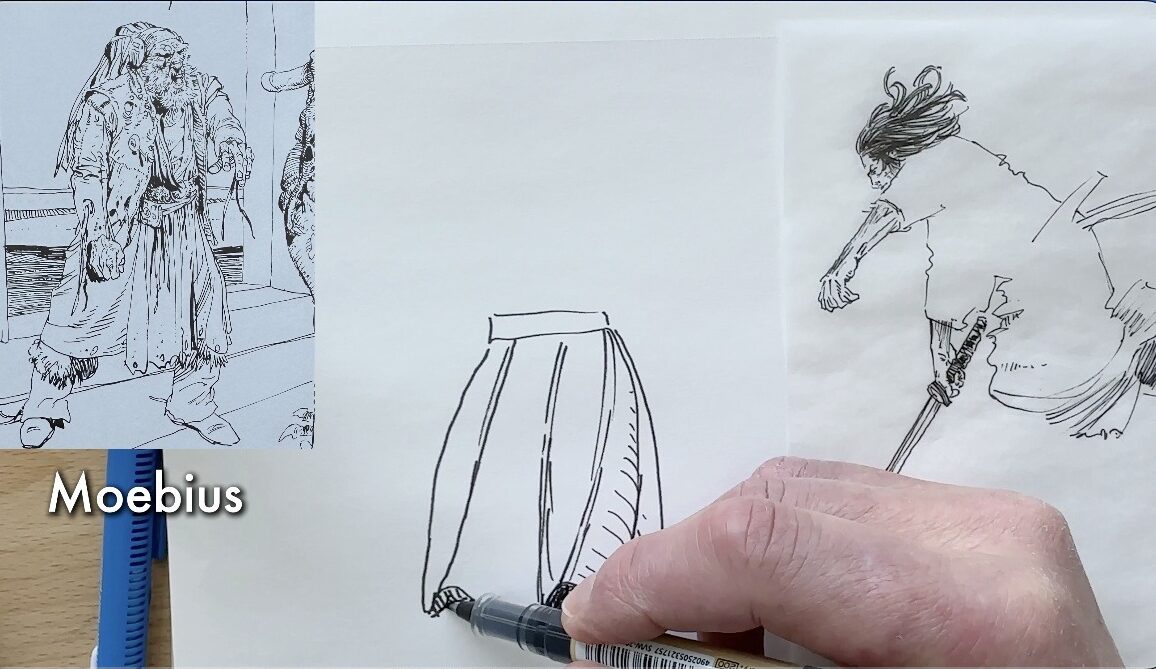
Kentaro Miura (L) and Moebius (R), placed lines to emphasize the folding edges and form of the undulating cloths.
Takehiko Inoue uses a value scale (shading and lighting) to shape drapery. This is what creates the illusion of folds draping over Kojiro.
The master uses darker values to shade between the folds, and the white of the paper is where the folds catch the light.
Adding contour edges would then look redundant. This is what I mean by an “economy of lines”.
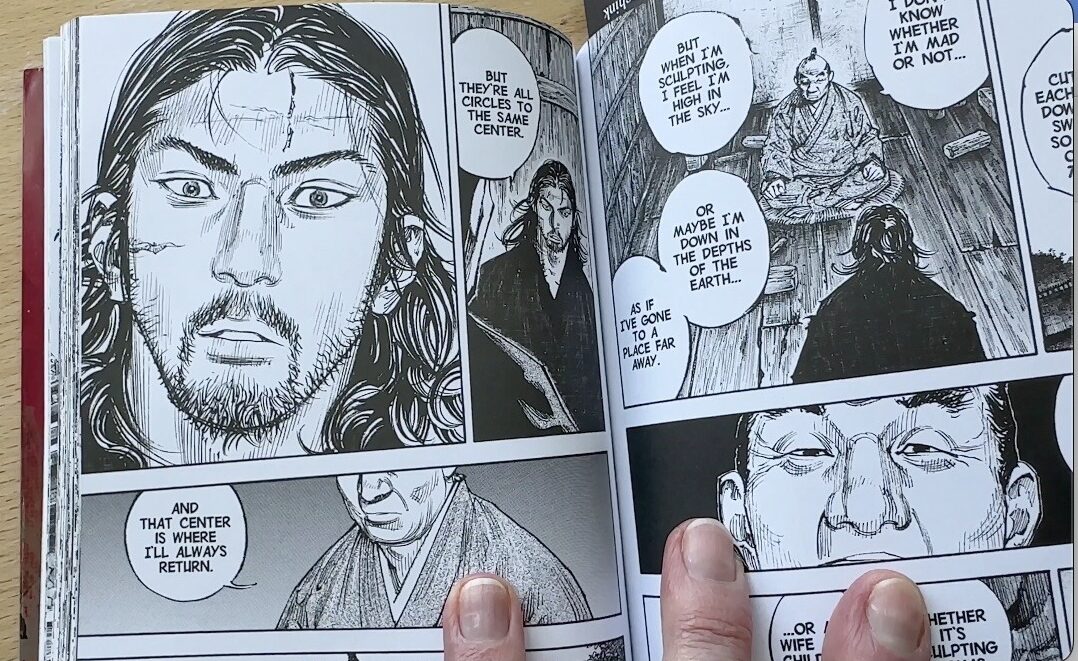
Rendering Characters
The master carries that same economic technique through to how he renders characters.
Whether you are looking at their faces or bodies, precise marks are used to build shading which composes the characters’ expressions at that moment.
Rendering Hair
Now for brushwork. Let’s talk about that signature hair!
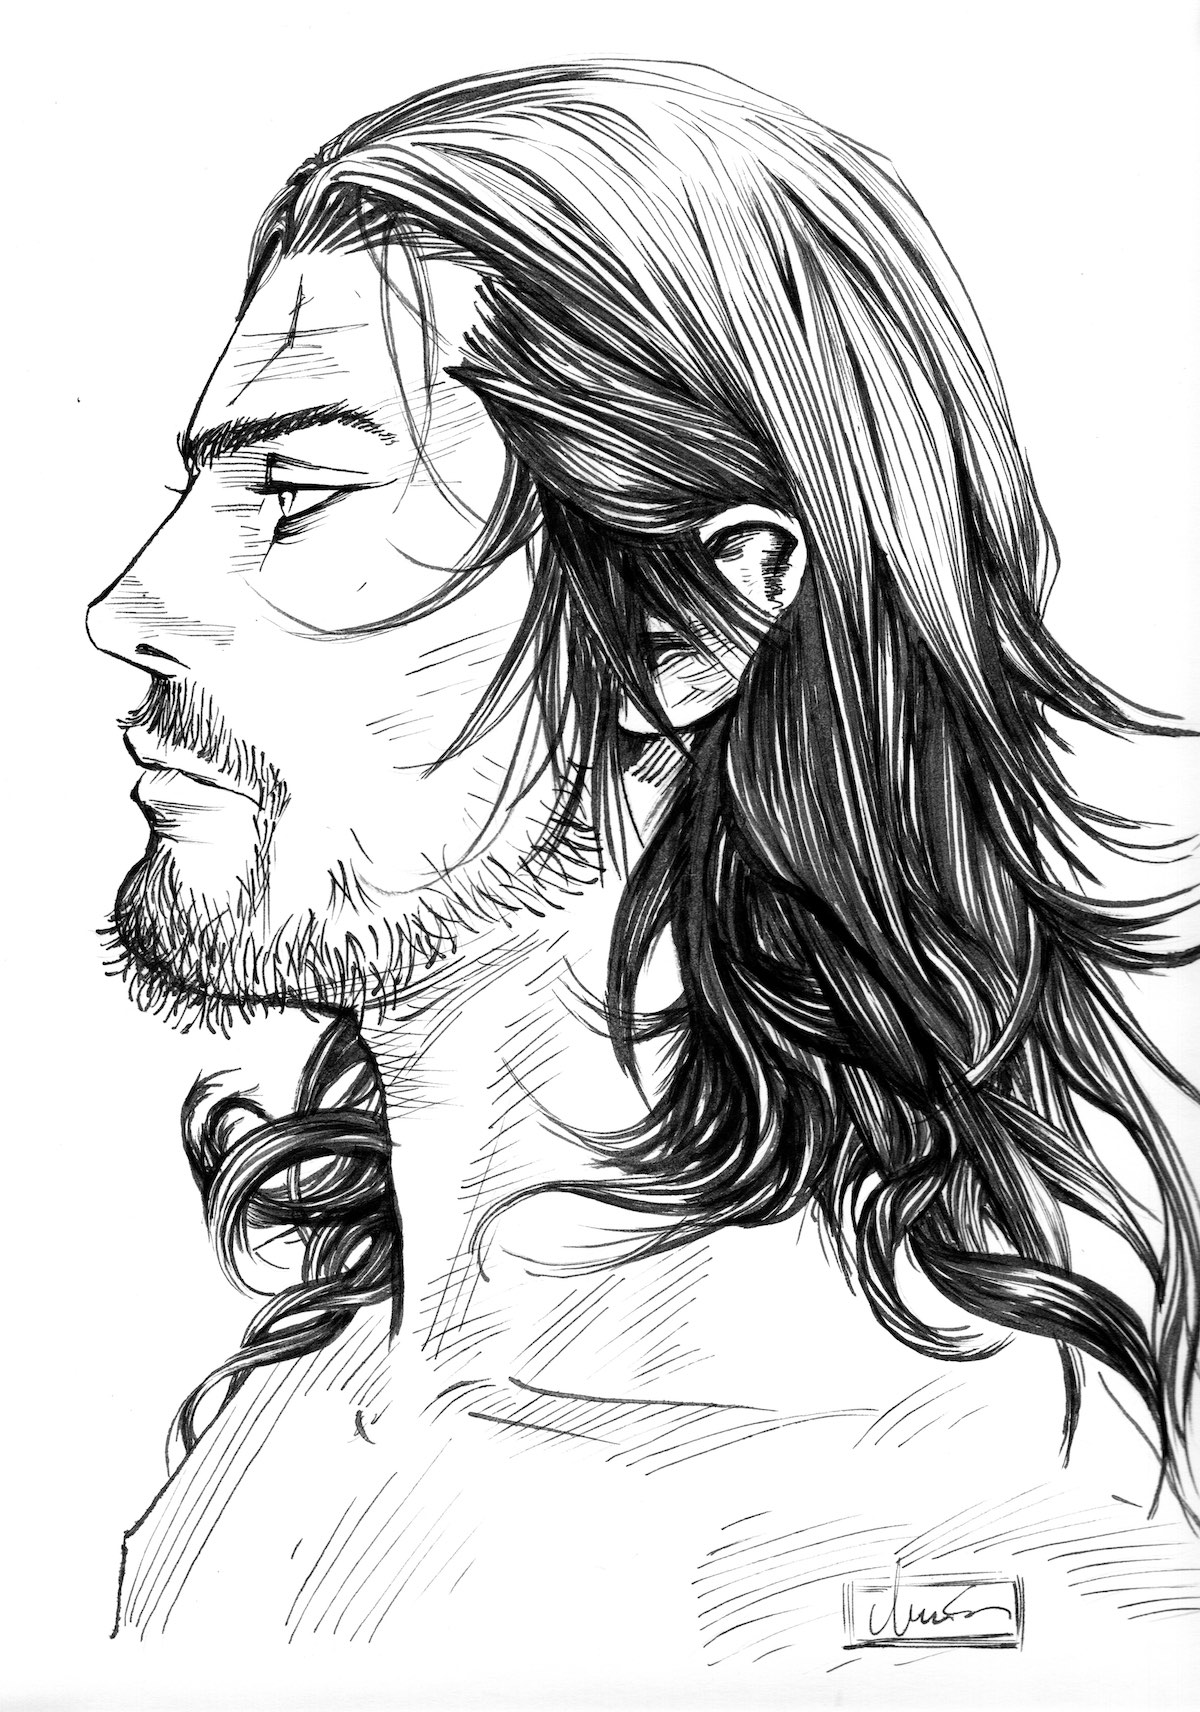
Using the missing edges technique, Takehiko Inoue implied the shape of Musashi’s head using a few judicious strokes (below).
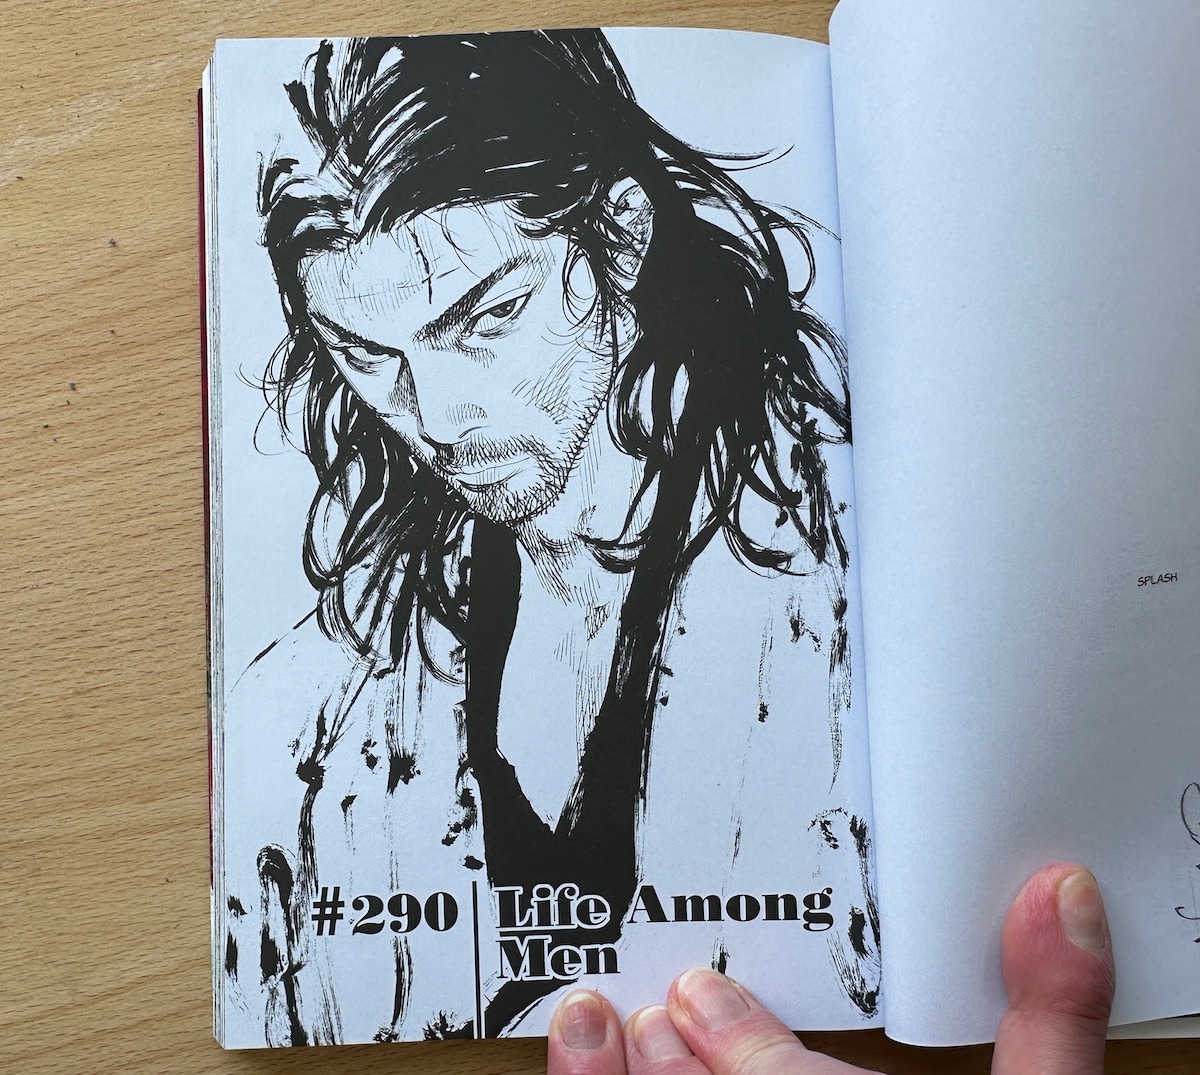
Despite the economic strokes, the viewer can discern highlights, lowlights, and where strands of tousled hair overlap one another.

How to Practice
In this master’s study of Musashi, I applied what I learned regarding Takehiko Inoue’s:
- Distinctive style
- Control of the instruments; and
- Economic techniques.
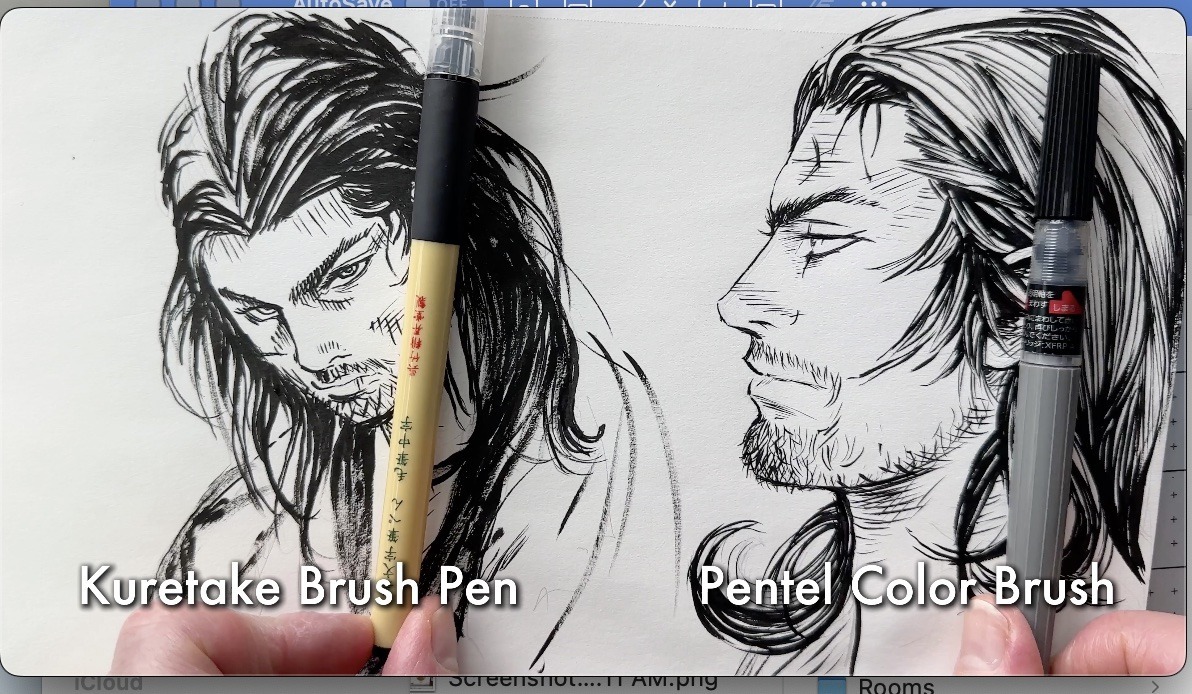
Many from my YouTube community requested that I ink a piece using brushes.
Challenge accepted!
I’m primarily a pen artist.
Control of a brush for drawing is something I have been meaning to practice more, so this was a great opportunity.
Musashi – Kuretake Brush Pen
As a warm-up, in my sketchbook (above), I drew Musashi with a Kuretake brush pen, aiming to mimic the same holding position and motions with the brush as sensei Takehiko Inoue.
Musashi – Pentel Brush Pen
In my second sketch of Musashi, I used a Pentel Color Brush.
Musashi – Sable Brush
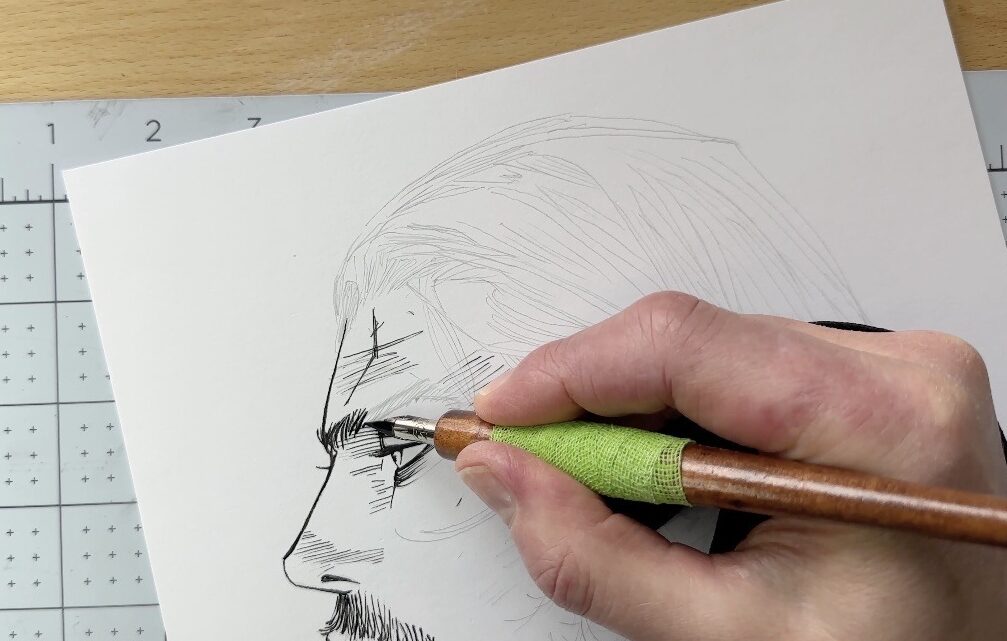
I redrew the second image of Musashi using an H lead Steadtler technical pencil on Bristol vellum paper.
For the ink application, I used a G-Nib to render Musashi’s facial features, mindful to be economical with the lines, following my observations of sensei’s techniques.
Where the marks are positioned and the spacing between those lines together describe a lot of information about the character’s features and their intent.
If you’ve watched interviews with Takehiko Inoue (YouTube), you’ll remember that he mirrors facial expressions as a way to capture or transcend that expression into the characters as he draws them.
As such, I aimed to “feel” Miyamoto Misashi’s expression as I drew his features.
I didn’t have the same traditional Japanese mangaka brushes as the master. Instead, I inked Musashi’s hair with my Kolinsky Sable brushes, commonly used in the comic book industry.
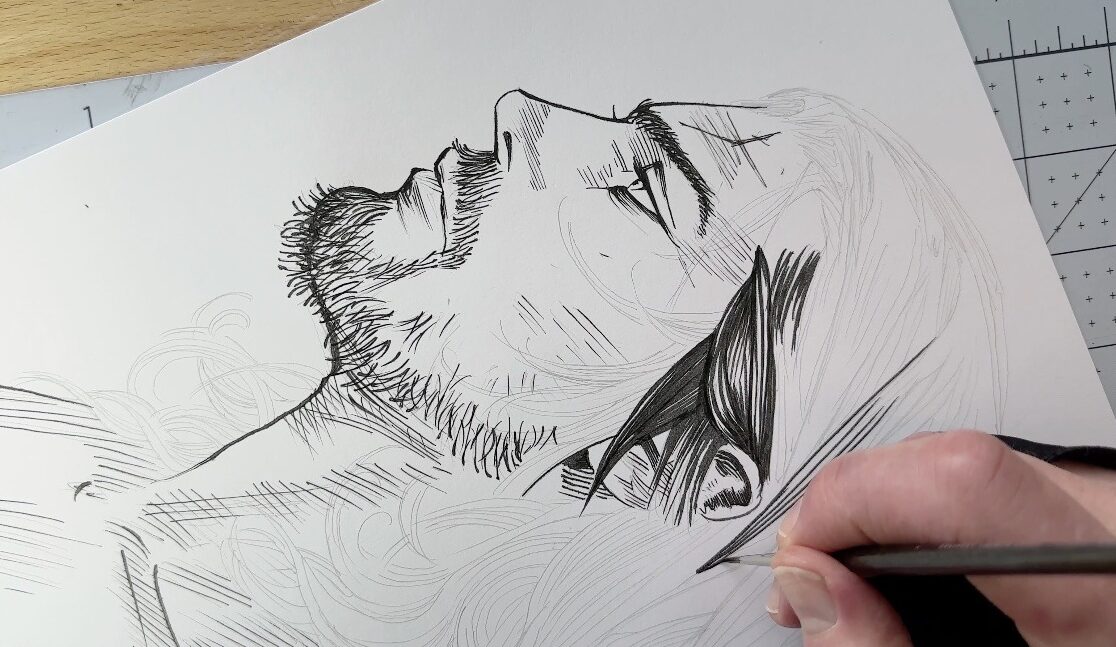
I aimed to keep my brush strokes loose to imitate the fluid effects executed by master Takehiko Inoue.
It was fun. I learned a lot.
I hope the tips in this article gave you fresh ideas for your pen and ink projects and that you’re excited about Takehiko Inoue’s works.
If you’re on Instagram and this article inspired you to draw a vagabond character, tag me @longstrideillustration and I will share your post in my stories!
Resources
✨Master Study Checklist (PDF)
✨Ink Masters (Pinterest Board)
✨Vagabond VIZBIG Edition Manga Set (Vol 1-12) by Takehiko Inoue (Books)
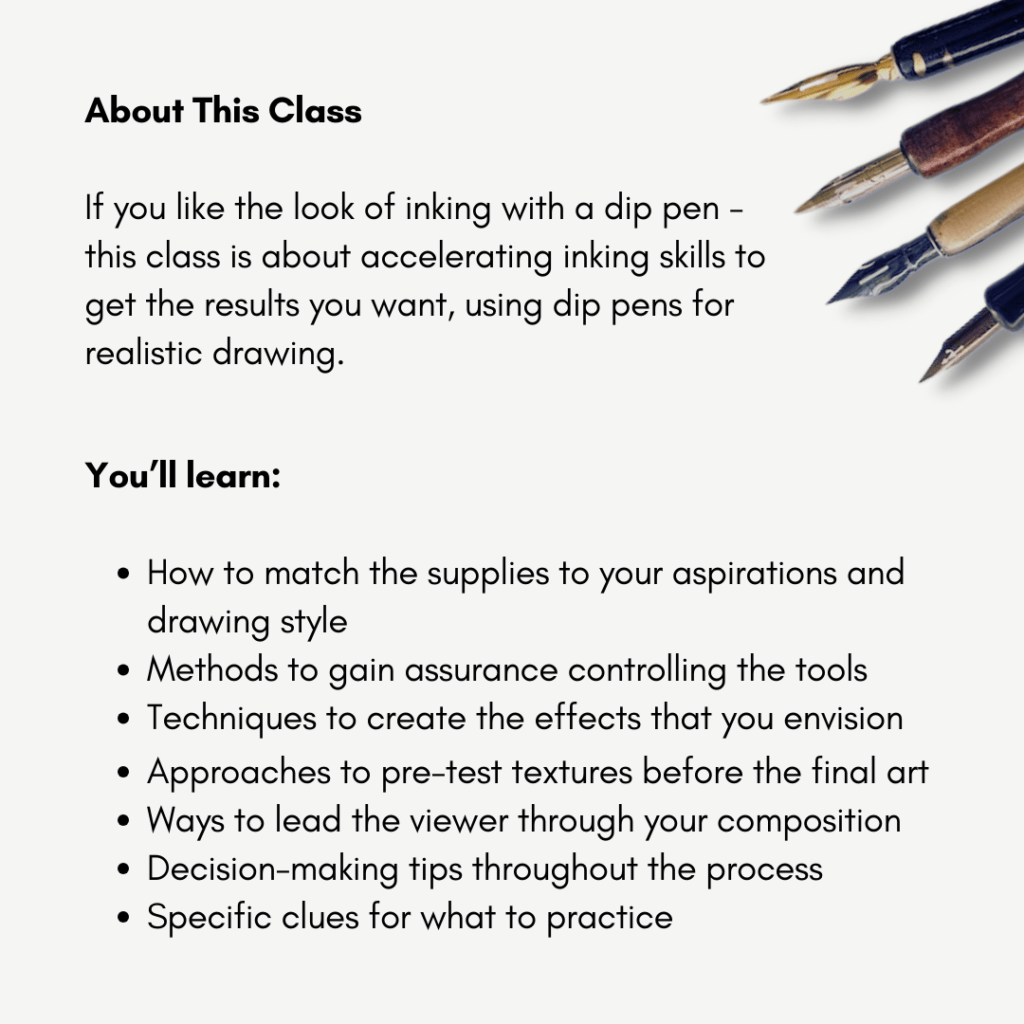
You can take my dip pen class for free on Skillshare with a 30-day trial (and have access to all their courses). Or own it forever, when you purchase my course from Udemy.
The Takehiko Inoue Effect by Ah Lecks (YouTube)
Vagabond Is “Boring” by the Masked Man (YouTube)
The Life of a Manga Artist, Inoue Takehiko by Ashitanozak (YouTube)
Takehiko Inoue on CNN by Occult Punk Zenarchy (YouTube)
🎨TOOLS and SUPPLIES on Amazon ↓↓↓
W&N Series 7 Kolinsky Sable Brush 01
Speedball Super Black India Ink 2oz
Bienfang Bristol Vellum Paper
29.5″ x 19.75″ Adjustable Tabletop Easel

