Step-by-step Line Art Tutorial
In this article, we first practice with exercises and then complete a final project.
Disclosure: Some of the links below are affiliate links and at no additional cost to you, I’ll earn a commission or reward. You can read more about the Affiliate Disclosure on the Terms Page.
Some artists are really apt at recalling images directly from their minds.
These people can picture just about everything in their heads as though it was right in front of them.
Whether that’s you or not, in some situations, it’s handy to know how to use techniques in order to replicate images from memory. For example, if you can’t find the ideal reference to draw from or you need to sketch something spontaneously.
The good news is that it’s possible to construct nearly anything by using basic shapes.
Practice Exercises
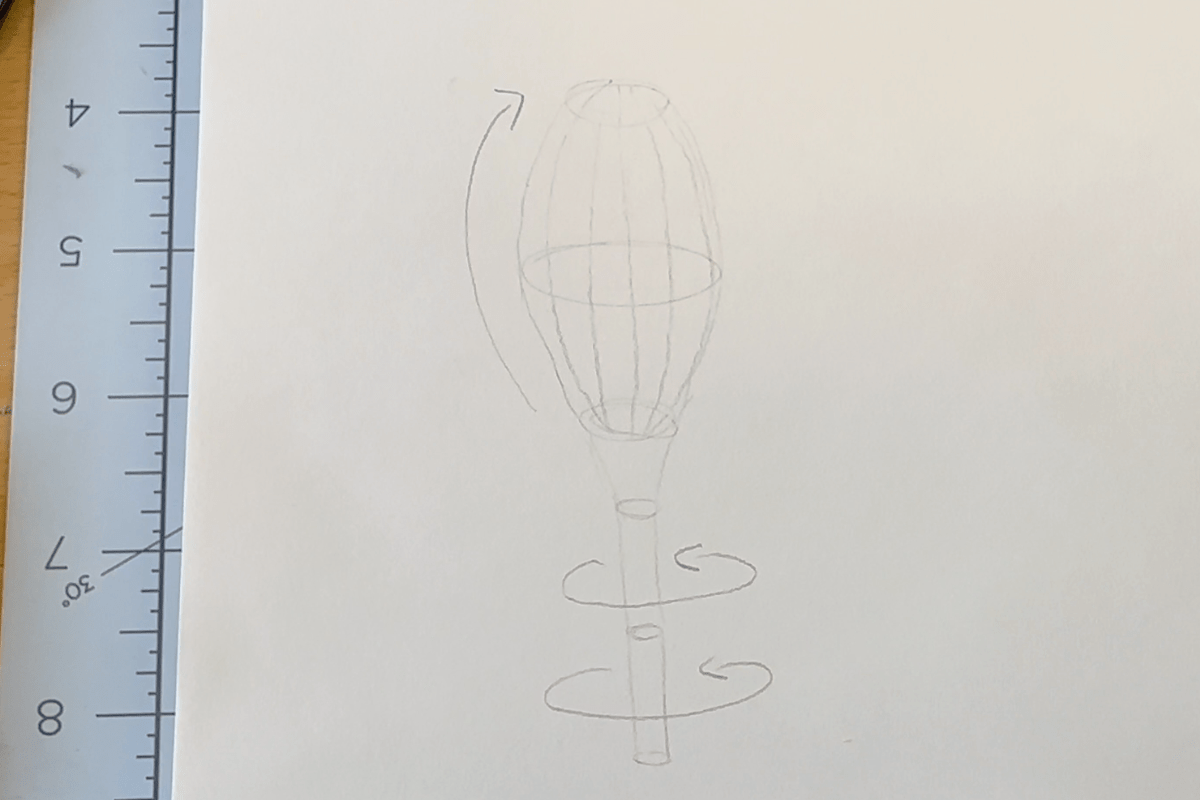
In a sketchpad with a soft lead pencil, start with an oval, then a bigger one below it, then another smaller one beneath it at the bottom.
Connect the ovals to make an outline shape of a sleeping rose, a bud, one that hasn’t bloomed yet, we’ll say it’s shaped like an egg. Draw a cylindrical tube for the stem.
The arrows indicate the line direction for the ink application.
Let’s establish that for the bud we’ll follow the form in the direction that the petals would grow. For the stem, we’ll wrap across the form, and we’ll cross the contour.
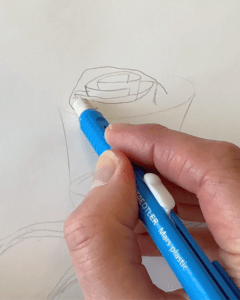
With a felt tip or a large fine liner pen (e.g.: 08), we’ll go ahead and ink it. Our objective is to use line direction to communicate the form.
I like using a felt pen for practice exercises because the soft tip responds to pressure, meaning that you can thicken the line by pressing on it. It helps in developing hand control. The Tombow pen that I’m using is called a “brush pen”, though I would classify it as a felt tip. To learn more about the tools I use, visit my FAQ page.

Start from the top, and pull the lines following along the length of the form. For the stem, we’ll use short curve dashes, that cross the contour of the form, keeping the spacing as even as possible.

Let’s draw it again.
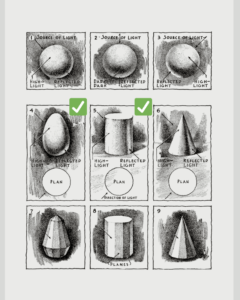
Our next objective is to be mindful of the direction of light.
We’ll reference Arthur L. Guptill’s shading chart, for shading the rosebud (like the egg shape) and the stem (cylinder shape) with the source of light coming from the top left-hand corner.
As an additional guideline, you can roughly shade the tones with a pencil.
You can find this pen and ink book and the main items I use in my studio on my Tools page.
As a bonus exercise, we’ll also draw diagonal lines to create a background effect. You can set one or two marks with a ruler and draw the remainder of the lines free hand.
Drawing evenly spaced lines without a ruler is an effective method to develop hand control.

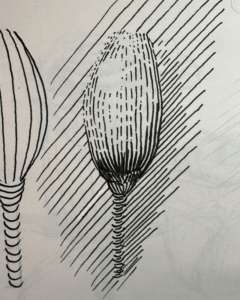
For the ink application, we’ll use the same approach of line direction that we determined previously, except now we introduce two new techniques:
- line weight variation, and;
- broken lines.
I put very little pressure on the pen to achieve thinner lines in the areas of lighter values. Then gradually increase pressure towards the bottom of the bud for darker tones. We leave white space and use sparse, broken lines, to indicate areas of highlight.
Then, I make adjustments to the relationship of values by carefully adding lines in the areas that benefit from darker values. This builds the shadows and mid-tones gradually. I’m doing this by adding marks between the lines.
You can see that the background enhances the shading effects especially where we didn’t emphasize a contour outline on the bud and stem.

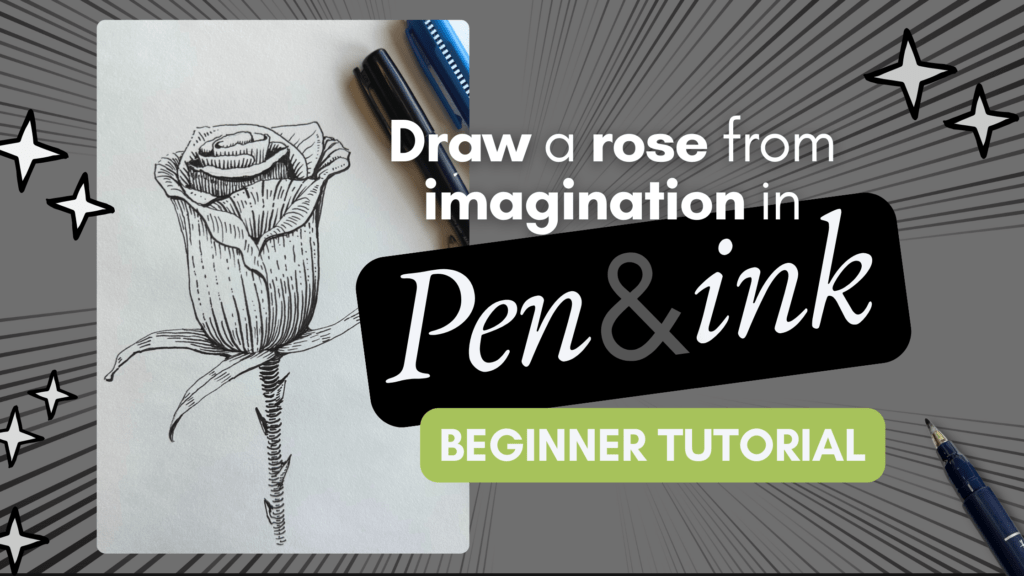
Final Project
Let’s apply the techniques we practiced to a new construction.
Starting with a wider oval at the top to indicate that our rose is in bloom. We use the same principles of construction for the flower and stem, now with the addition of leaves and thorns.


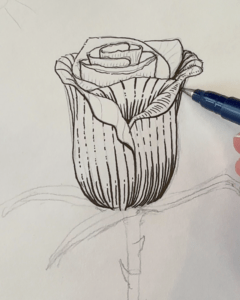
Erase the upper line of the top oval, and replace it with a small spiral. From this spiral, by simply connecting a few lines we imply a petal unwinding from its core.
From here we wrap more petals around the core petal, adding discreet folds at the top of the petals. These folds help reinforce the illusion of depth.
Go ahead and erase the initial construction guidelines as you build the rose, to make it easier to see the newly introduced lines.
Lastly, we pencil-in guidelines for line direction, following the form in which the petals grow and fold.
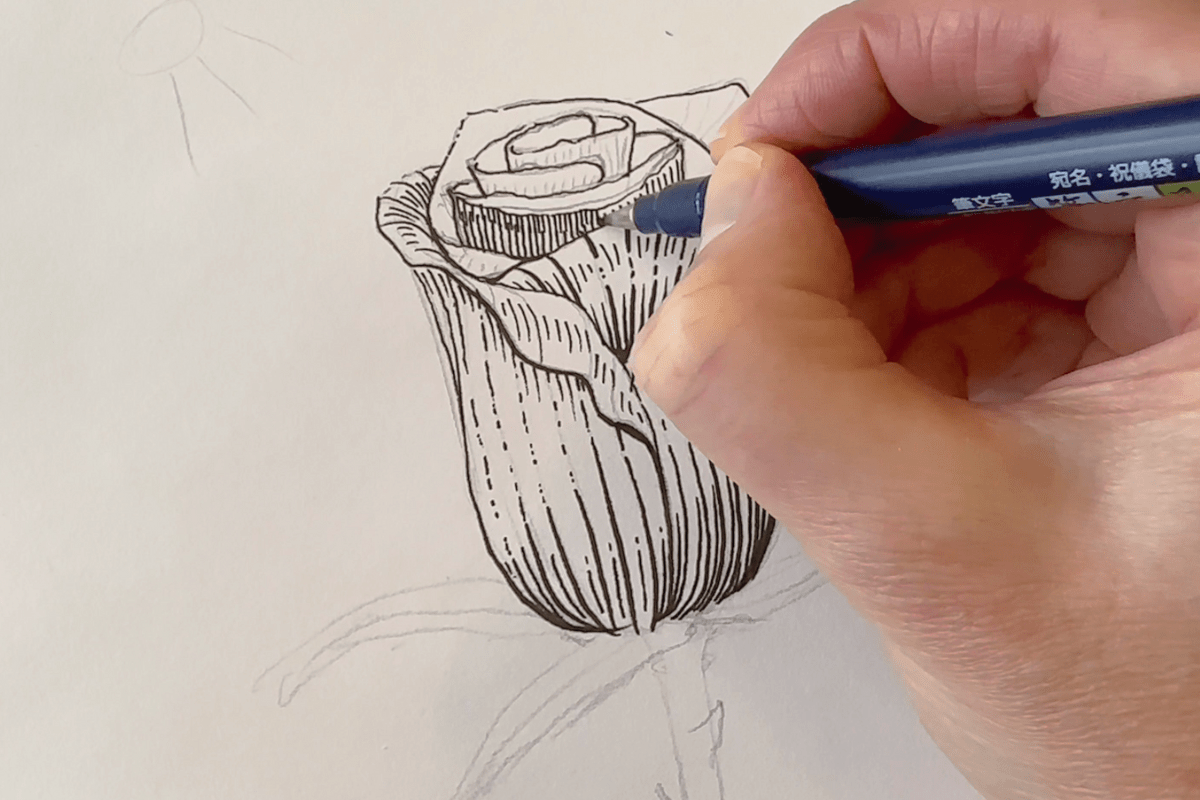
For the ink application, we apply what we practiced to this new structure. Layer the marks gradually to build volume based on the source of light.

We leave white space for the highlights and use thin lines, dashes, and broken lines for the areas of lighter value.
And thicker lines, reducing the space between them to create shaded tones.
The folded petals cast additional shadows, and we respond by bringing the lines closer together, then layering in more parallel hatches.
I prefer to add strokes between the lines, rather than cross lines – known as cross-hatching technique. Depending on how skillfully executed, cross-hatching can either produce effective textures or otherwise look disorganized.
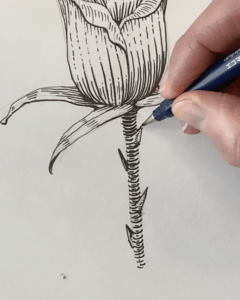
We’ll go ahead and texture the leaves with parallel marks.
For the stem, again with cross contour lines that are thicker on the shadow side. Then add weight where we’d expect elements to be in shadow from the flower and leaves blocking the light.
For the finishing touches, I skip around the drawing to thicken some of the outlines and cautiously smooth the transition of values with additional marks.
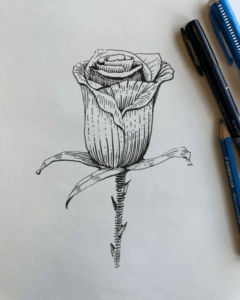
In the final stages, it’s helpful to take a photo of your artwork and leave it overnight. It’s easy to overwork a piece while in the moment. The next day you can assess it with fresh eyes and decide whether additional marks will enhance the final.
And now our rose constructed from imagination using basic shapes is complete.
Art Supplies for Drawing
Disclosure: Some of the links below are affiliate links and at no additional cost to you, I’ll earn a commission or reward. You can read more about the Affiliate Disclosure on the Terms Page.
The materials I used for the rose drawing:
Find more supplies that I use in my studio on the FAQ page.