Ever Heard of a Learning Burst?
2 ideas for pen and ink exercises for when you’re short on time.
Disclosure: Some of the links on this page are affiliate links. I earn a reward or small commission when you use those links at no cost. Read more about the Affiliate Disclosure on the Terms page.
A practice session for pen and ink doesn’t have to be an epic event.
You can do what I call a ‘learning burst’ and get a lot out of it.
When I think of doing a Master’s Study, I tend to envision doing a full piece.
But that’s a big undertaking, especially using dip pens.
There are two ways I like to go about doing a learning burst.
Zoning in a Section
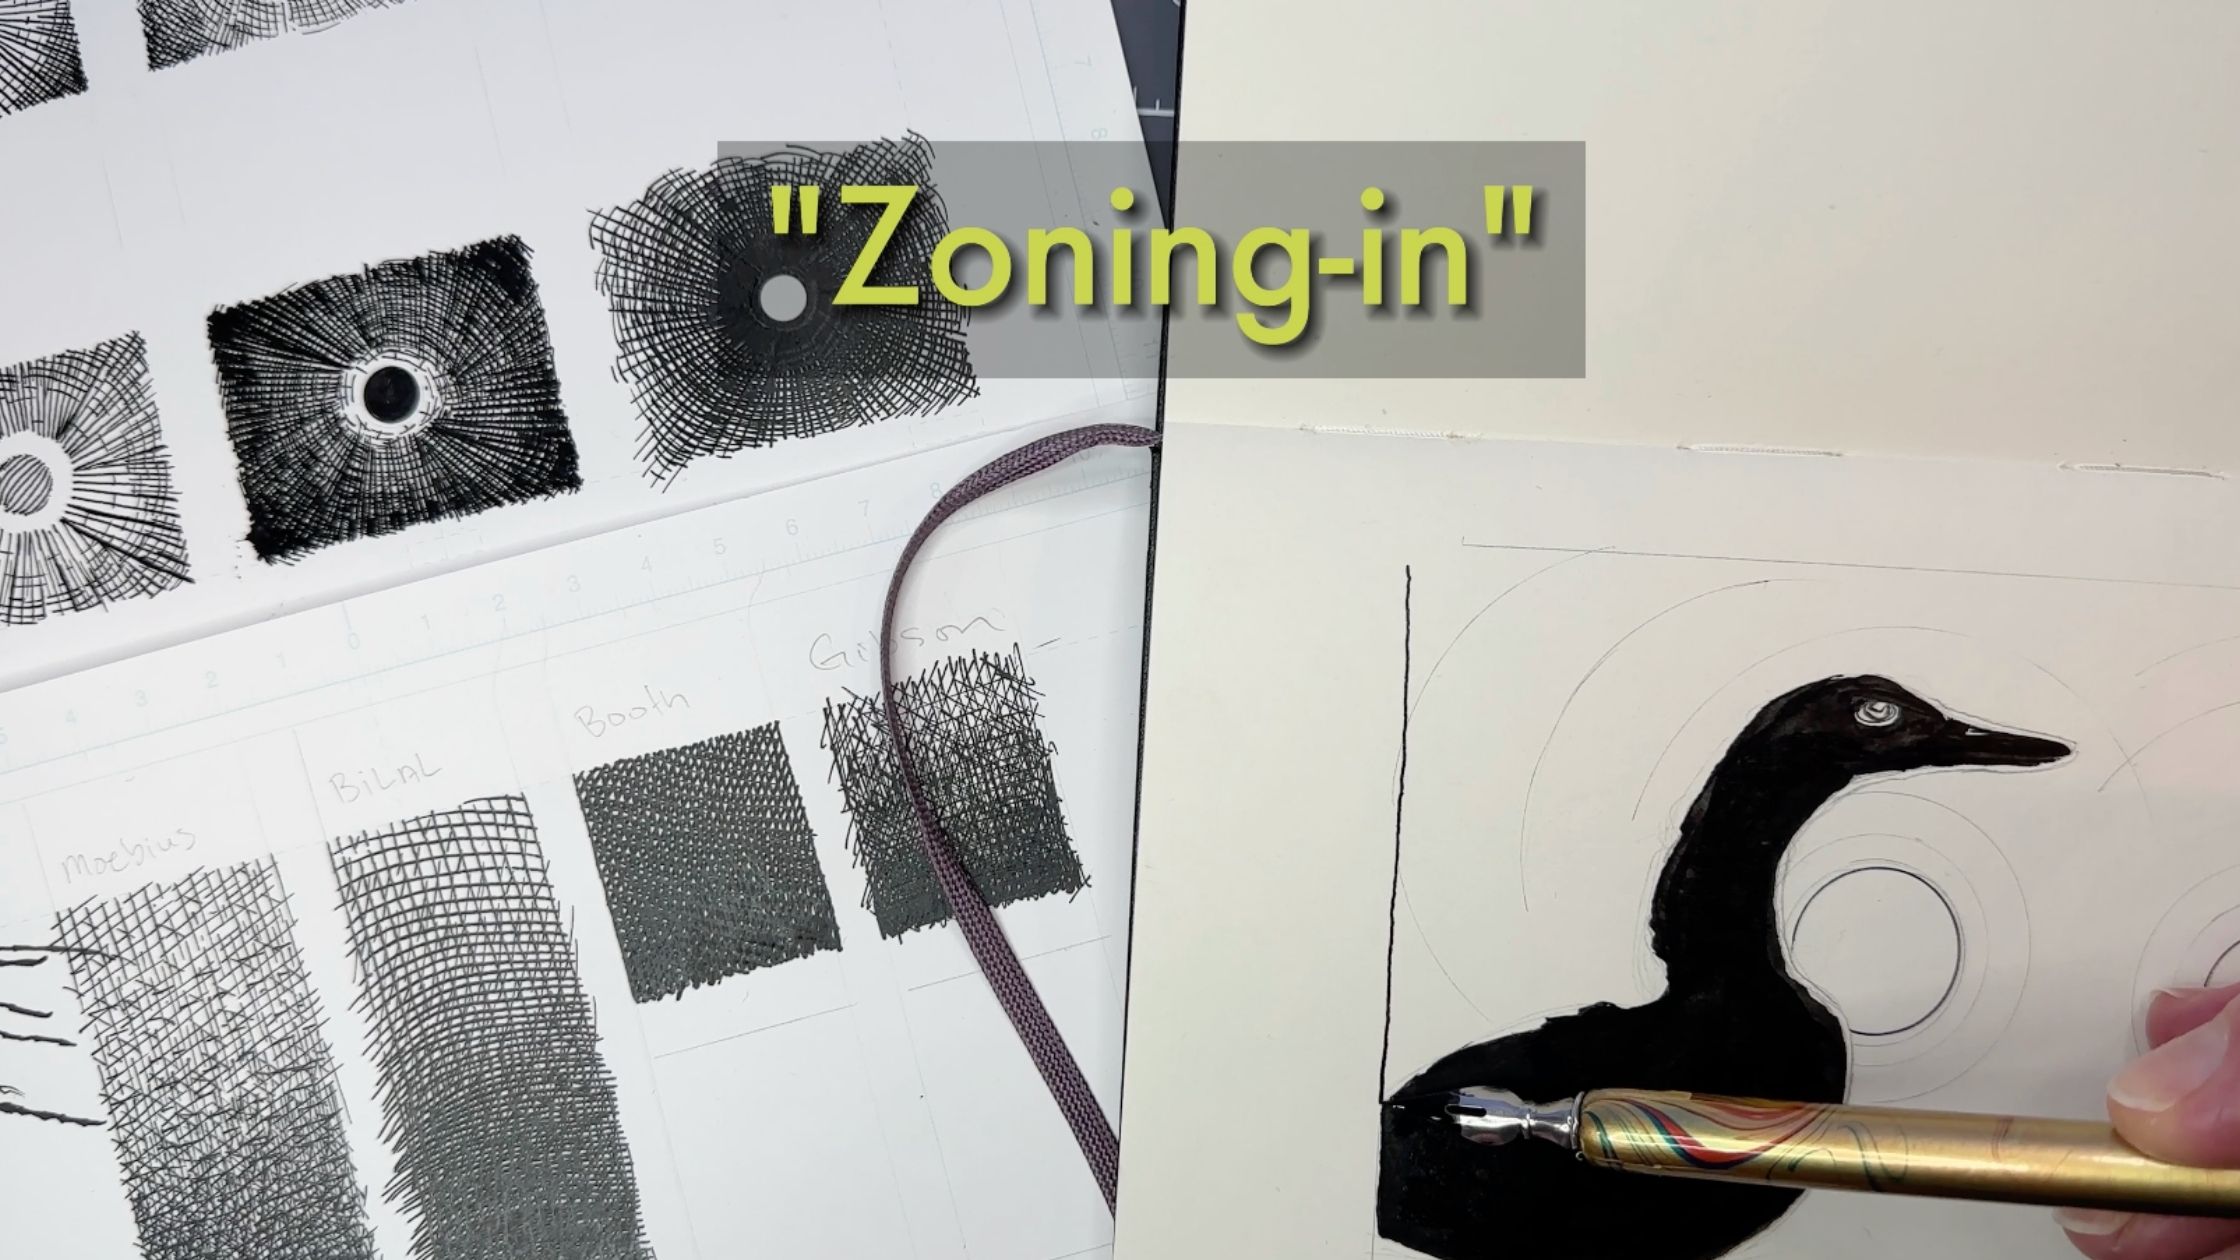
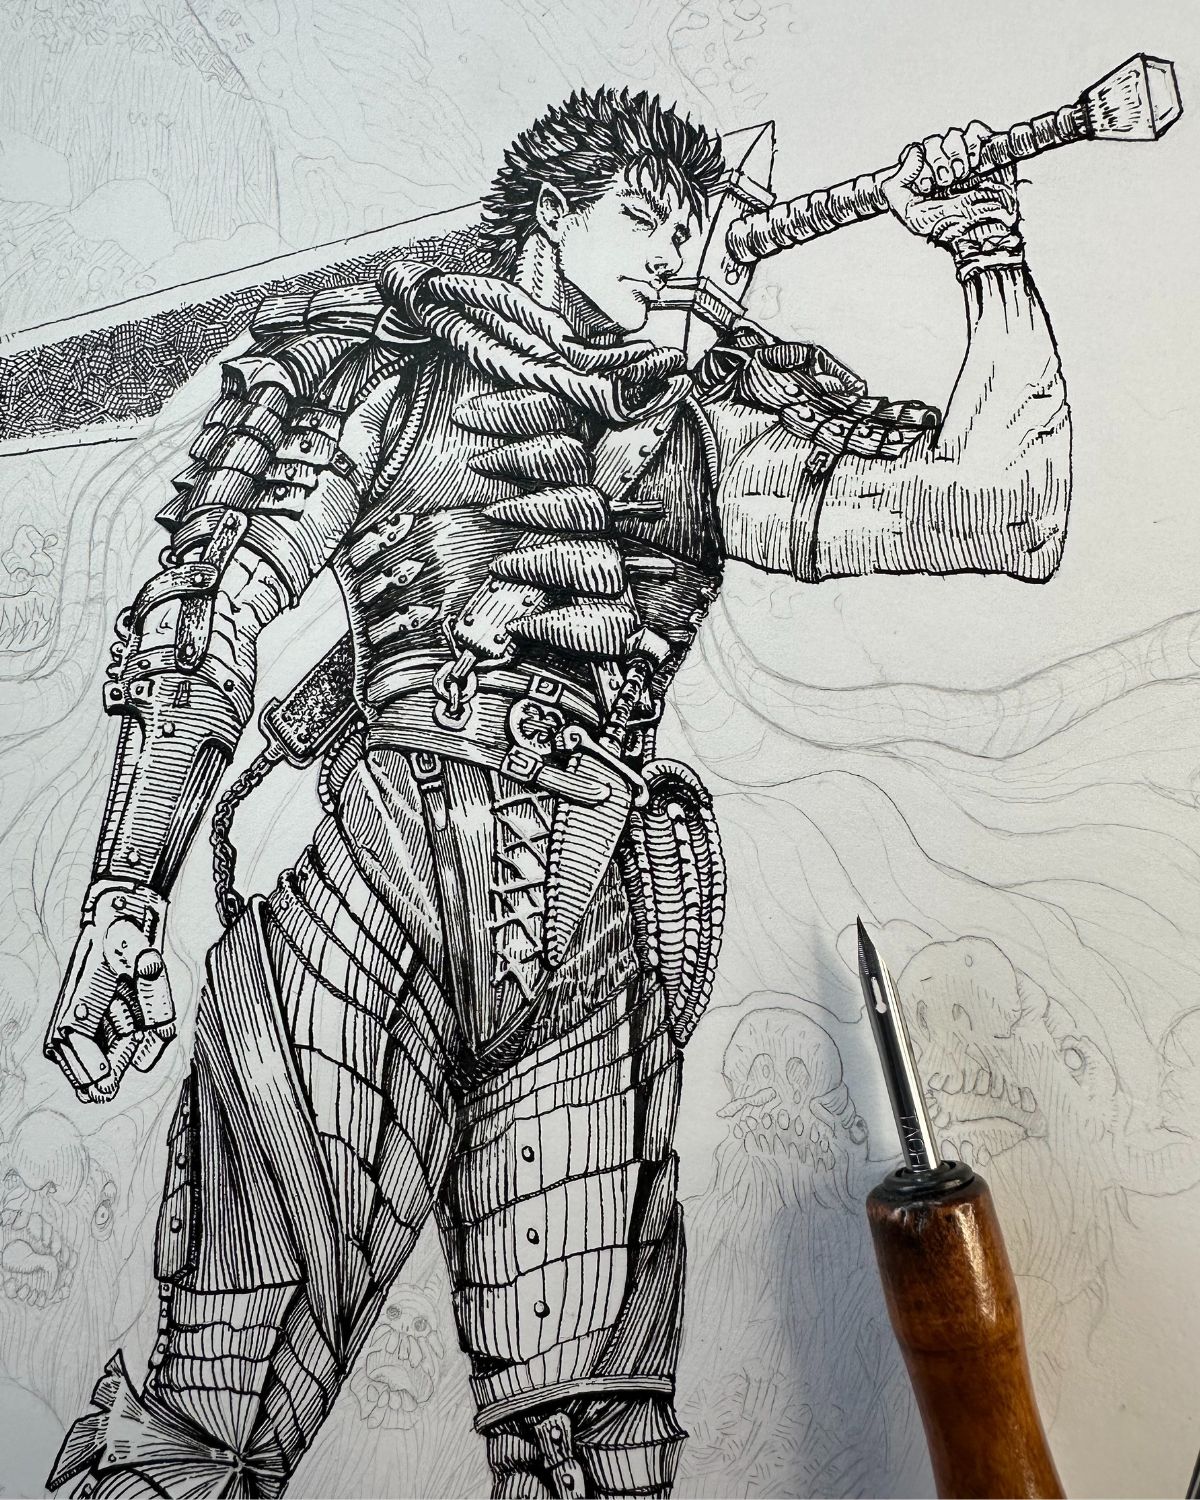
The first learning burst exercise idea is to “zone in” a small section of a larger piece.
I got that idea when I saw an illustration zoomed in.
Then I remembered a Richard Friend video, where he demonstrates “How to Render like Bernie Wrightson”. He suggested starting with just a section of a piece.
Rendering a specific zone, a small section of a full illustration, suddenly seemed manageable.
A small section of a Wrightson is still a massive challenge, though doable, not daunting.
A zone can be rendered in a reasonable amount of time. Instead of taking days (or weeks) to do a full Master’s Study.
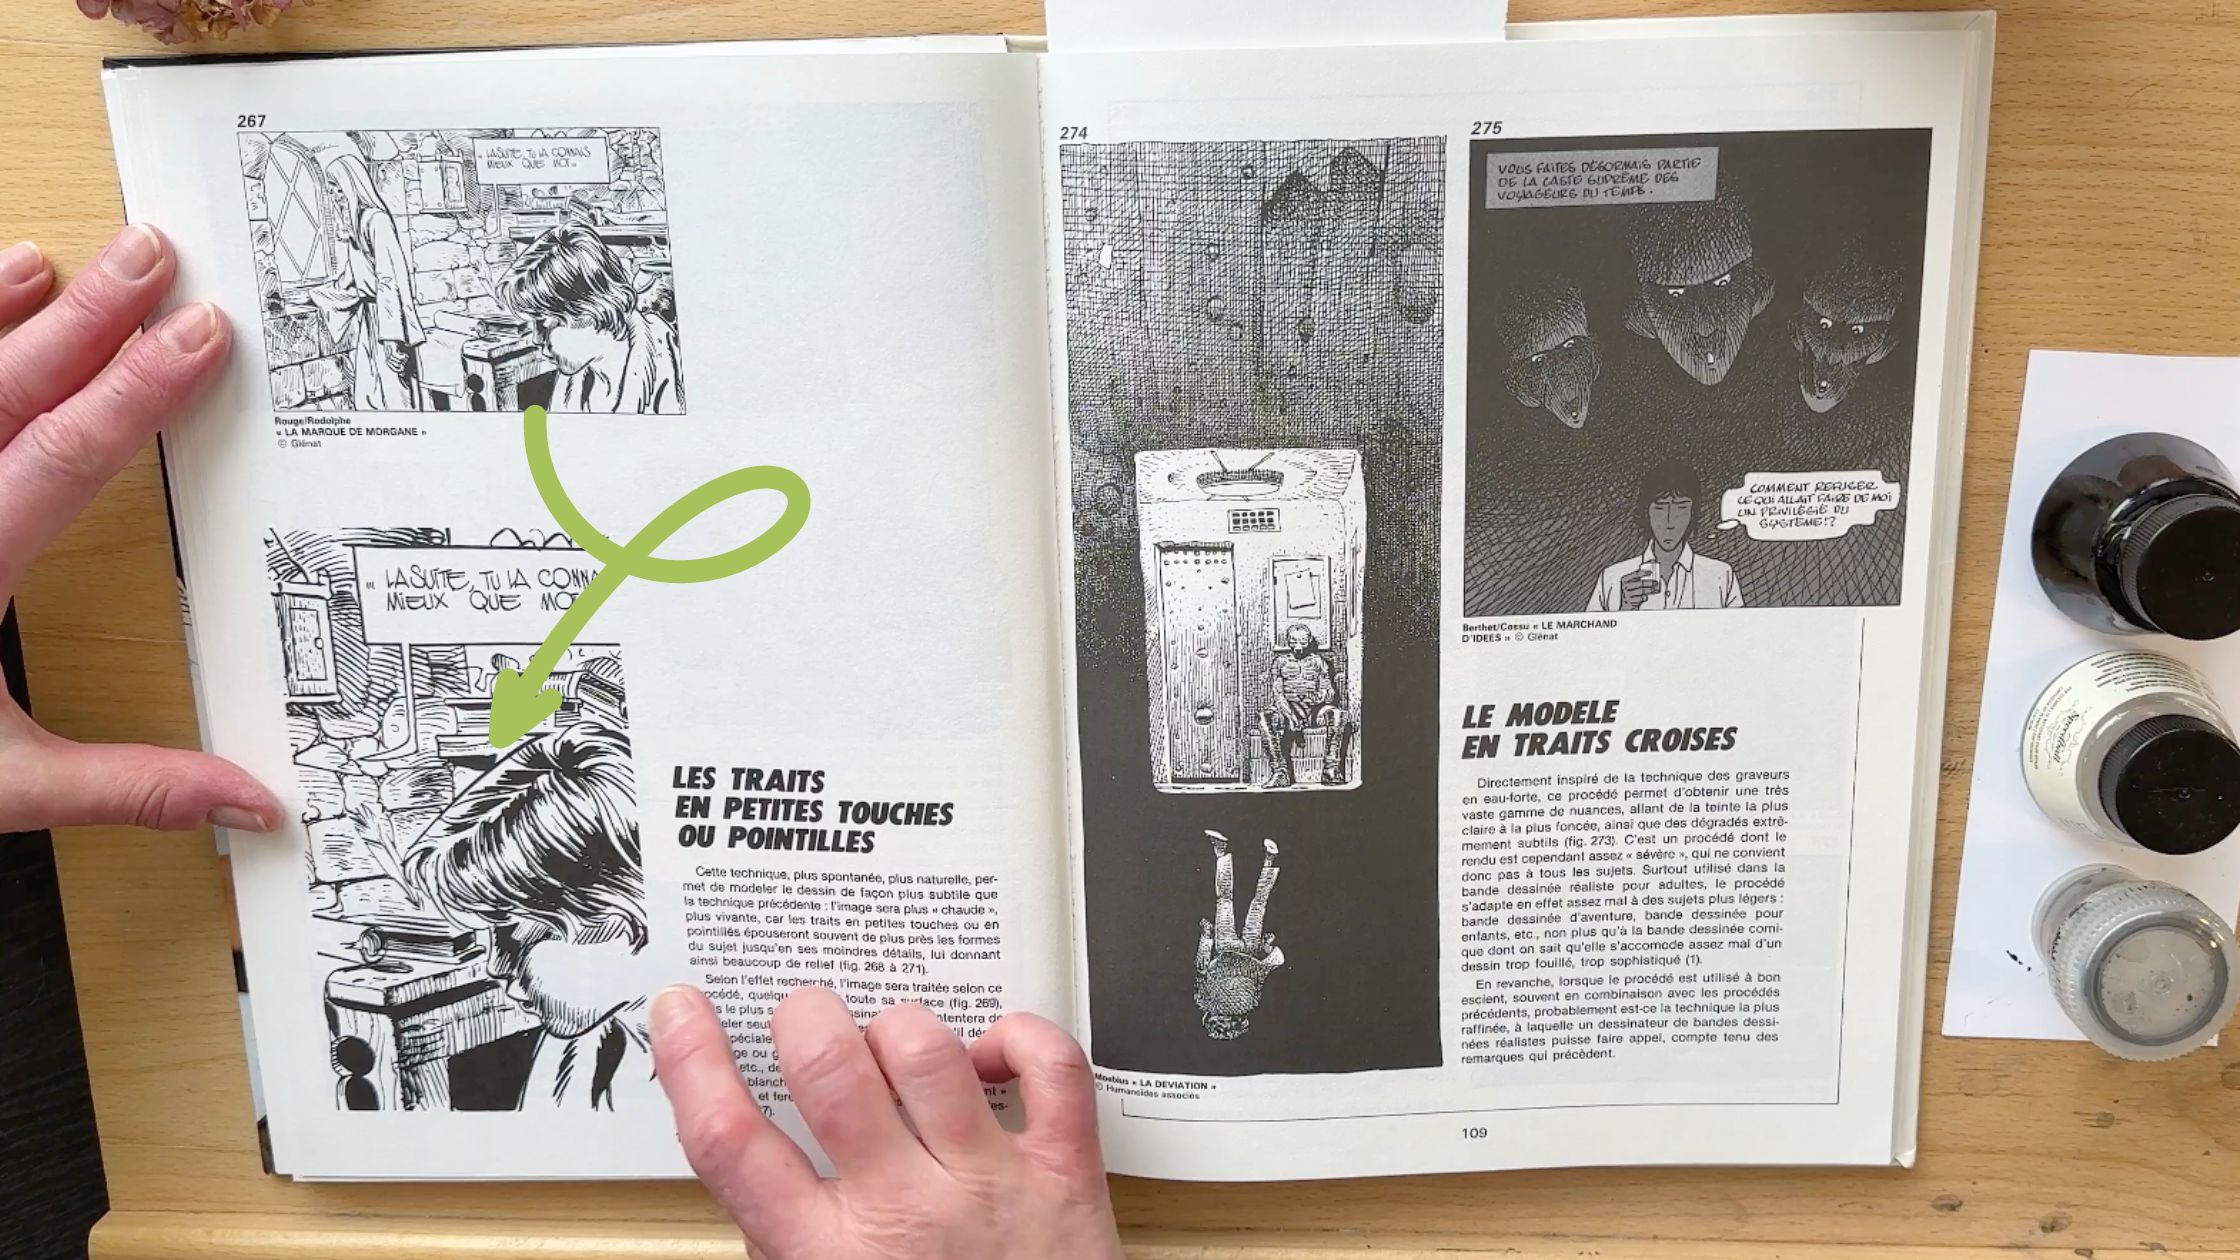
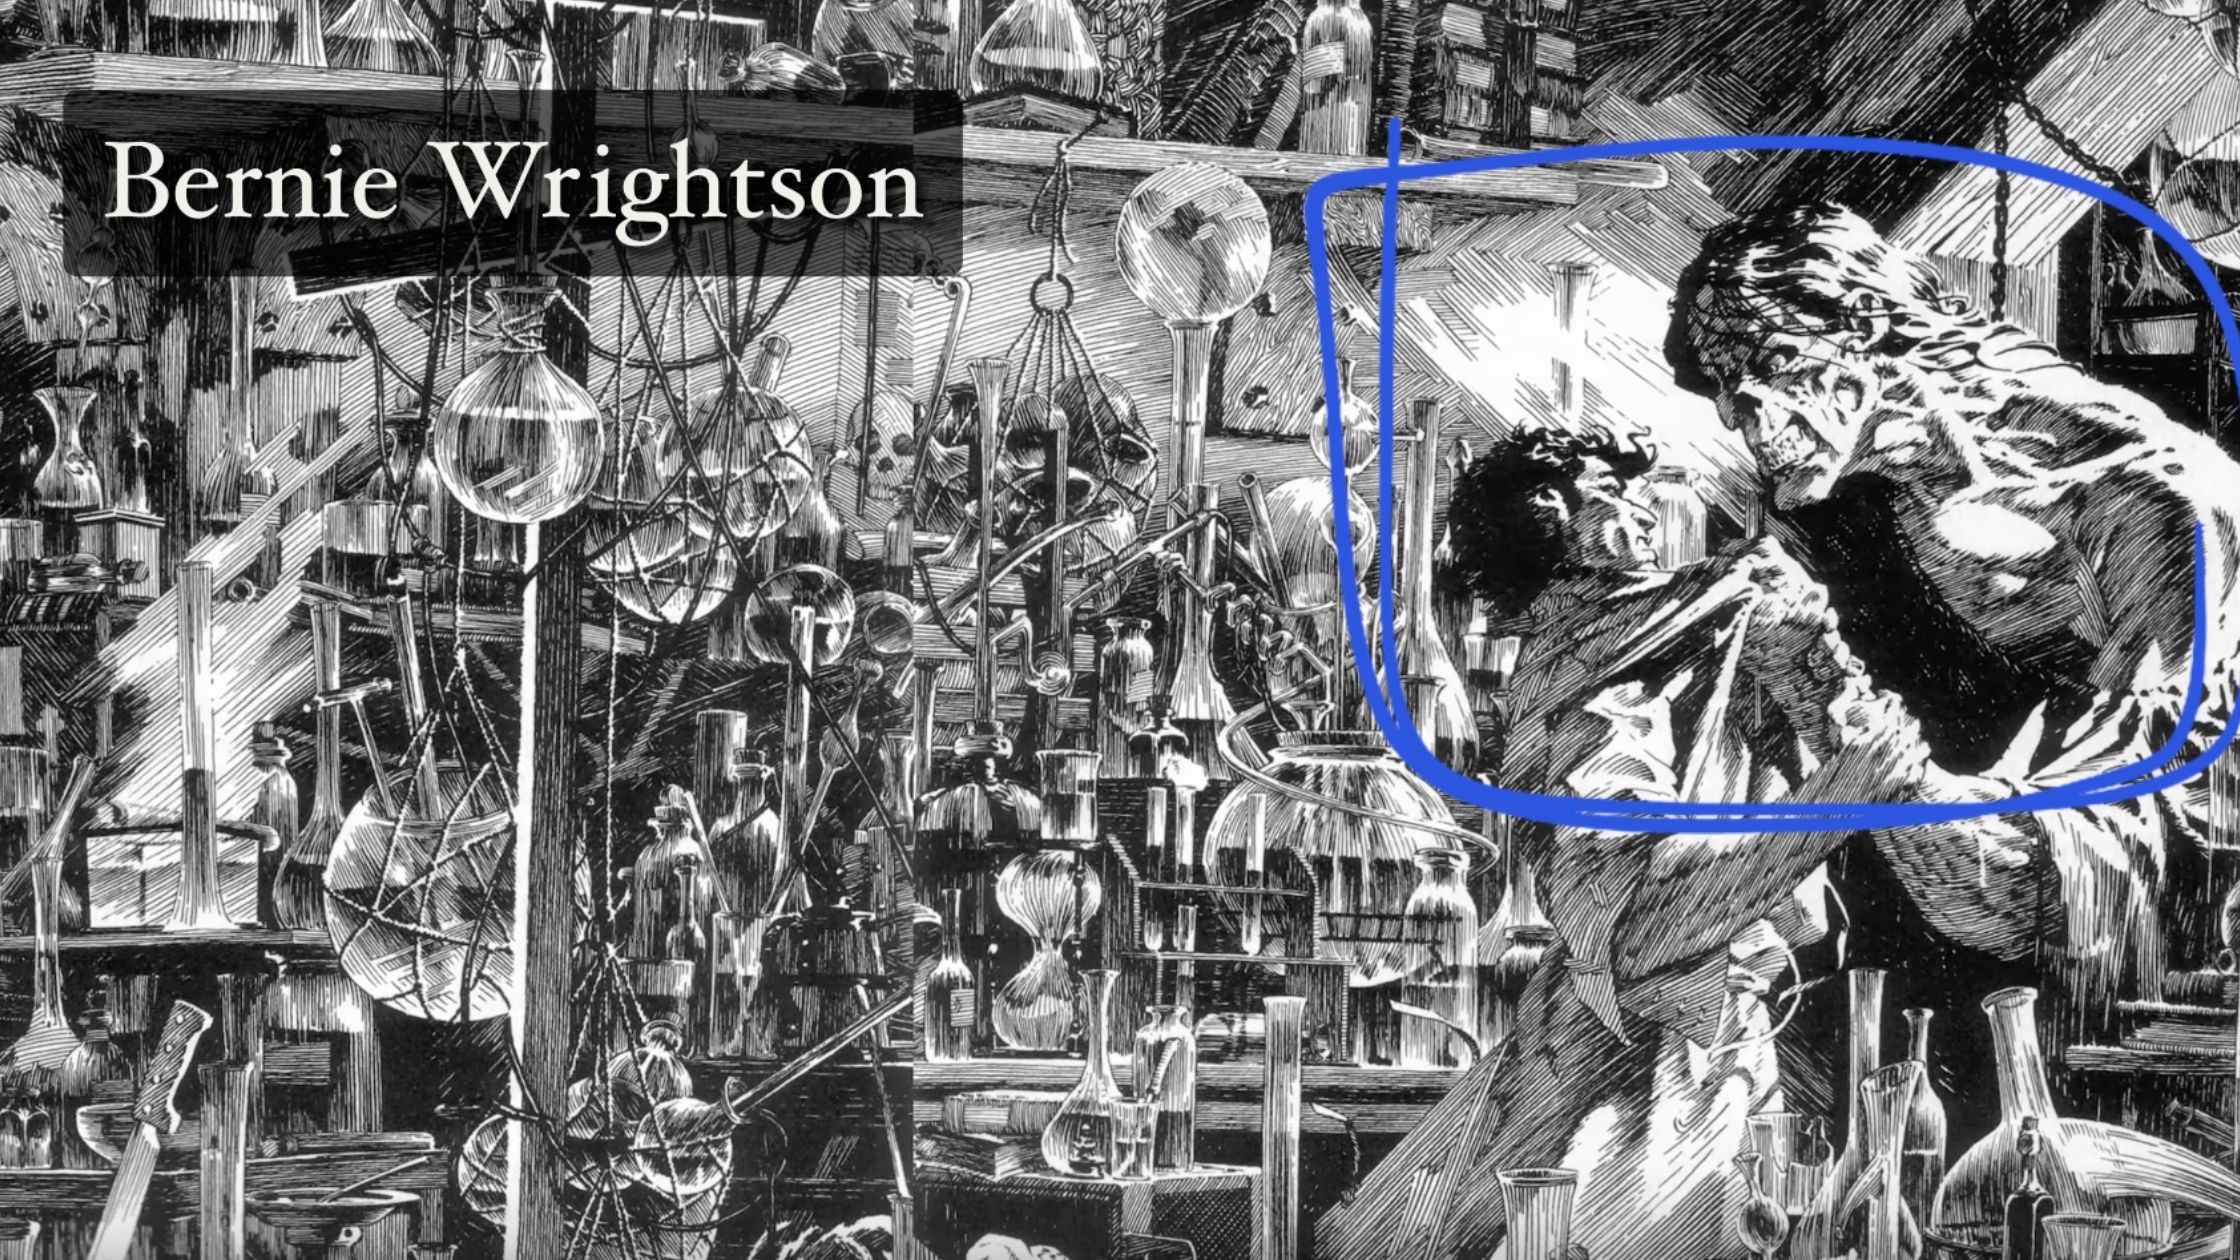
This tactic makes it easier to focus on the learning aspect of doing a Master Study (and for me, less angst about how an ink piece might turn out).

Zoning in on a Technique
The second learning burst demonstrates another version of the zoning-in exercise, which also helps chunk down a task.
Rather than focusing on a section of a piece, I zone in on 1 technique.
I look at how various Masters executed a technique, try to replicate it in an exercise, and then immediately apply what I’ve learned in a composition.
Cross-Hatching Master Study
Lately, I’ve been wrestling to find an elegant way to do cross-hatching.
There’s nothing wrong with cross-hatching, it’s just, that sometimes it looks like mud.
I showed an example of this in a past blog, here and below, where I added a drop shadow by crossing marks on top of marks, and then years later, redid the same exercises but rendered the shadow by building the density of the tone.
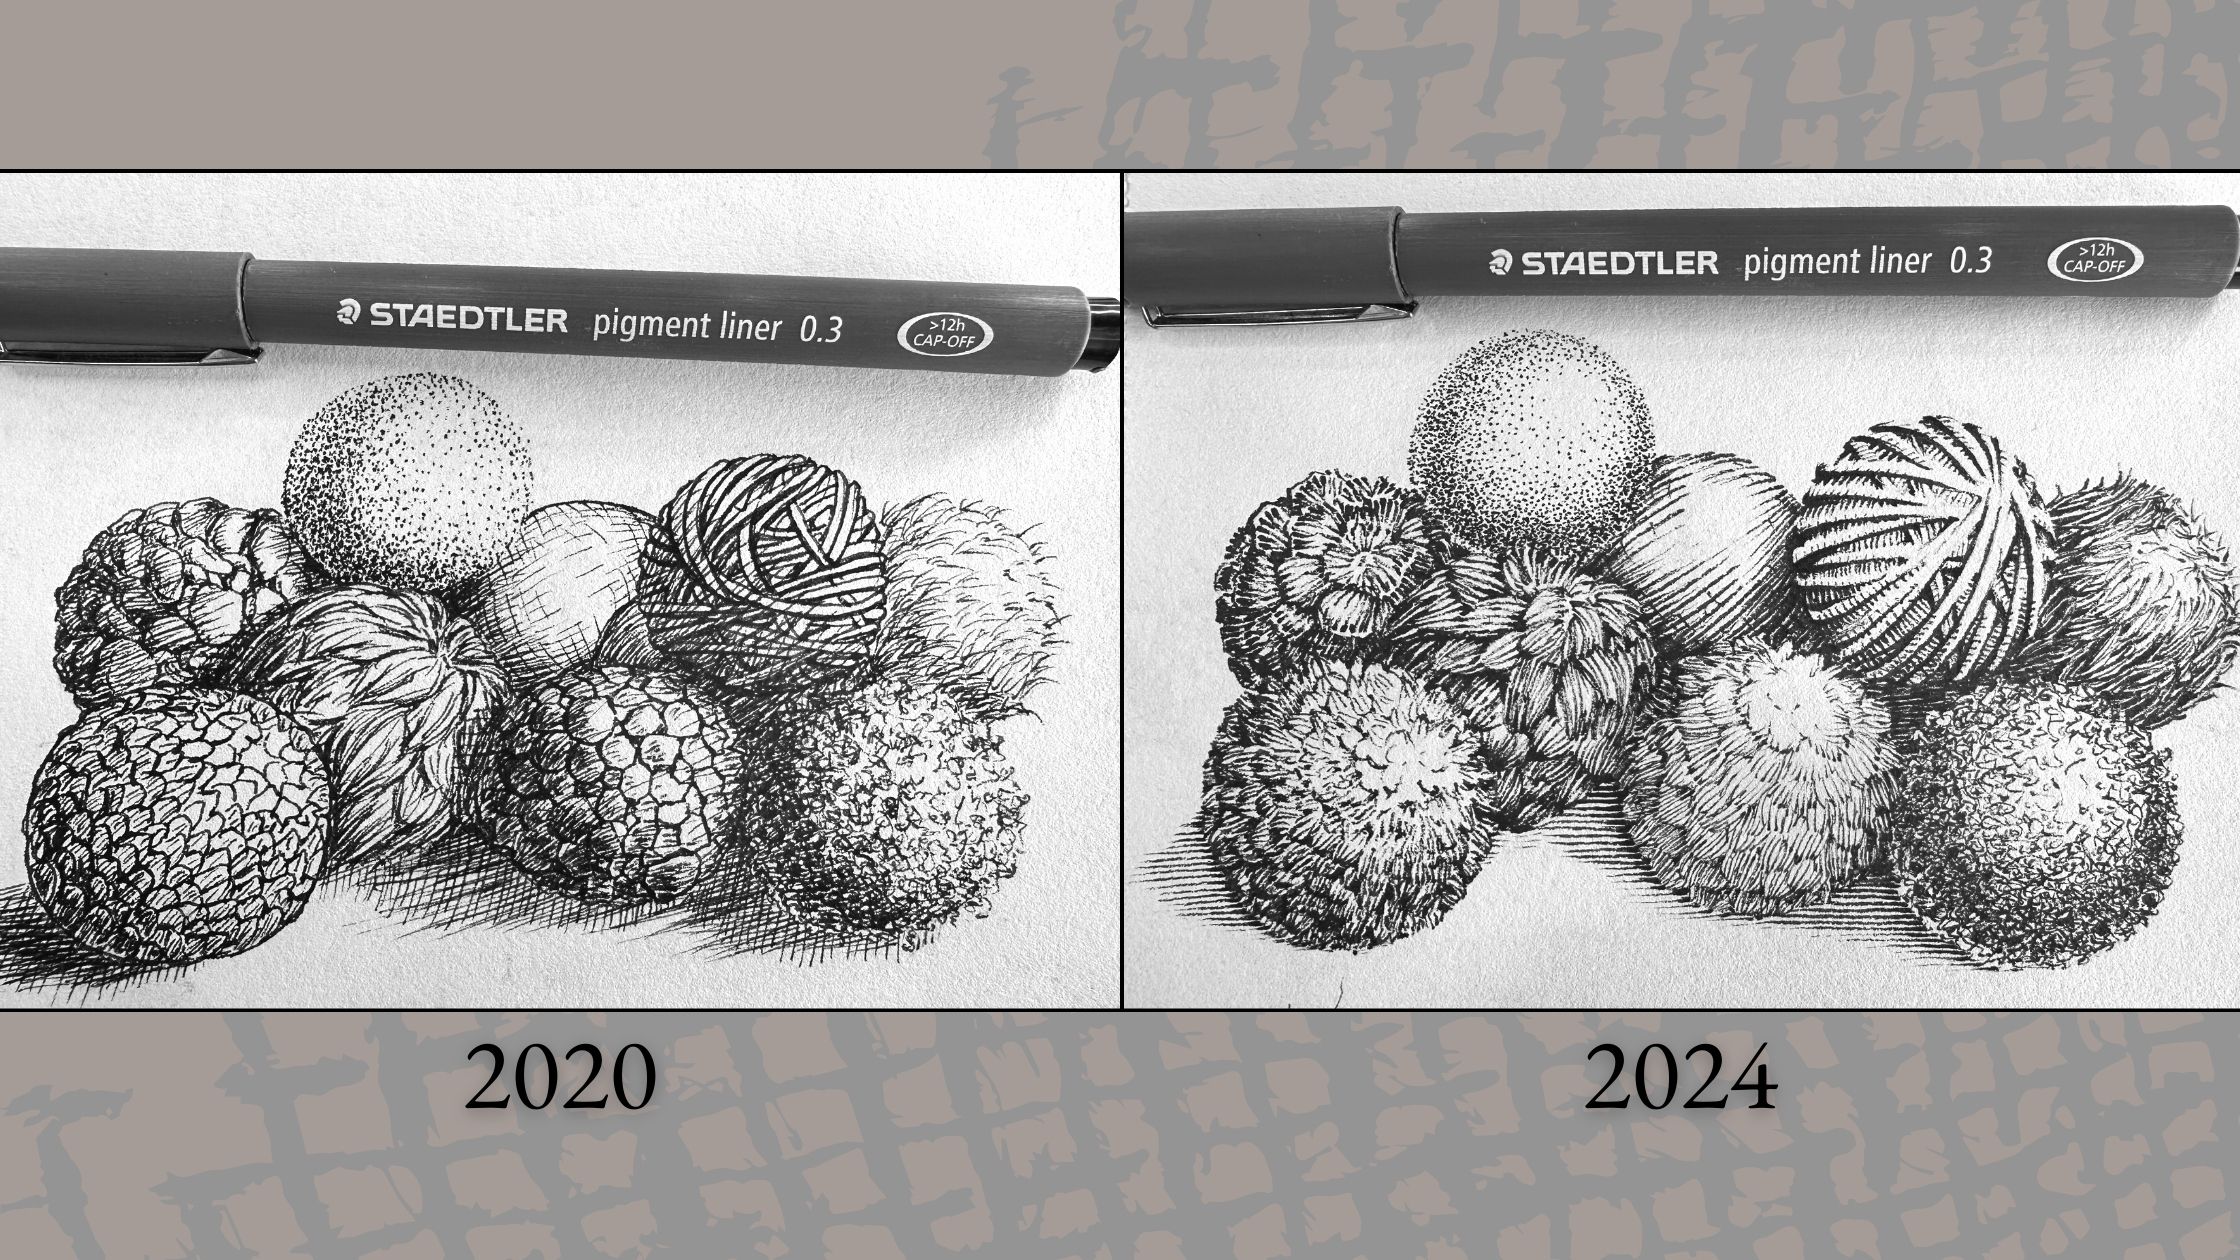
And I felt smug for shading it that way. Except that by saying this, I had implied that tonal density was a superior line treatment to cross-hatching.
I don’t want to mislead anyone by giving the old cross-hatching a bad rap.
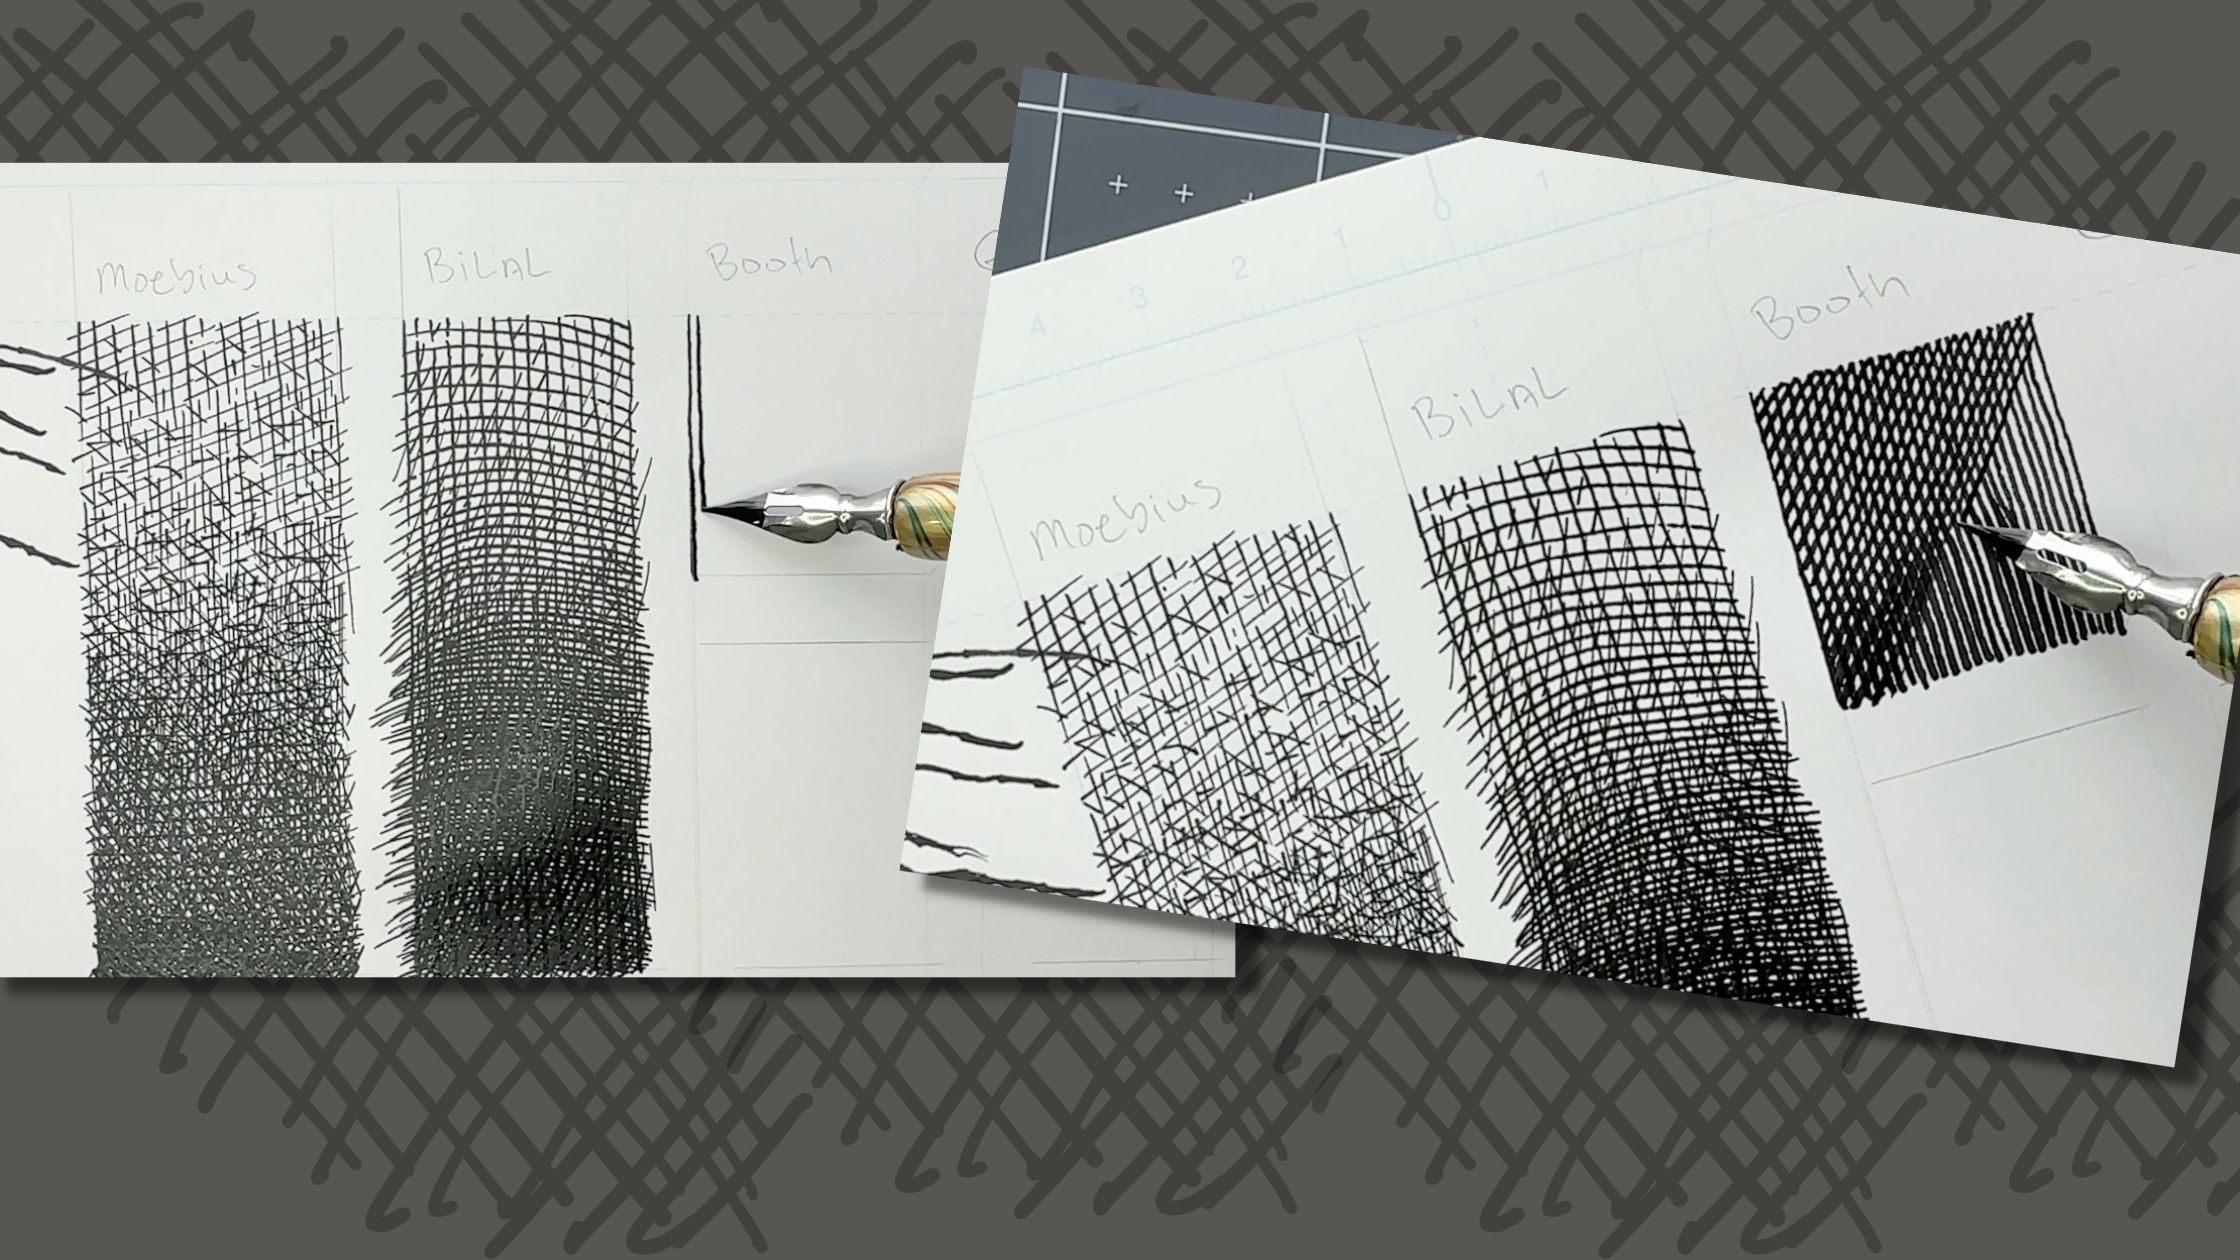
Look at how the Masters rendered theirs. Moebius, BILAL, Franklin Booth, and Charles Dana Gibson.
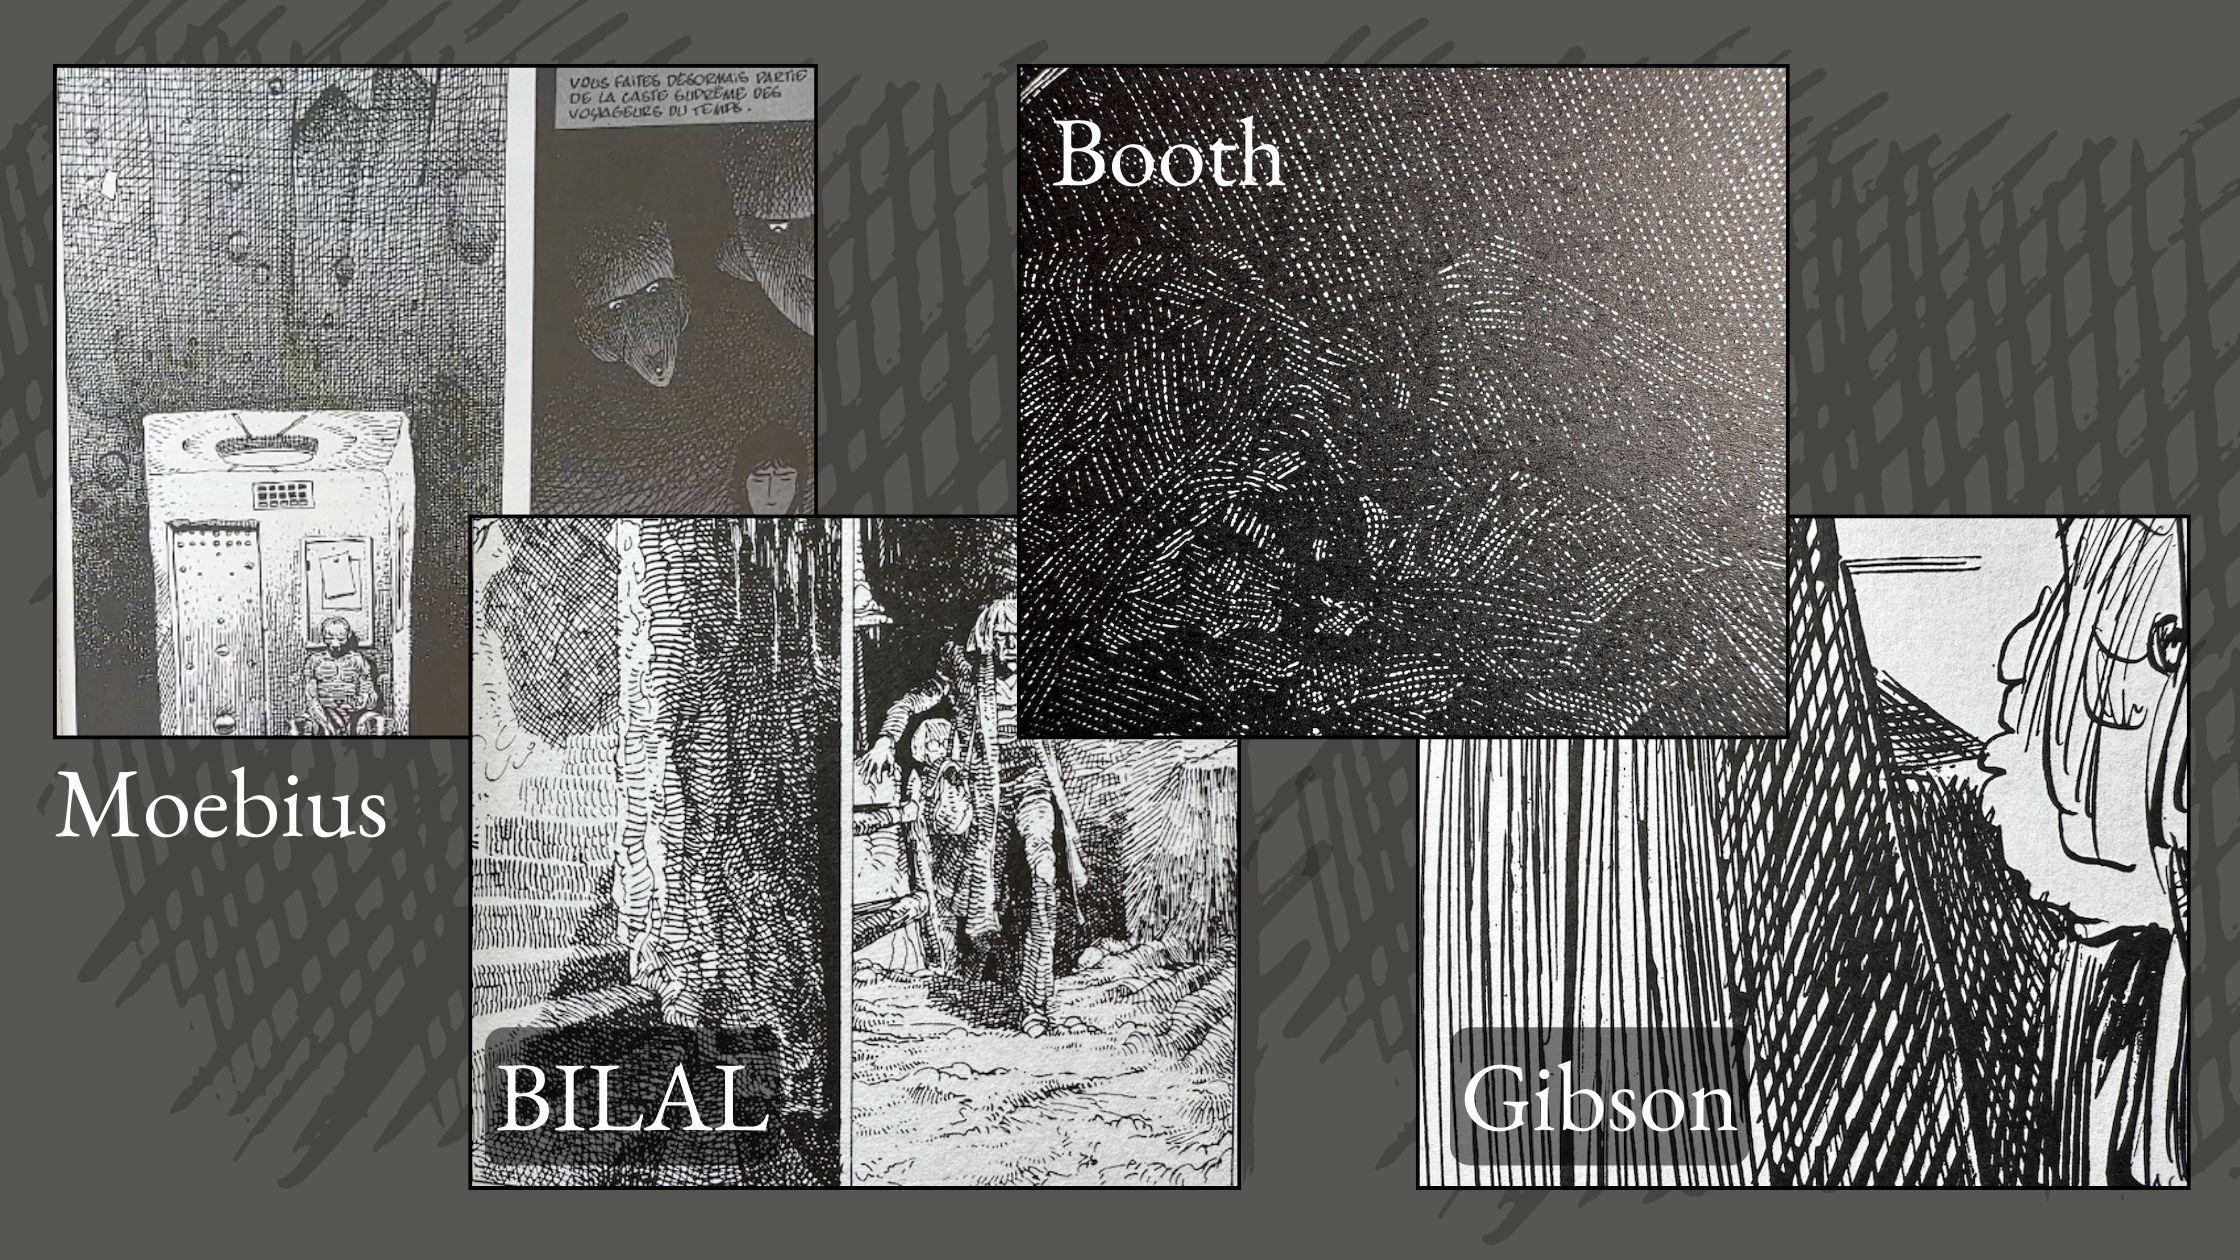
The Masters’ tonal gradation is lively, not mechanical, and not muddy.
Even Gibson’s scribbly, style makes cross-hatching an enviable effect.
Looking at their pieces, I have no idea how the Masters achieved those results, but by zoning in, and trying small swatches, like a cross-hatching study, then it’s energizing bite-size mastery practice.
I started with a Moebius gradation.
BILAL was similar but with more curvy hatches.
Booth is my hero, I love that tight knitting he does.
Bernie Wrightson was influenced by Booth, so his patterns are similarly precise. That’s why I chose Gibson over Wrightson, even though Wrightson is my close second hero to Booth.
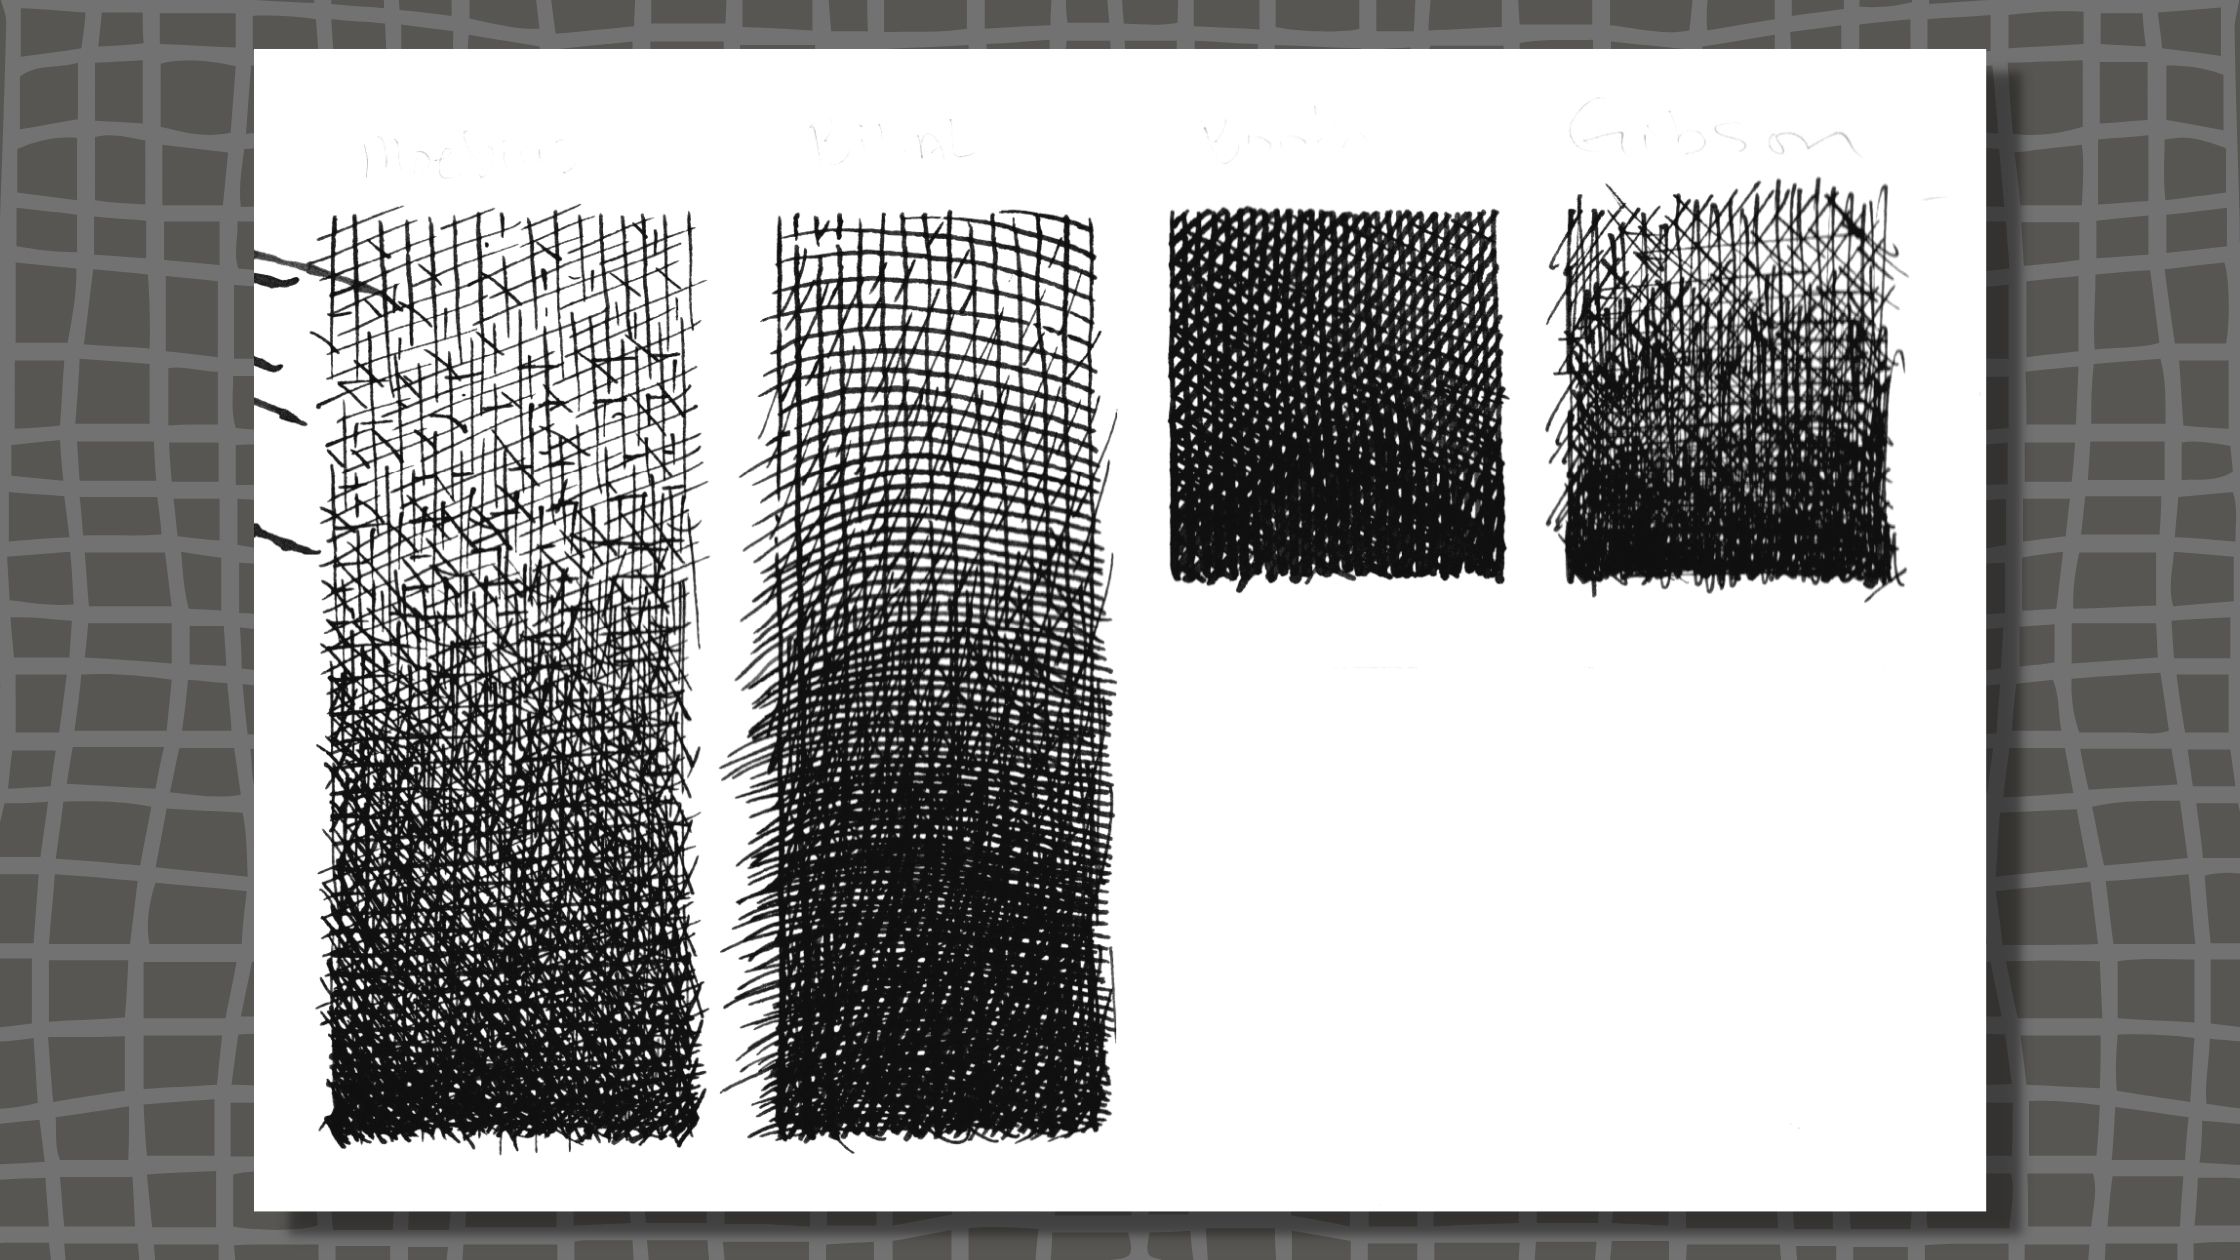
It’s not a complicated, fairly quick exercise, which makes it simple to sneak in between other things.
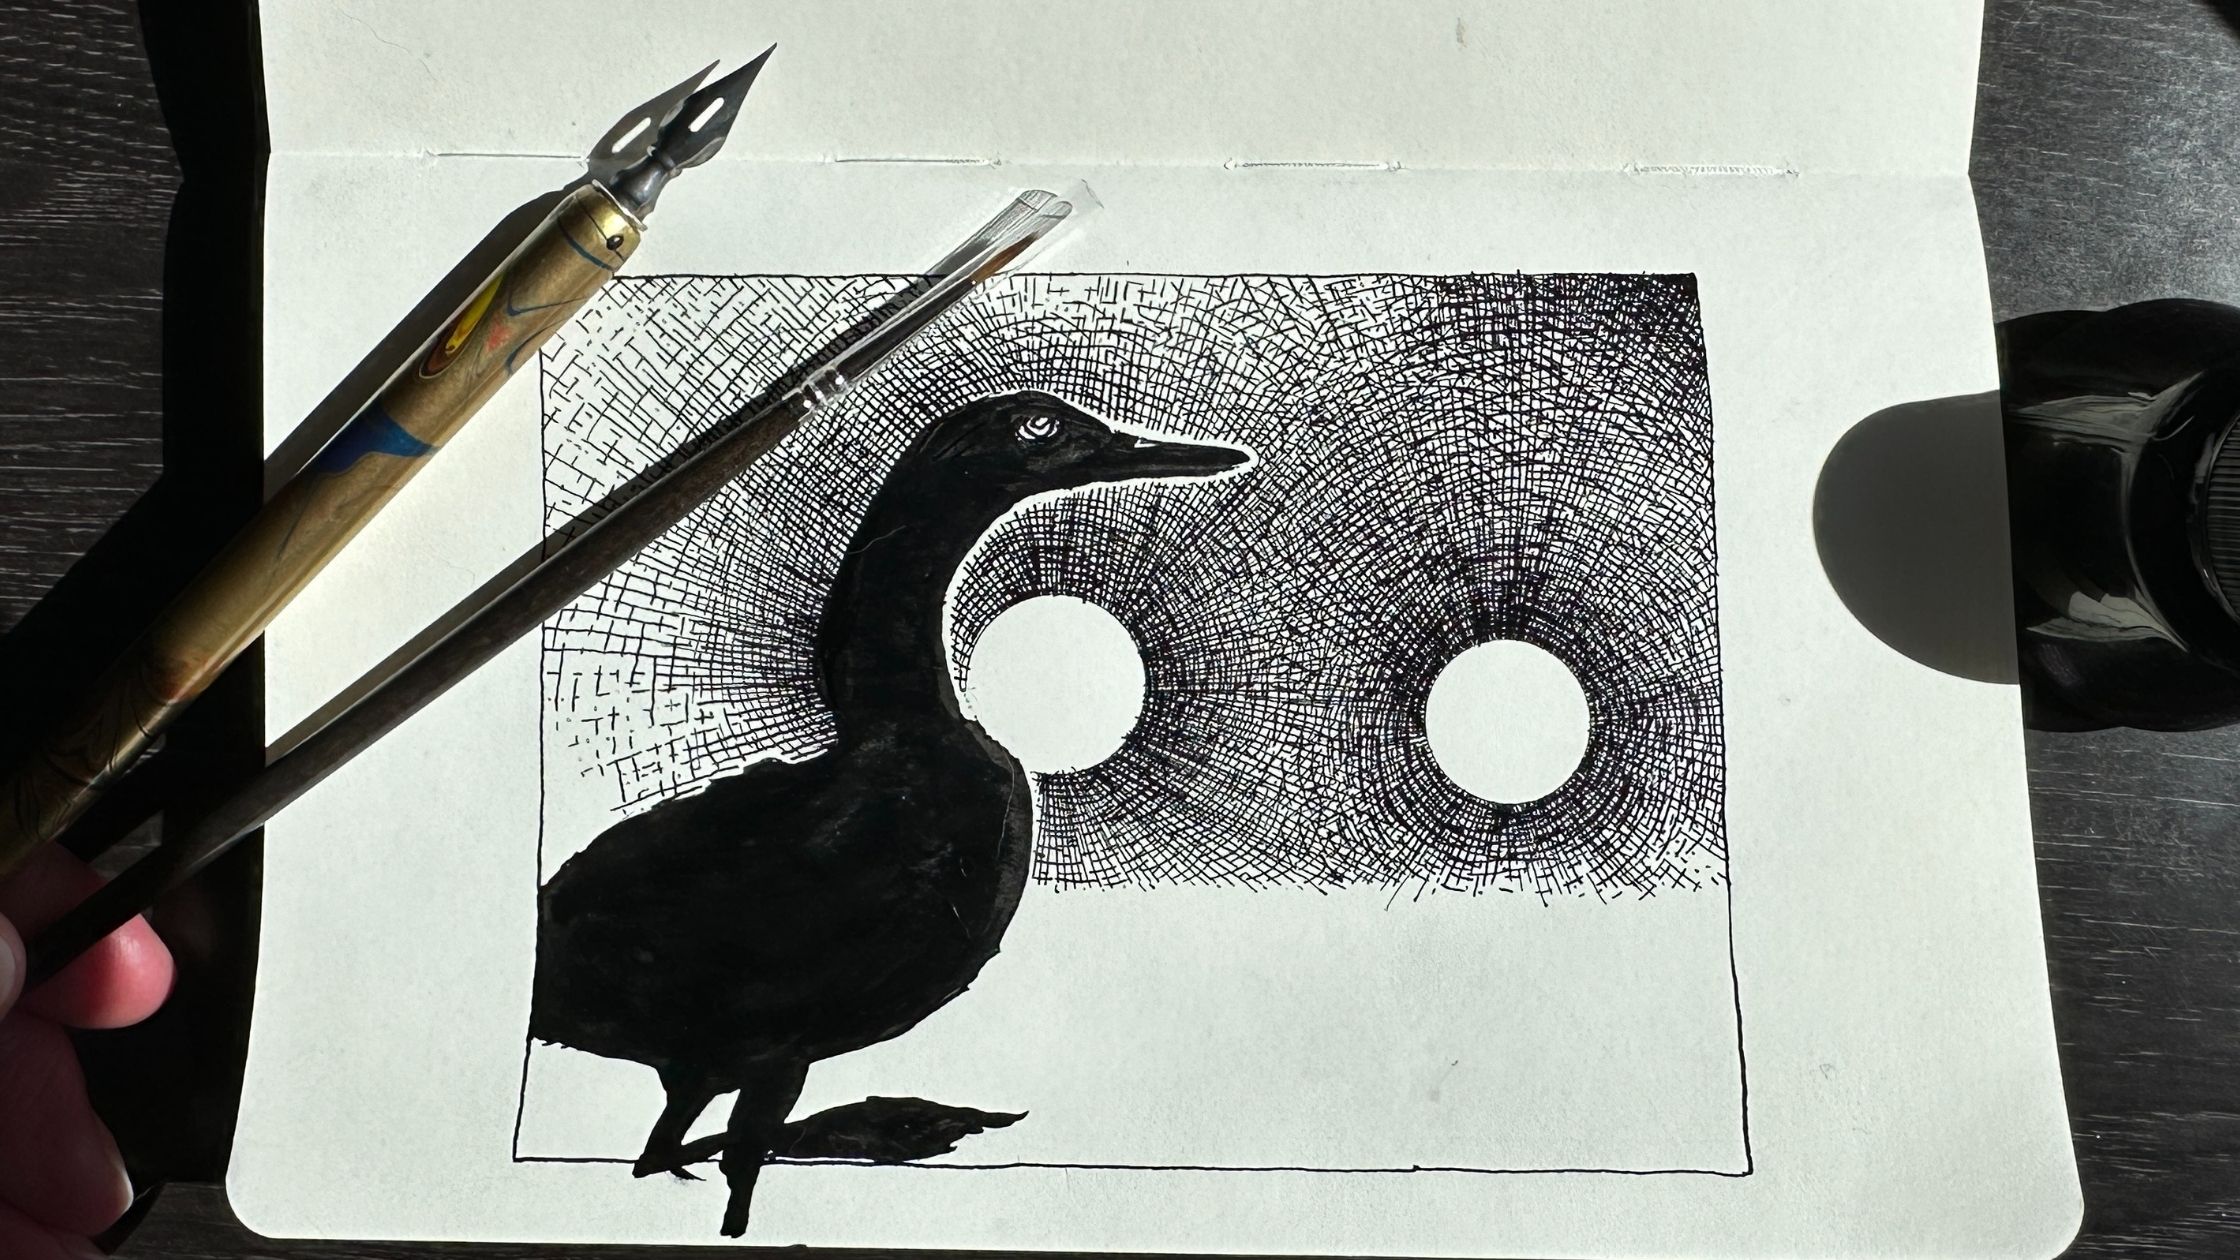
I then applied what I learned, to a small ink sketch in my Moleskine book.
I started to understand cross-hatching more after doing those swatch studies, from the Masters.
The result from my sketch is not yet how I envision the cross-hatching treatment will be in my final artwork.
However, I had fun practicing it and look forward to my next learning burst session!
I hope that you enjoyed these ideas. If doing a full Master’s Study sounds interesting, check out my How to do Master Studies article.
Resources – Tools and Supplies
Speedball Hunt 512 Bowl Nib 2pc
Speedball Super Black India Ink 2oz
Speedball Universal Pen Holder, Gold Marbleized
Large Adjustable Tabletop Easel
Swing Arm 5x Magnifying Desk Lamp
More studio equipment and art supplies
Grow your inking skills with Skillshare.


