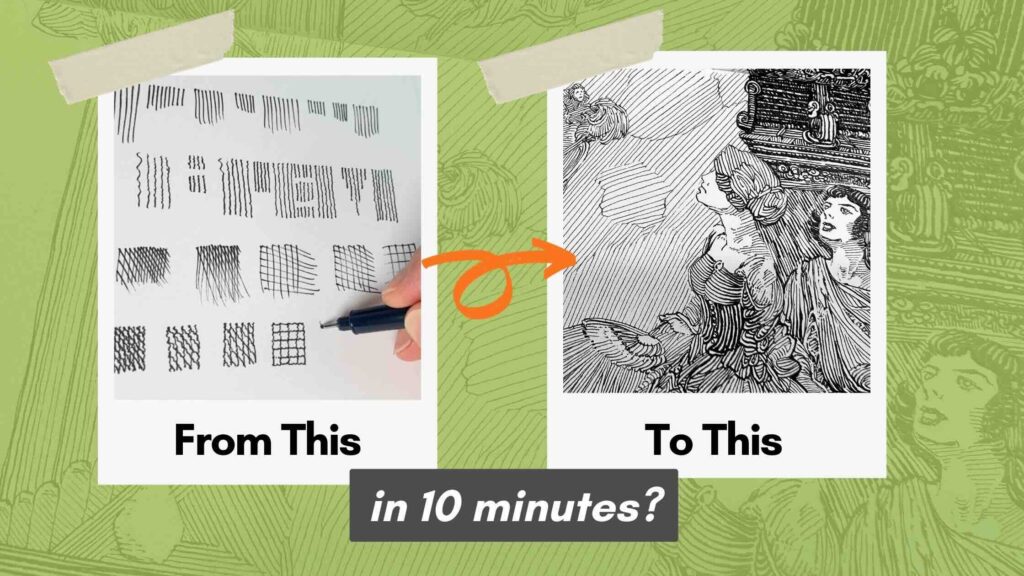
You’ll see quick progress in the quality of your pen and ink projects by doing any of these for only 10 minutes regularly.
//Disclosure: I earn a small commission when you use one of my affiliate links to make a purchase. Please read the Terms page for more information about my partnerships.
10-minute exercises

1 – slow, parallel lines
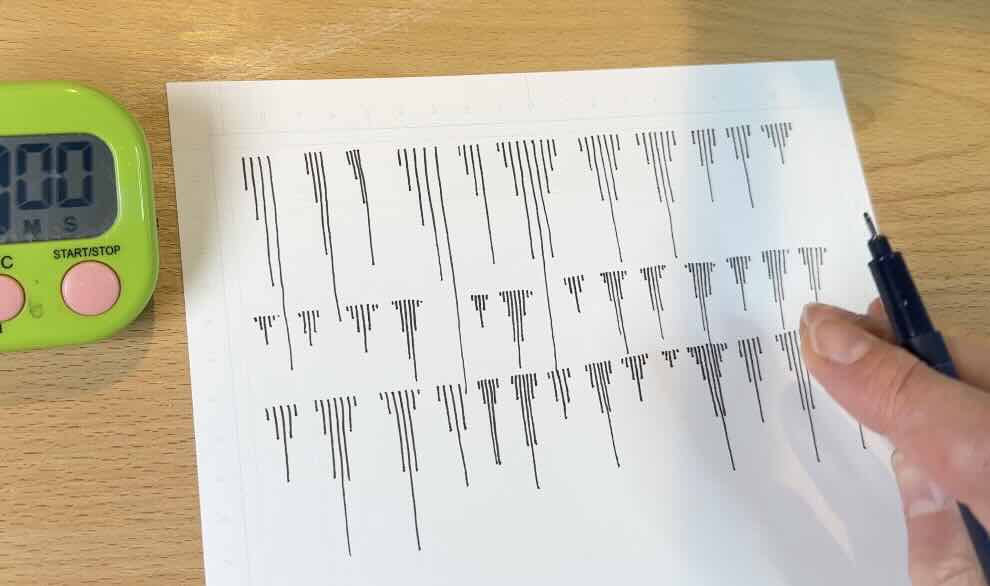
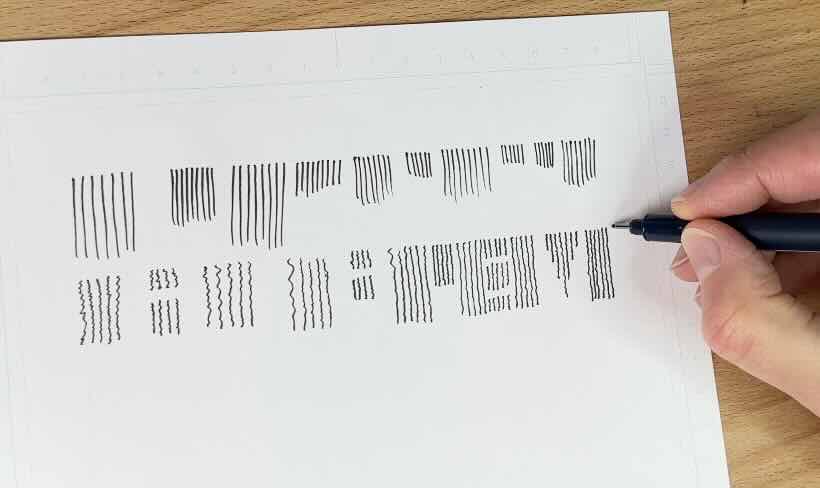
1A – Straight
Start with a short vertical line, add another parallel line twice as long next to it, repeat, again doubling the length next to it.
Go slow. Your objective is to keep the spacing between the lines even.
Aim for 75% accuracy. Quality will emerge from quantity and consistency.
For best results, do one exercise at least once a month for the entire 10 minutes.
All the exercises in this video target your hand control.
Better hand control = better line work.
Repeat this pattern a few times. Try tighter spacing on the next couple of sets.
Once you get the hang of it, continue the pattern next to it, in reverse order, long to short.

If you started a timer for 10 minutes, you’re done exercising for the day when you hear the beep.
Or do a few sets in a row if you have more time. You’ll not only train your hand control but also benefit from building endurance (i.e. patience).
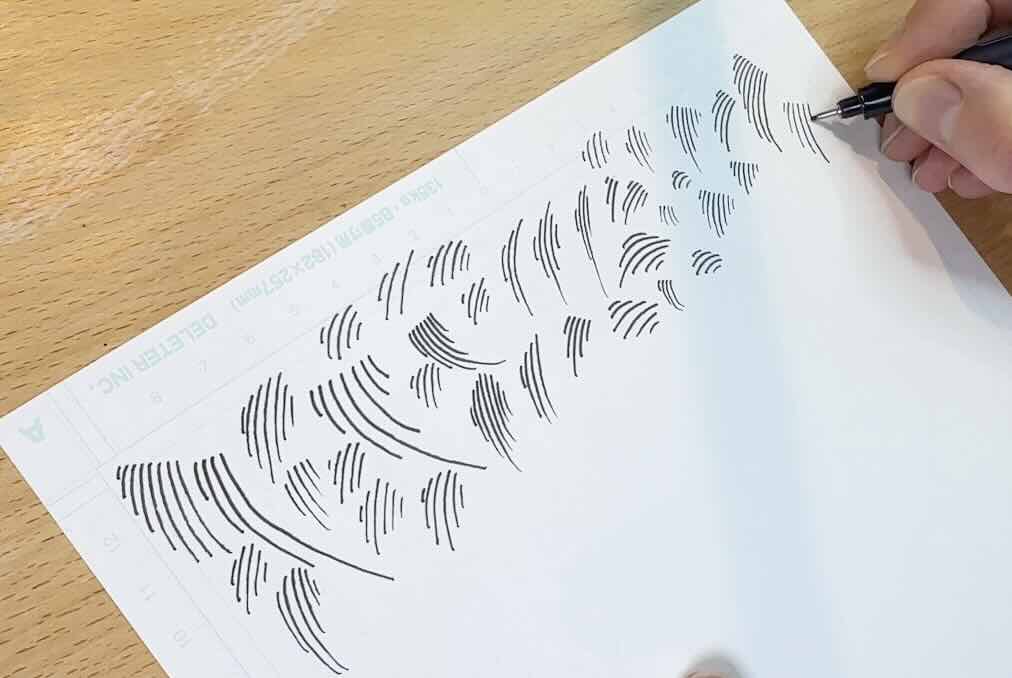
1B – Curved
A variation on this exercise is to curve the lines. Still slow and methodical, focus on even parallel lines curving like a bow.
Do a few sets, again playing with the distance between the lines. Go short to long, long to short, then stagger the start.
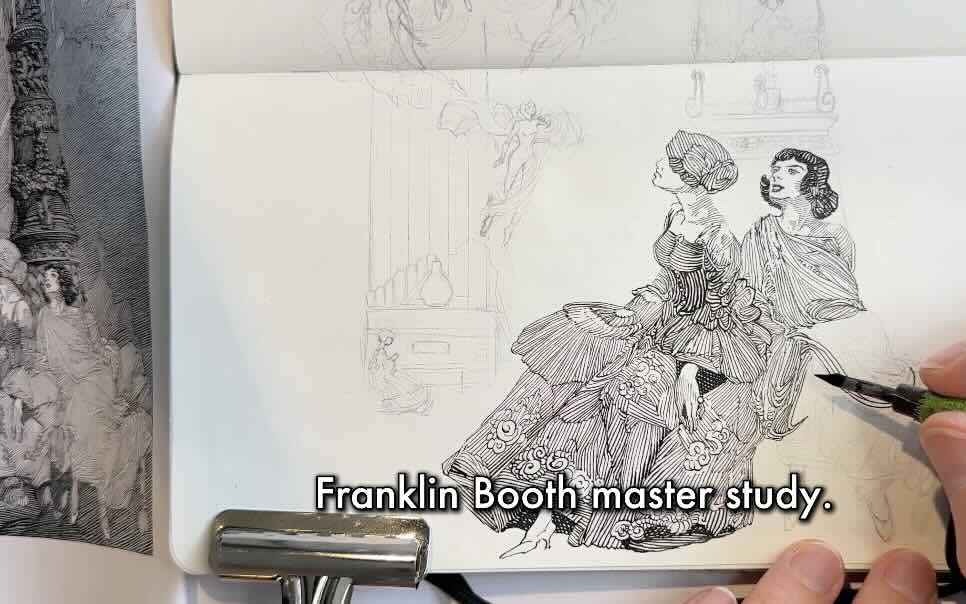
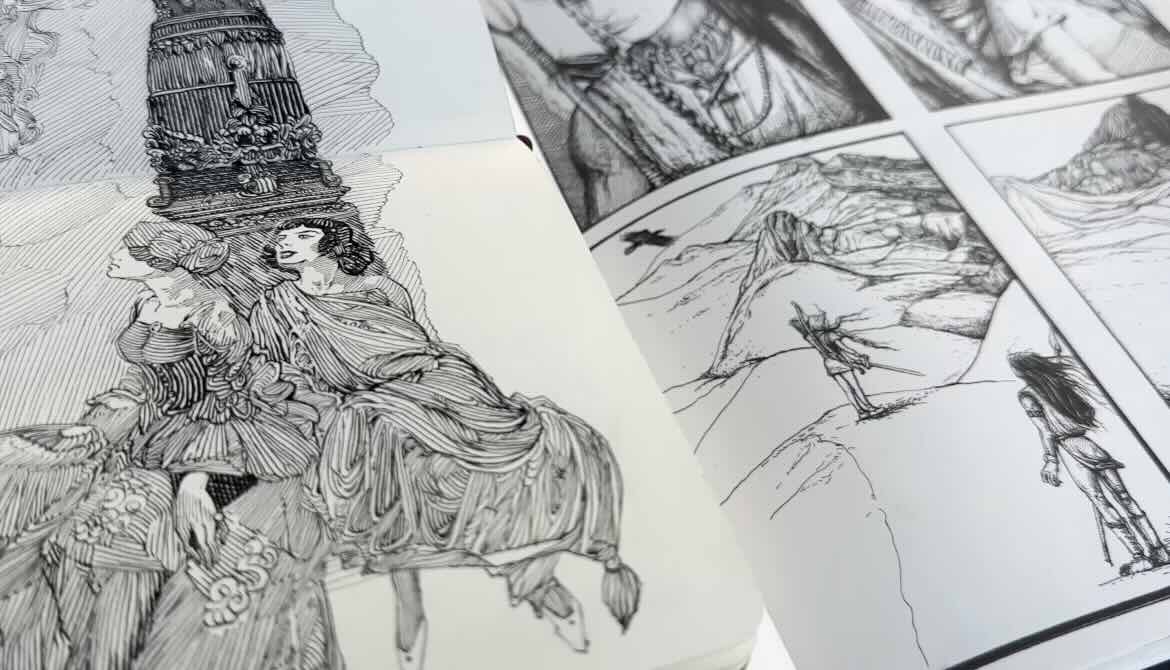
You’ll see this staggered curve line technique used often by the masters, as you can see in this Franklin Booth master study I did recently (below).
2 – Slow, plane change
2A – Wave
Next exercise, same principle, we’re aiming for equal spacing as we increase the length of each line.
This time our line is travelling up and down in a wave. It’s for when you need to change the plane direction in a drawing, following a wavy shape like hair.
I’m using a mid-weight fine liner pen, a 05 by Tombow and inking-specific paper, this one made by Deleter.
📖 Check out the “Get the results you want” blog post for more exercises.
You’ll find the complete list of the art supplies I used in the exercises, along with book recommendations in the resources section at the end of this article.
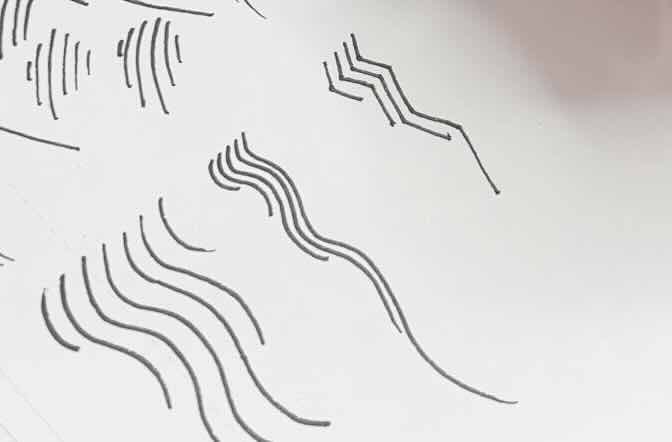
2B – Zigzag
The application for the zigzag exercise is for when you need to change the plane direction in a drawing, following shapes with sharper edges.
You can use any of the exercises shown today as warmups for your major projects, especially if you’ll be doing precise, detailed-type artwork.

3 – Fast, hatching
3A – Plain hatch
Starting with a basic hatch. Same objective of 75% accuracy – aim for speed and consistent spacing between the hatch marks.
If you’re working on a piece with dynamic lines, this exercise is a great warm-up.
A squiggly hatch is also useful practice; you’ll sometimes see this style in backgrounds or to build textures.
Continue using different sets of spacing and lengths for the duration of your practice session.

3B – Cross hatch
This leads us into a cross-hatch exercise.
Practice with the design, create a diamond or square cross-hatch.
Repeat the cross-hatch with the squiggly lines.
4 – Shading shapes and forms
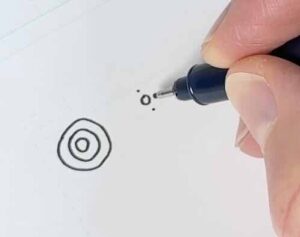
4A – Shapes
In the previous exercises, I was pulling lines towards me, top to bottom; that’s my preference. You’ll often see me rotate the sheet to suit the angle that gives me the most control.
But it’s not always possible to turn the artwork on your easel when working on large projects.
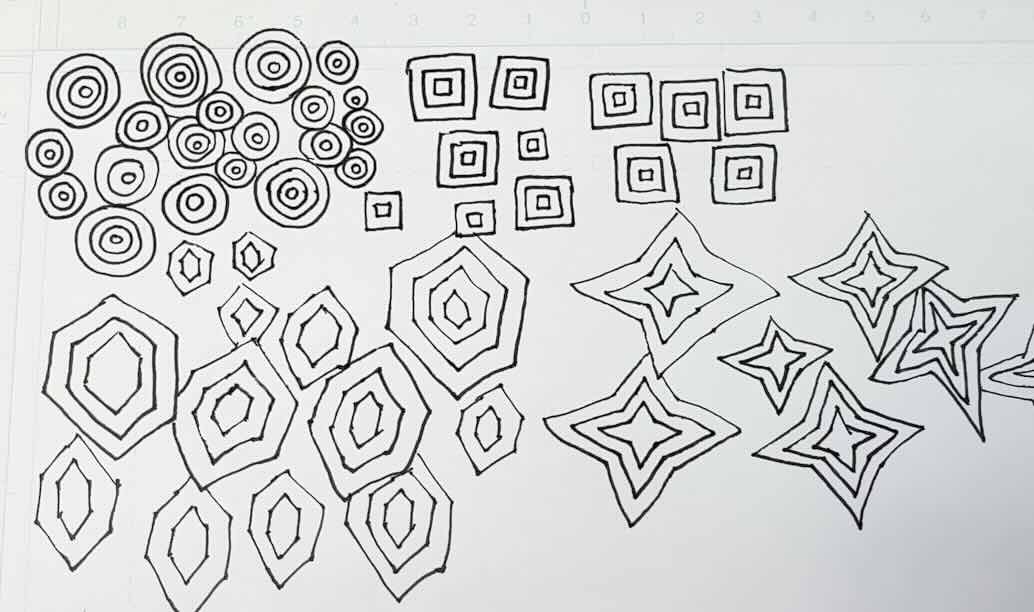
To practice every angle from a static position, start with a circle, and circle that one, and again.
Use dots as guidelines, if that’s helpful. We’re still aiming for equal spacing between the lines, regardless of the stroke direction.
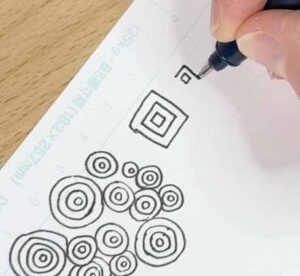


Then, with a square. The idea here is to keep the paper fixed, without rotating the sheet.
You can increase the complexity of this exercise by varying the shapes.
We can see a striking progression, comparing the Franklin Booth study I did recently (higher up in this article), with how I used to render years ago.
That was before incorporating exercises as part of my drawing routine. Even now, when comparing the same style against another Booth study I did just 5 months ago (scroll further down to see).
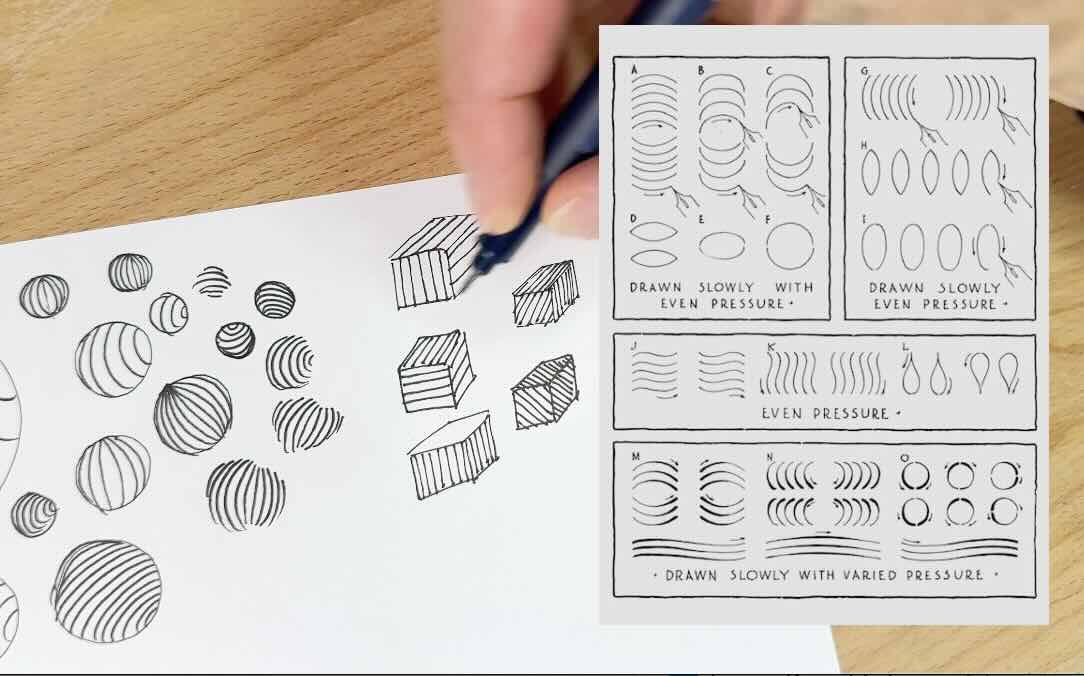
4B – Forms
The next two exercises help are for you’re shading across a form, cross-contour hatches
Draw a circle freehand, then follow the form. Try different variations, again, with equal spacing between the lines.
You can increase the difficulty by doing the shading only, without an outline.

Each exercise gives immediate feedback on what needs more practice. The proof is in the pudding, as they say.
It’s not a bad idea to keep your exercises in a dedicated sketchbook and date them so that you can monitor your progress over time. Where you’ll notice results not only in the control of your instruments, but also in your speed.
Pen and ink books
I’ve been asked by YouTube viewers to demonstrate exercises from Arthur L. Guptill’s book.
This book is at the top of my list, suitable for all levels. It’s all about inking techniques, applied in a variety of styles, showing tons of examples from legendary ink masters.
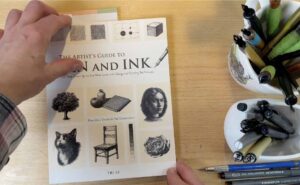
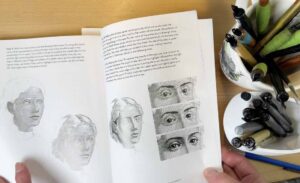
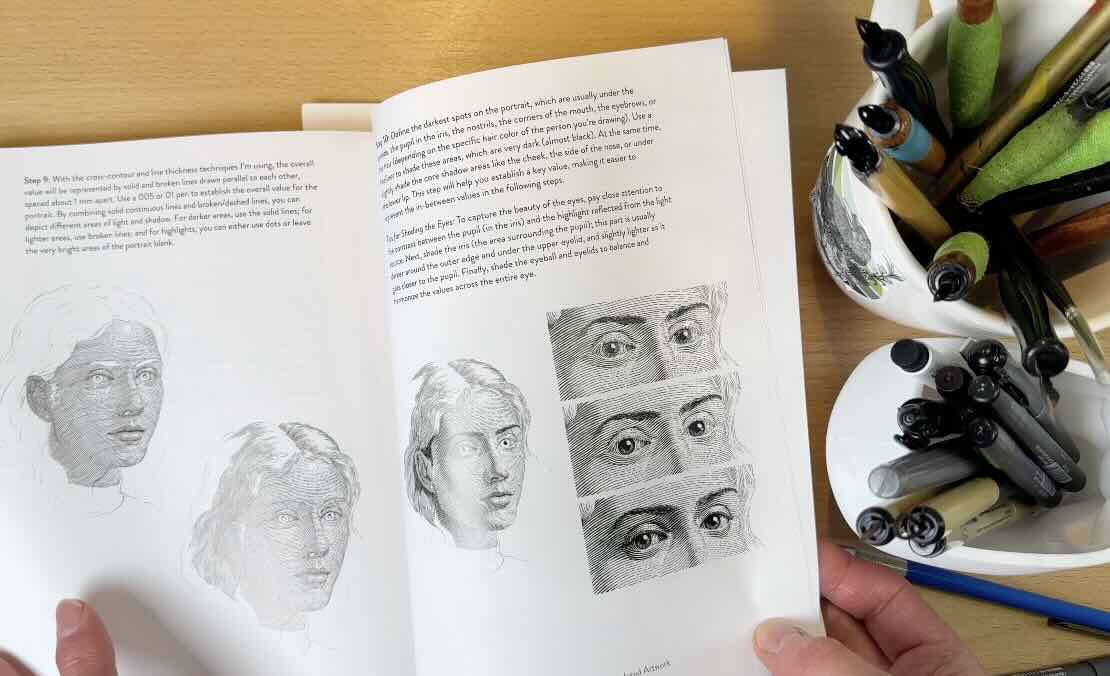
A publisher recently gifted me with this guidebook by Tri Le, ‘the Artist’s Guide to Pen and Ink’ for review (pictured below). A few of today’s exercises were from this book.
The content is suitable for all levels, though I found the techniques apply to a more specific range of styles compared to other guidebooks.
A fountain pen is featured on the cover; however, most of the renderings were created using graphite pencils and technical pens. So, if you don’t own a fountain pen, you can use the supplies that you have.

Resources
🎥 YouTube Videos ↓↓
📗 Books ↓↓
- Arthur L. Guptill’s Rendering in Pen and Ink
- Tri Le’s Artist Guide to Pen and Ink
- Franklin Booth Silent Symphony

🧰Tools ↓↓↓